Pages

May 29, 2013

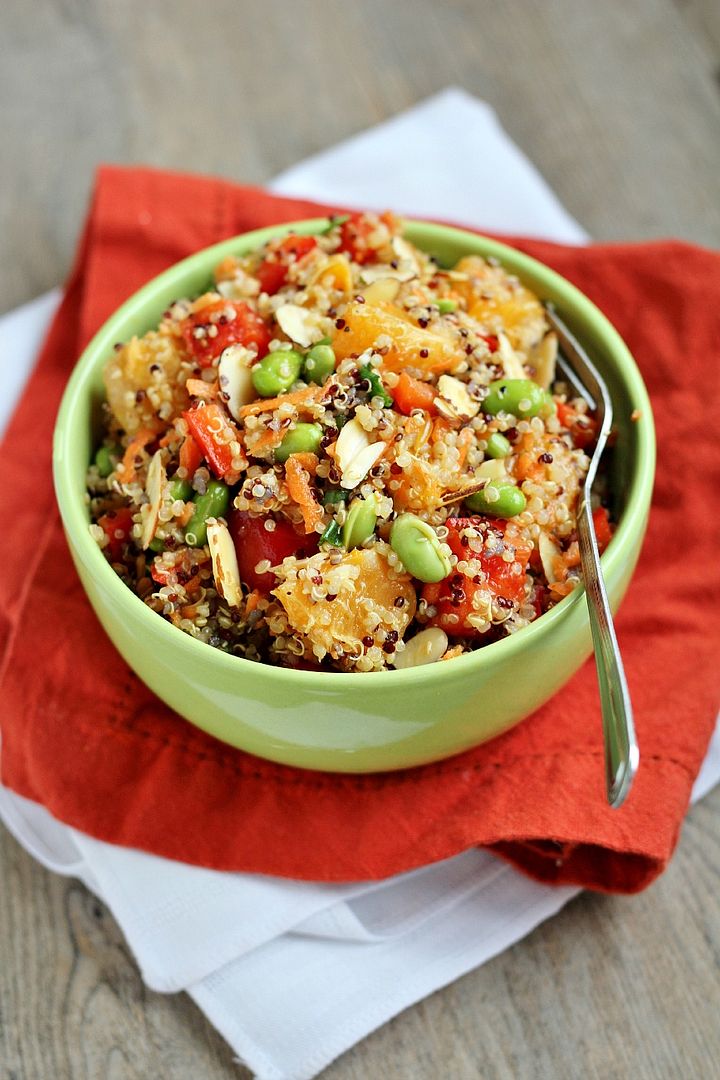
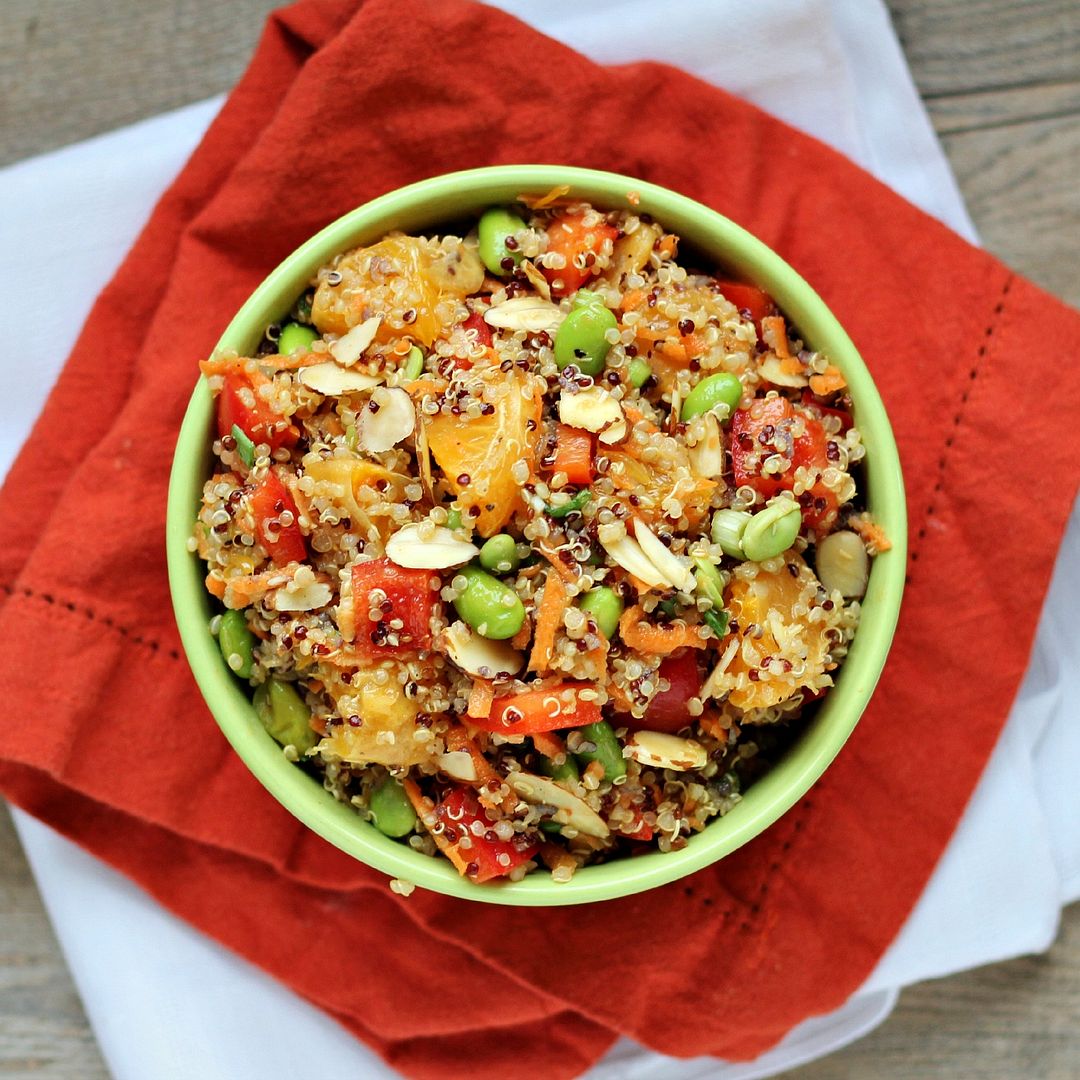
Asian-Inspired Mandarin Quinoa Salad

Asian-Inspired Mandarin Quinoa Salad

I don’t know if it’s the call of summertime (and bikinis) or just the longer hours of daylight available in a day, but over the past month I’ve started fitting a lot more exercise into my schedule.  I’d only just started getting into fitness in January but started off pretty slowly so I didn’t overdo anything (I have a bad knee that likes to act up a lot), but when new fitness classes became available in May, my sister and I started trying out a bunch and so far we've kept it up!

I’ve discovered a love for Zumba (my favourite of all classes; I am hopeless when it comes to the more salsa-esque moves but it is still so fun!) and yoga, along with a love/hate relationship with bootcamp style classes, which are so hard but also so effective!  And tonight I’m going to try my first AquaZumba class (basically Zumba in the water), which should be interesting!
Asian-Inspired Mandarin Quinoa Salad

All this exercise not only has me craving healthy food more, but also needing quick dinners that can be waiting for me in the fridge when I get home later than normal and am starving! I especially love quinoa salads for this purpose because they keep well in the fridge, are full of protein, and can be customized to endless flavour combinations!
Asian-Inspired Mandarin Quinoa Salad

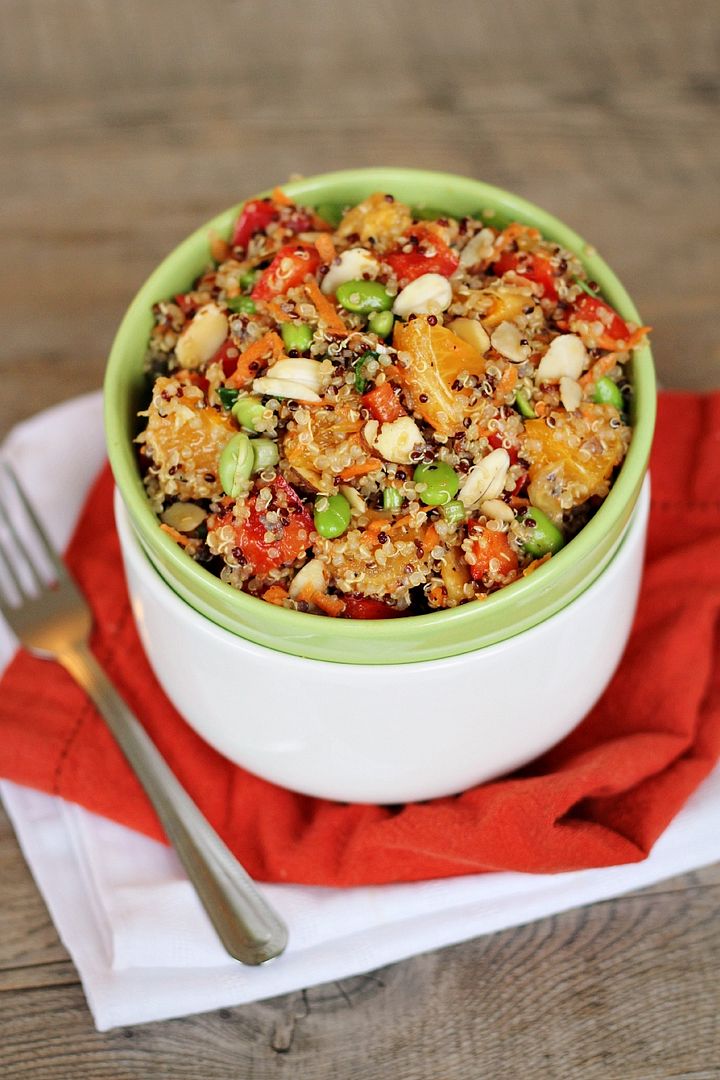
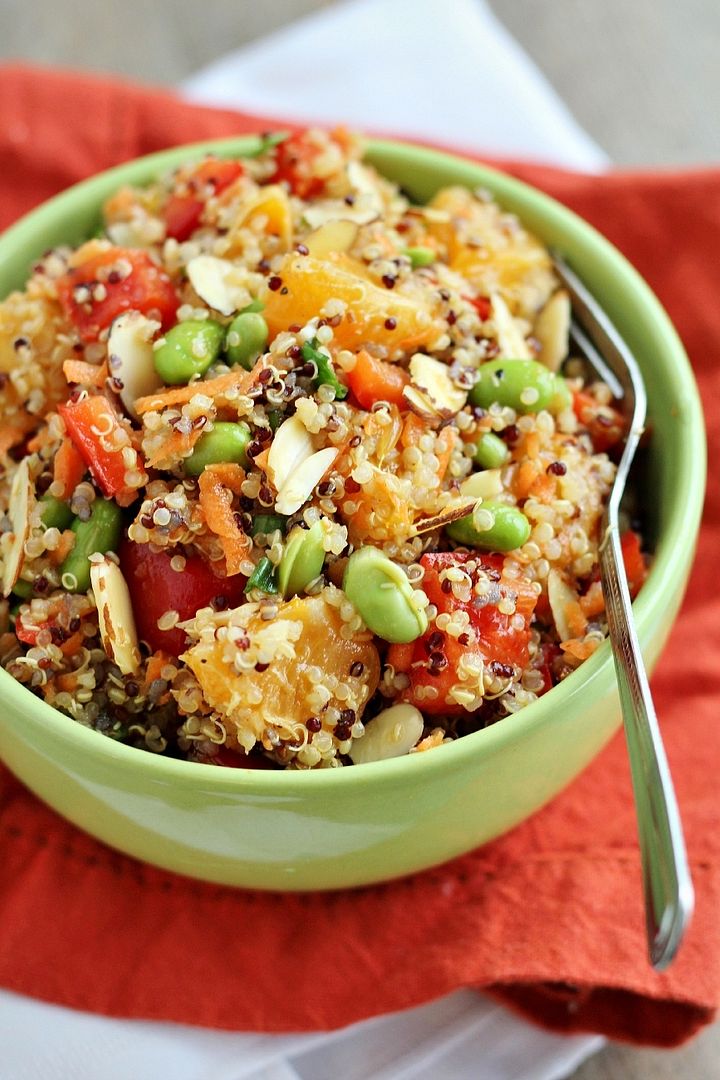
I’ve been wanting to try an Asian flavoured quinoa for a while, and when I started thinking of ingredients to include in one, I remembered this mandarin chicken salad I made a while ago and loved.  So I decided to incorporate many of those same ingredients into a quinoa salad – I kept the red pepper, carrot, edamame, and mandarin oranges, added green onion, almonds, and orange juice in the dressing, and left out the chicken because there was already plenty of protein in this salad from the quinoa, edamame, and almonds (though you could certainly add chicken if you like!).

This was so fresh and every bite was full of flavour, with a wide range of textures from the crunchy red peppers to juicy oranges and buttery soft edamame.  Regardless of whether I can keep up my fitness motivation or not, I know I’ll still be making this quinoa many more times this summer!
Asian-Inspired Mandarin Quinoa Salad

Asian-Inspired Mandarin Quinoa Salad

Makes 2-3 main dish servings or around 6 side dish servings

Ingredients:

For the Quinoa:
1 cup uncooked quinoa (I used golden & black mix)
1 cup vegetable broth, optional
1 cup shelled frozen edamame
1 red bell pepper, chopped
1 to 1.5 mandarin oranges, peeled and chopped
2 large carrots, grated
2 green onions, chopped
1/4 cup sliced almonds, toasted if desired (I was too lazy but almonds are usually better toasted!)

For the Dressing:
2 tablespoons fresh mandarin orange juice (squeezed from about half a mandarin)
2 tablespoons rice vinegar
2 tablespoons sesame oil
1/2 teaspoon chili garlic sauce (optional for a bit of spice)
1-1/2 teaspoons honey (use agave or brown sugar to make this dish vegan)
2 teaspoons soy sauce
1 garlic clove, minced
Dash each of salt and pepper

Directions:

Bring 1 cup water and 1 cup vegetable broth to a boil in a medium saucepan.  Add quinoa, cover, and reduce heat to simmer for 15 minutes.  Remove from heat and let sit, covered, for 5 minutes, then remove lid and fluff with a fork.  Let quinoa cool.  (Note that the vegetable broth is optional to add a little extra flavour; if you choose not to use it then use 2 cups water total instead)

Meanwhile, cook edamame according to package directions - I added my edamame beans to 1 cup of boiling water, let them simmer for 3-4 minutes, then drained and rinsed them.  Also whisk together all ingredients for the dressing in a small bowl and set aside.

Once quinoa has cooled to room temperature, combine quinoa, edamame, red pepper, oranges, carrots, green onions, and almonds in a large bowl.  Pour dressing overtop and mix to combine.  Serve at room temperature or chilled.

May 24, 2013

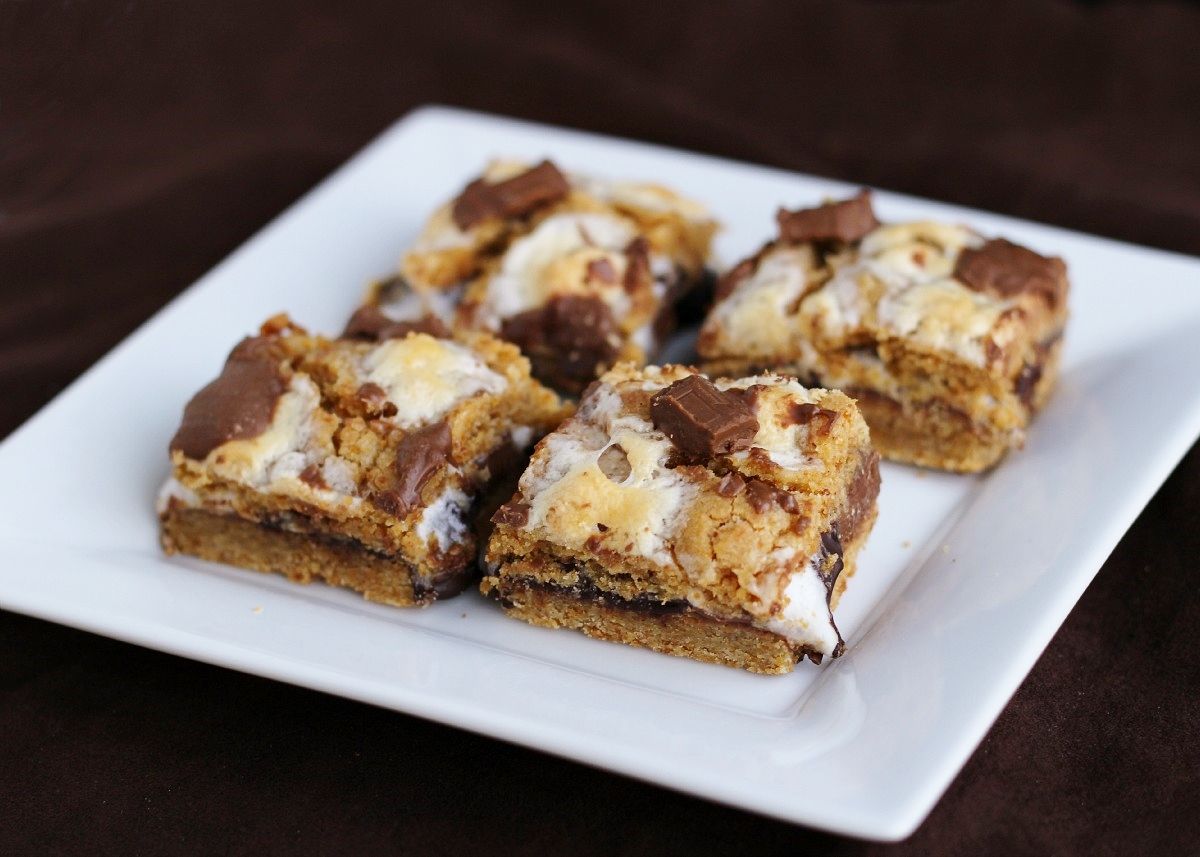
S'mores Bars

S'mores Bars

After spending the past holiday Monday laying on a beach drenched in sweat, it just seems wrong that today the temperature fell to below zero and there was snow in the air!   Every time I think summer is definitely here to stay this time, Mother Nature turns around and laughs in my face.  

I’m still very grateful that we had beautiful weather for our May long weekend though, and I’m hoping that my American friends are able to see some sun and get outside for your holiday Monday coming up! 

But whether you’re sitting outside around a bonfire or warming up inside by a fireplace this weekend, these s’mores bars will fit right in!

S'mores Bars

You’ve probably seen a recipe for s’mores bars before so these are nothing new; they’re made up of two layers of chewy graham cracker bars with layers of chocolate and marshmallows sandwiched in between.  I’ve made versions of them a couple of times in the past and absolutely loved them, but based on my experiences, I’ve made a few changes along the way to improve them a little.

I added cinnamon and brown sugar to add to the graham cracker flavour more, I replaced some of the milk chocolate with dark chocolate because I find that using all milk chocolate makes them just a bit too sweet and rich for my taste, and while I used to make a full sized recipe in a 9x13-inch pan, this time I used a much smaller pan because buying all that chocolate gets pretty expensive!  I also topped the bars with more marshmallows and chocolate so they look a little prettier on top and people can more easily tell what they are.


And while I’ve previously used marshmallow fluff as called for in other recipes, this time I couldn’t find it anywhere, so I used mini marshmallows instead - which also ended up being much cheaper!  When I bought them I was thinking that they would melt a little to become just like marshmallow fluff, but I apparently forgot my experiences with rice krispie squares which should have tipped me off that the marshmallows would melt a lot more!  

So I was a little disappointed when I took my bars out of the oven and didn’t see a pretty layer of thick melted marshmallows like I’ve had in the past using marshmallow fluff, but once I tasted them I realized that I liked these even better – the marshmallow flavour is still there and just gets infused throughout the bar, giving it a sticky gooey texture just like s’mores.  But if you can easily find marshmallow fluff and want that thick layer of fluff (see what I mean here), feel free to use it instead!

S'mores Bars

These are like a portable, less messy, and slightly more refined version of s’mores, so if you like s’mores, I think it’s safe to say you will love these.  They were a hit with Ryan’s coworkers (from what I hear) – I only ate one myself then had to give the rest away because I knew I would eat them all much too quickly! 

If you have Memorial Day get-together plans this weekend, these bars would fit right in!  Hope you have a great (and warm!) long weekend!

S'mores Bars

S’mores Bars


Makes one 8x8-inch pan; about 20 bars

Ingredients:

1-1/3 cups all-purpose flour
3/4 cup graham cracker crumbs
1 teaspoon baking powder
1/2 teaspoon cinnamon
1/8 teaspoon salt
1/2 cup unsalted butter, room temperature
1/2 cup sugar
1/4 cup brown sugar
1 large egg
1 teaspoon vanilla extract
2-1/2 to 3 cups mini marshmallows
300g (or 10-11oz) of chocolate bars – I used three 100g chocolate bars: 2 milk chocolate and 1 dark chocolate.  If you want the taste to be more like classic s’mores, use all milk chocolate.  If you prefer a more grown-up taste, use dark chocolate.  I used a mix of both because I find all milk chocolate to be a little too sweet for my tastes.

Directions:

Preheat oven to 350°F. Line an 8x8-inch baking pan with aluminum foil, leaving an overhang on the edges to lift the bars out later, and spray with non-stick cooking spray.

Whisk together the flour, graham cracker crumbs, baking powder, cinnamon, and salt in a medium bowl.  In a separate large bowl, cream the butter and sugars together with an electric or stand mixer on medium speed until light and fluffy, about 2-3 minutes.  Add the egg and vanilla and beat just until combined.  Slowly add the dry ingredients in three additions, mixing slowly after each addition until a dough forms.

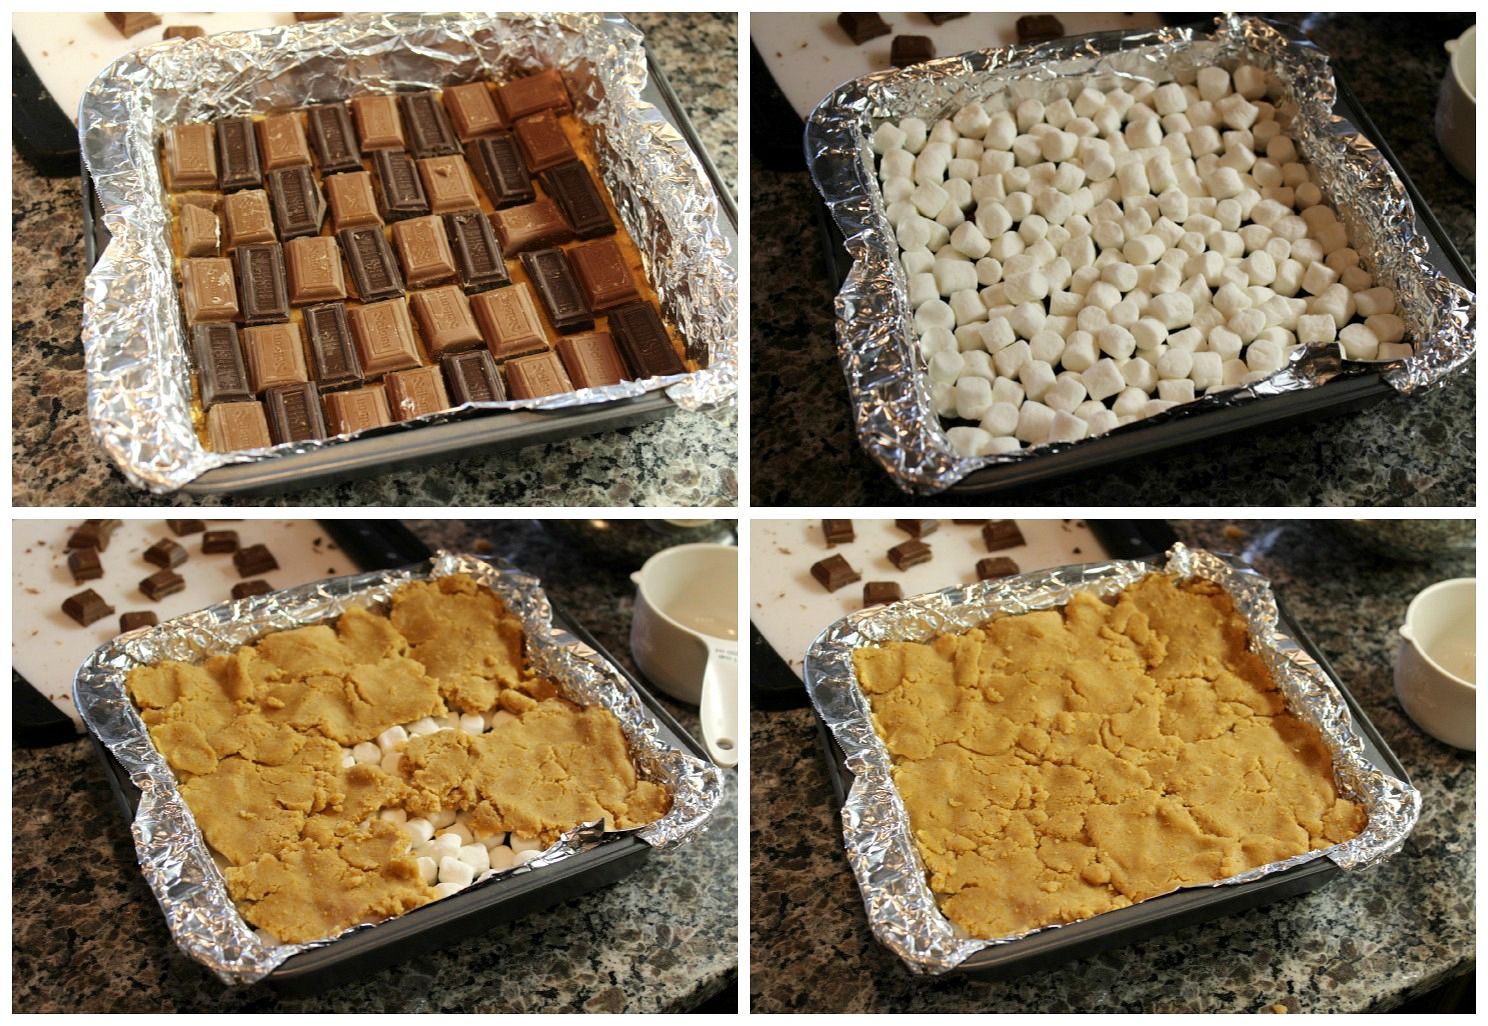
Divide the dough in half.  Press one half of the dough into the prepared pan in an even layer.  Divide your chocolate bars into individual squares, reserve at least 4 squares for later, and spread the remaining squares in an even layer on top of the dough.  Try to get them close together but don’t worry too much if there are little gaps.  I alternated the spacing of my milk and dark chocolate squares.  Cover with about 2 cups of mini marshmallows in a tight, even layer.  Top with the remaining half of the dough.  I grabbed pieces of dough, flattened them between my palms, and pieced them together to form one layer, but it would have been easier to roll the dough out in one piece and transfer that on top.  Do whatever works easiest for you.  Here’s a picture of what my process looked like:

making smores bars

Bake the bars in the preheated oven for 25 minutes.  Meanwhile, chop your leftover chocolate into smaller pieces and place in the freezer.  After 25 minutes, remove bars from oven, and sprinkle the top with about 1/2 cup of mini marshmallows along with the reserved chocolate.  Return to oven for an additional 5-8 minutes.

Let bars cool completely before cutting.  I sped mine along by placing them in the fridge, but it still took at least several hours to cool.  When ready, lift the bars from the pan using the foil, and cut into about 20 squares.  Serve at room temperature or warmed up slightly in the microwave.

May 21, 2013

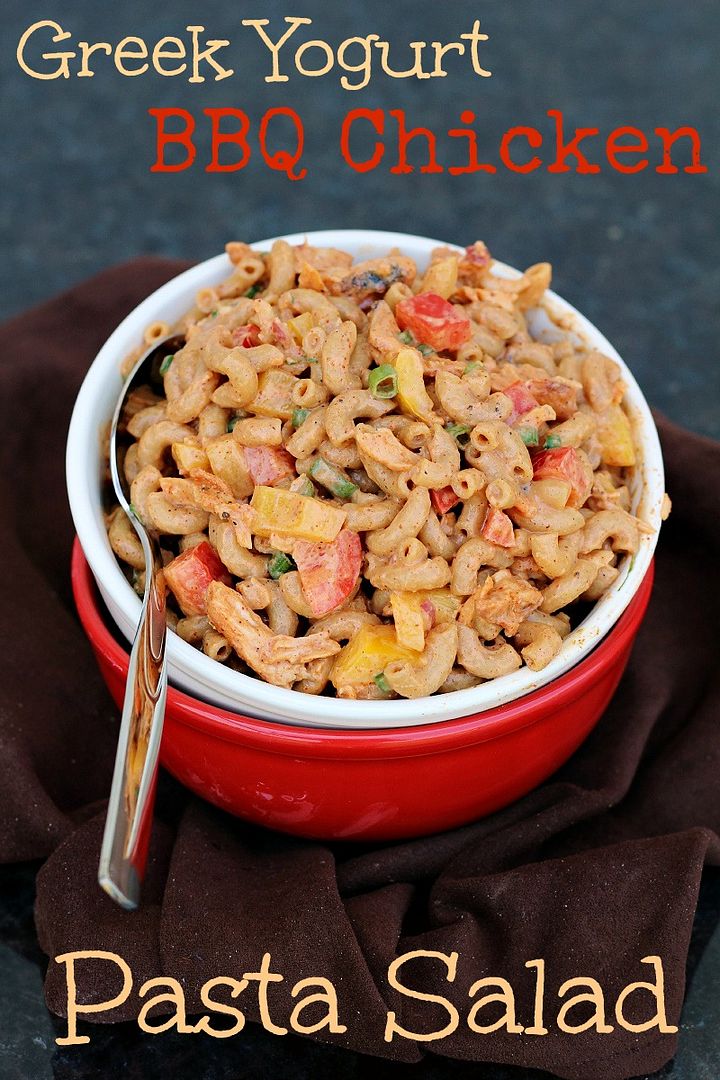
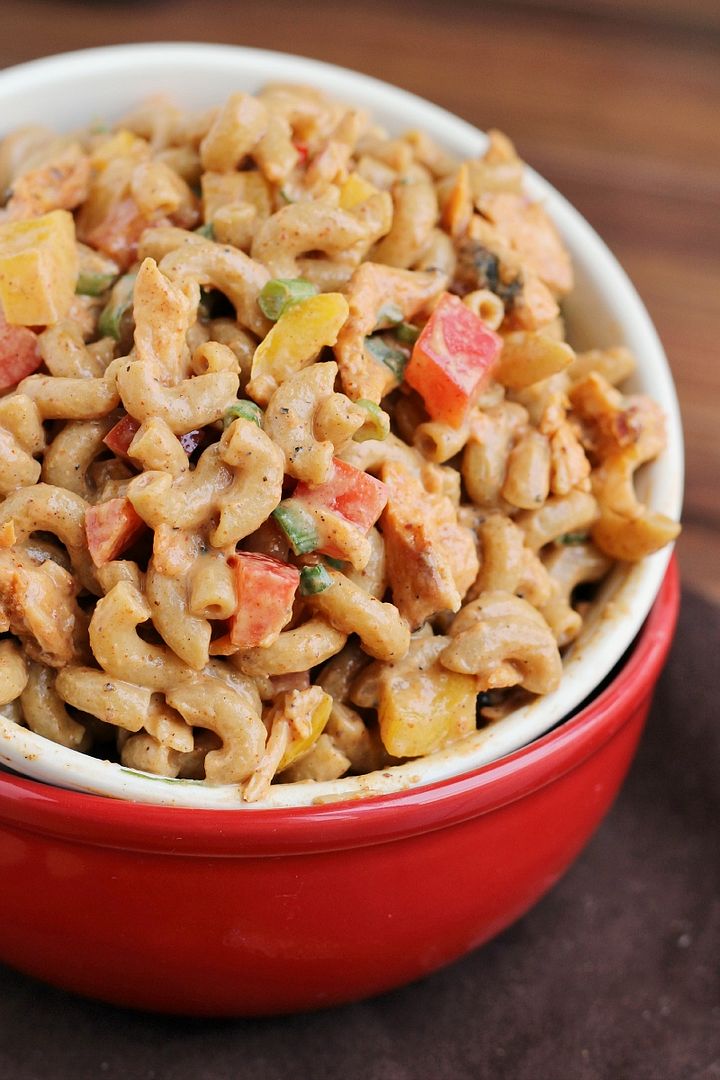
Greek Yogurt BBQ Chicken Pasta Salad

Healthy Greek Yogurt BBQ Chicken Pasta Salad

This past weekend was a long weekend for us Canadians, meaning the summer has (unofficially) begun!  And it has definitely felt like summer the past few days; yesterday the temperature went up to about 28°C (around 83F) here in Southern Ontario and I was reminded what it’s like to sweat just standing outside (and in my case, just sitting in your apartment too)!  It was perfect weather for sitting outside for a barbeque on Sunday and laying on the beach Monday (though with the lake still freezing cold, we didn’t last long on the sand without having a way to cool off)!

With the long weekend for my American friends coming up next, I thought this would be a good time to share a pasta salad recipe – the perfect thing to take with you to a summer bbq or picnic.  And feel free to bring me along too, I need another long weekend already!

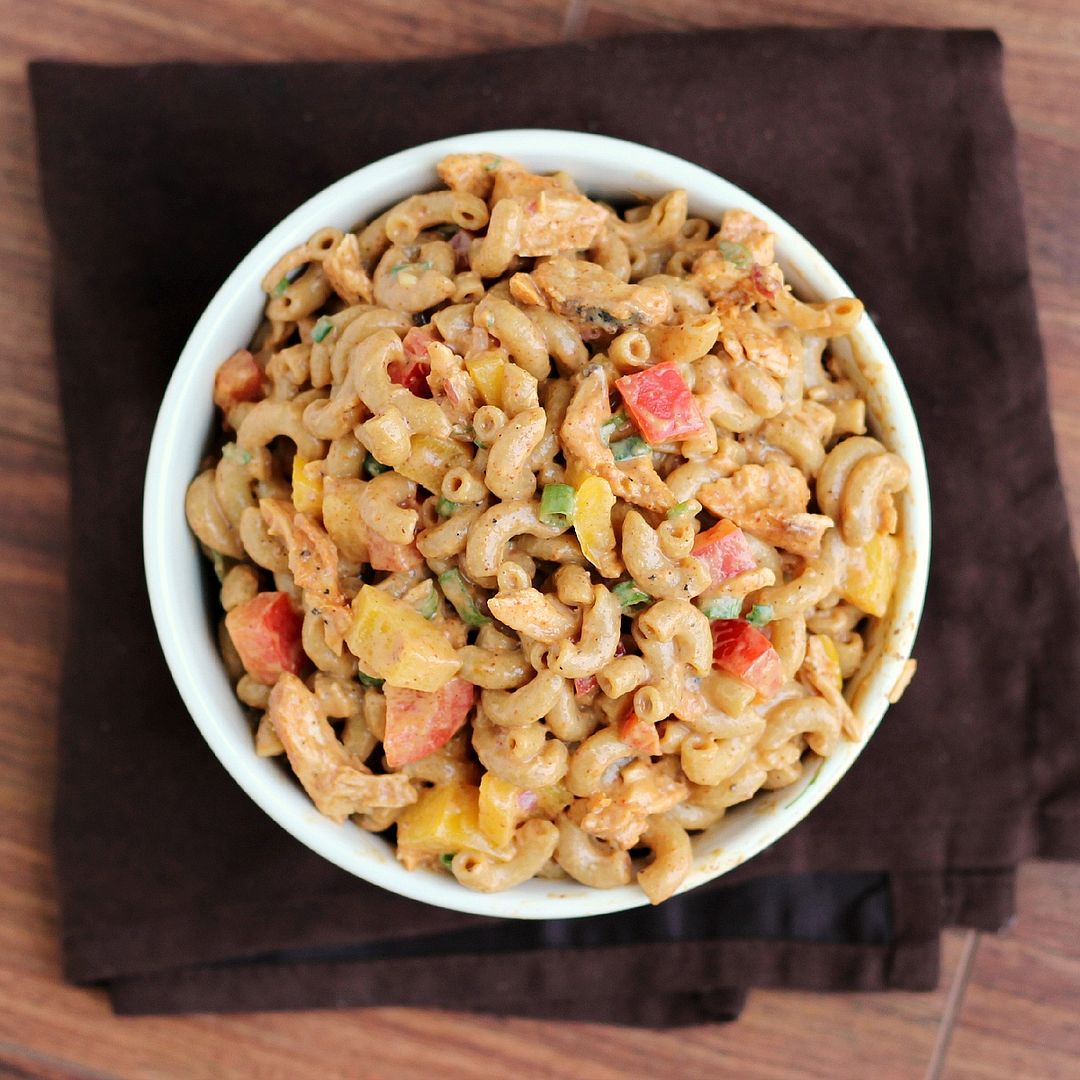
Healthy Greek Yogurt BBQ Chicken Pasta Salad

This pasta salad is made with all whole wheat pasta, non-fat Greek yogurt in place of mayonnaise, with veggies for nutrition and chicken for protein - but with the delicious creamy BBQ flavour, no one would ever guess it’s healthy!  I loved the crunch of veggies and the kick of spice in this pasta salad that’s unlike any I’ve tried before; my boyfriend loved this too and couldn’t even tell the pasta was whole wheat or had Greek yogurt.

You could leave out the chicken if you wanted this to be a lighter side dish, but we loved the flavour and texture the chicken added.  And if you’re vegetarian, I think black beans would give this a fun southwestern twist!  

The Tuesdays after a long weekend are the worst, but thankfully this day's already almost over and I can start counting down the days until the next long weekend!

Healthy Greek Yogurt BBQ Chicken Pasta Salad

BBQ Chicken Whole Wheat Pasta Salad with Greek Yogurt

Recipe inspired by Gonna Want Seconds (who adapted a dish from Cook’s Illustrated)

Makes around 4-5 large servings or 8-10 side dish servings

Ingredients:

1 375g (13oz) box of whole wheat macaroni
1 teaspoon hot sauce
1/4 teaspoon garlic powder
1/2 teaspoon each salt and pepper
2 teaspoons chili powder
1 tablespoon brown sugar
1-1/2 tablespoons apple cider vinegar
1 small shallot, minced
1 cup non-fat plain Greek yogurt (you can replace part of the yogurt with low-fat mayo if desired, but I used all yogurt)
1/2 cup BBQ sauce
1 red bell pepper, diced
1 yellow bell pepper, diced
4 green onions, chopped
2 cooked boneless skinless chicken breasts, shredded and seasoned with salt & pepper, and tossed with a bit of bbq sauce if desired (or use around 12-14 oz of rotisserie chicken and shred it)

Directions:

Bring a large pot of salted water to a boil.  Cook macaroni according to package directions.  Drain and rinse thoroughly with cold water until cool.  Let drain in colander then transfer back to a large bowl.

Add hot sauce, garlic powder, salt and pepper, chili powder, brown sugar, vinegar, and shallots to the pasta and toss to coat.  Let stand for about 2 minutes to absorb.  Next, mix the Greek yogurt and BBQ sauce together in a small bowl, then add to the pasta and toss to coat.  Stir in diced peppers, green onions, and shredded chicken.  Mix and adjust any seasonings if necessary.  Serve cold or at room temperature.

*Note: Feel free to add a bit of BBQ sauce to leftovers before eating if the sauce dries up at all in the fridge (I didn't really have this problem, but I still liked to stir in a little extra sauce to my leftovers)

May 17, 2013

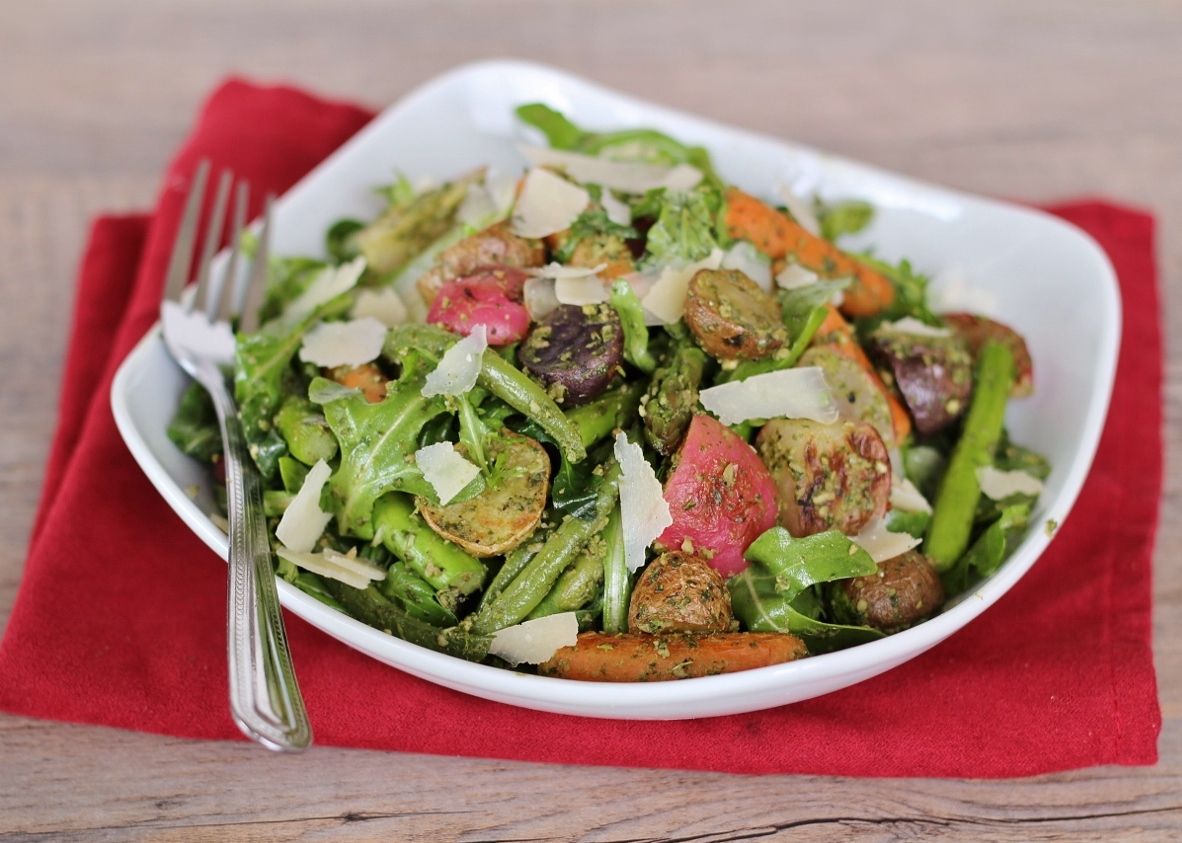
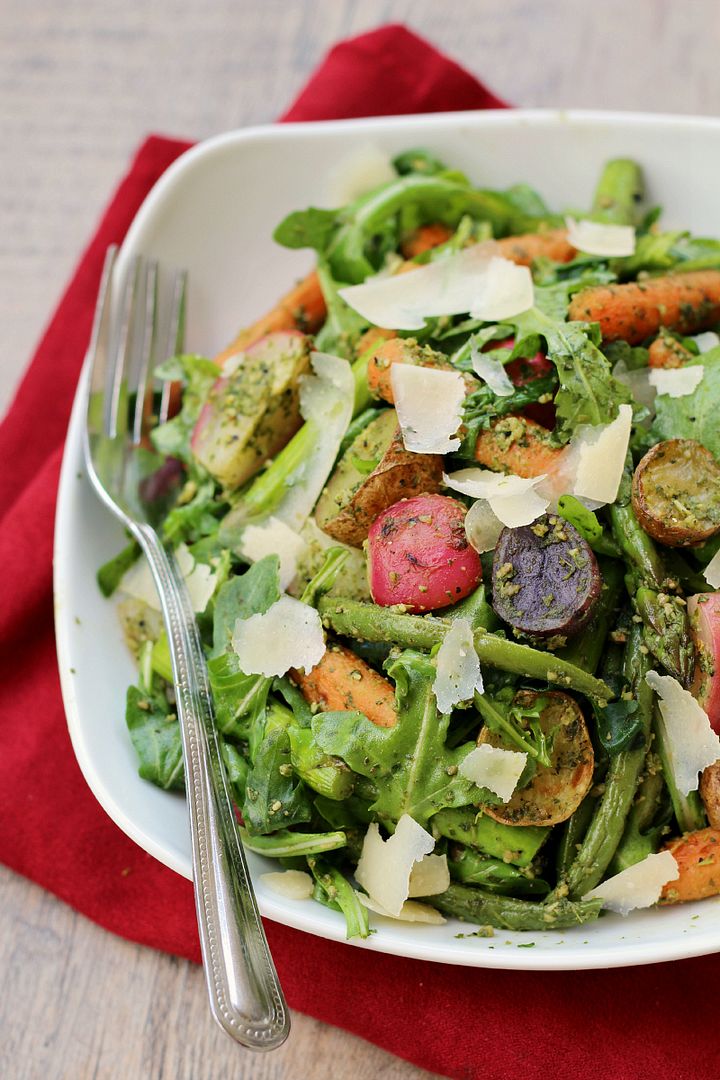
Roasted Spring Vegetable Salad with Arugula Pesto Vinaigrette

Roasted Spring Vegetable Arugula Salad with Arugula Pesto Vinaigrette - healthy and light Spring meal!

So I just realized that I’ve been posting a lot of salad and vegetable recipes on here lately.  Sorry if it’s getting repetitive; but now that spring veggies are available and the weather is turning warmer, I seem to crave salads a lot more often! 

I promise I'll try to post something different next week, but with the May long weekend starting tonight (for us Canadians) and all the burgers, beer, ice cream, etc., that tend to go along with it, I thought you guys wouldn’t mind if I squeezed in one more healthy salad recipe today!  (Although by that logic I guess I should be posting this after the weekend instead, but because this weekend is the unofficial start to summer, I need to squeeze in another spring recipe before it’s too late!)

Roasted Spring Vegetable Arugula Salad with Arugula Pesto Vinaigrette - healthy and light Spring meal!

This is a perfect light spring meal (or side dish) that makes the most of local produce by packing a ton of roasted veggies into an arugula salad and covering it all in a fresh arugula pesto vinaigrette.  Because arugula has a bit of a bite to it, I mellowed it out with some grated parmesan cheese which balanced everything out quite well, though I also think a creamy goat cheese could be a nice touch instead!

I hope that all my Canadian friends have a safe and happy long weekend!  I don’t have anything exciting planned, and all I’m hoping is that the weather will be nice enough to enjoy some drinks and dinner outside to kick off the summer.  Fingers crossed!

Roasted Spring Vegetable Arugula Salad with Arugula Pesto Vinaigrette - healthy and light Spring meal!

Roasted Spring Vegetable Salad with Arugula Pesto Vinaigrette

Adapted from Eating Well

Makes 2 large servings or 4 smaller servings

Ingredients:

For the Vegetables:
1 cup mini potatoes, larger ones halved into bite sized pieces
1 cup radishes, quartered or cut into similar sizes to potatoes
1 cup baby carrots
1 tablespoon olive oil, divided
Salt & pepper
1 cup green beans or asparagus, ends trimmed*

For the Arugula Pesto:
1 clove garlic, minced
1 cup packed arugula
2 tablespoons grated parmesan cheese
1 tablespoon walnuts or pine nuts
1-1/2 tablespoons extra virgin olive oil
1 tablespoon white wine vinegar
Salt & pepper to taste

For the Salad:
2 cups arugula
Freshly grated parmesan cheese
Salt and pepper

Directions:

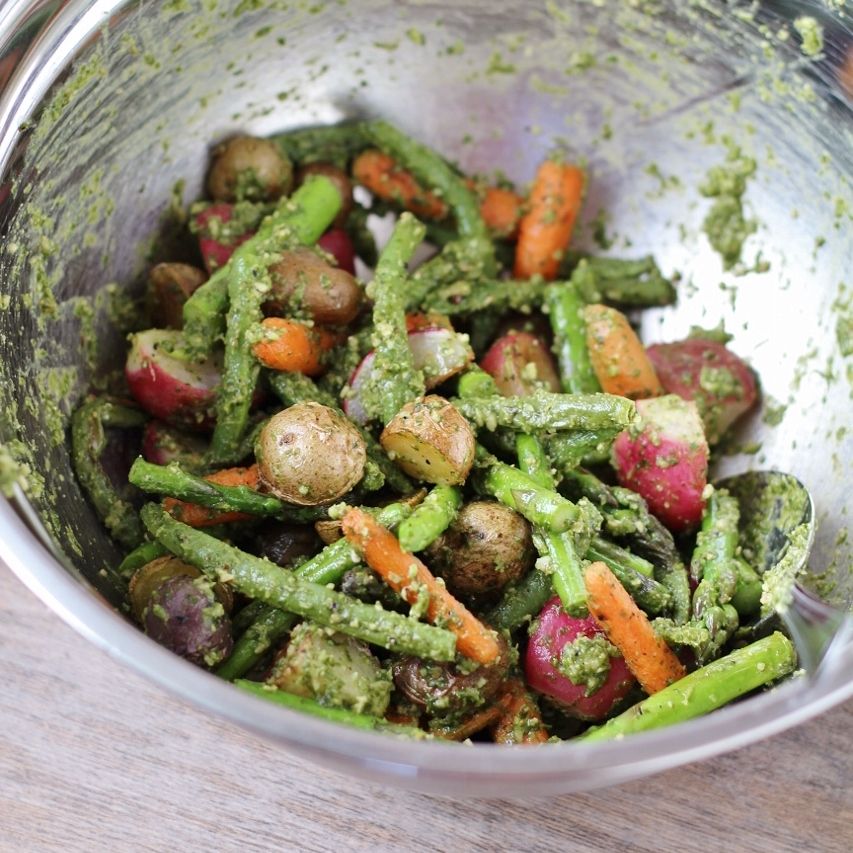
Preheat oven to 425°F.  Toss potatoes, radishes, and carrots with 2 teaspoons of oil and season with salt and pepper.  Spread on a foil-lined baking sheet and roast in preheated oven for 30 minutes, tossing halfway through.  If using green beans, drizzle them with a bit of oil and add to the pan for the last 15 minutes of cooking.  If using asparagus, drizzle with a bit of oil and add for the last 8-10 minutes of cooking. 
*Note you can use any mix of vegetables that you want, as long as you have about 4 cups of veggies total.  Just adjust the cooking times accordingly.

Meanwhile, prepare arugula pesto.  Add all ingredients for the pesto to the large bowl of a food processor and process until smooth.

Let roasted veggies cool slightly, then toss with arugula.  Add arugula pesto and mix well.  Season with salt and pepper and top with shaved or grated parmesan cheese.  Serve warm or at room temperature.

May 14, 2013

Mother's Day 2013 Recap

Today I thought I'd share a little recap of some of the great food we enjoyed this past Sunday for Mother's Day.  My parents have made thousands of amazing meals for my sisters and I over the years so we love being able to cook for them all day while they sit back and relax on Mother's Day and Father's Day (and other days of the year too!)

Before I get started, let me first apologize for the pictures in this post - I only had time to snap quick photos (some with a cellphone) before we ate!

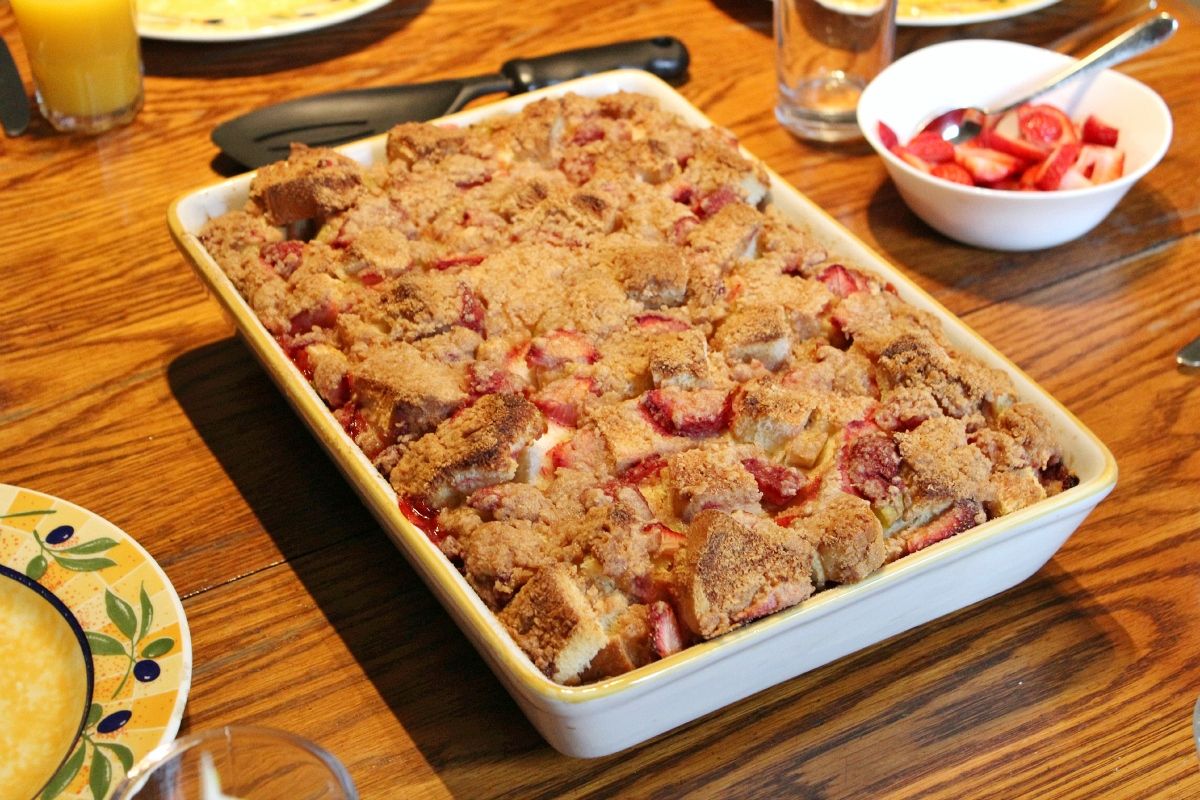
For breakfast this year, we decided to make this strawberry rhubarb baked french toast from Two Peas and Their Pod. 

Baked strawberry rhubarb french toast

It was almost more like a bread pudding than french toast (because the bread is cut up into cubes) but it was so delicious!  We loved that we could do most of the prep work for it the night before so all we had to do in the morning was throw together the crumble topping and bake it in the oven (though we did have to wake up pretty early since it needs a long time to bake)!  I would highly recommend this for your Mother's Day brunch next year, or any special occasion where you don't mind an indulgence like this to start the day!

After brunch our family took a stroll through a beautiful park to take pictures with the blooming trees and flowers.  My dad got some great pics of our mom with her daughters!

flowers in Springbank Park

After our walk, it proceeded to snow and hail in the afternoon - not the best weather for Mother's Day!  We spent the afternoon indoors though, as my sisters and I took our mom to see Dance Legends.  It was a lot of fun - kind of like a giant live episode of So You Think You Can Dance, but with singing too!  If you're in the London area, go see it this week - last day is May 18!

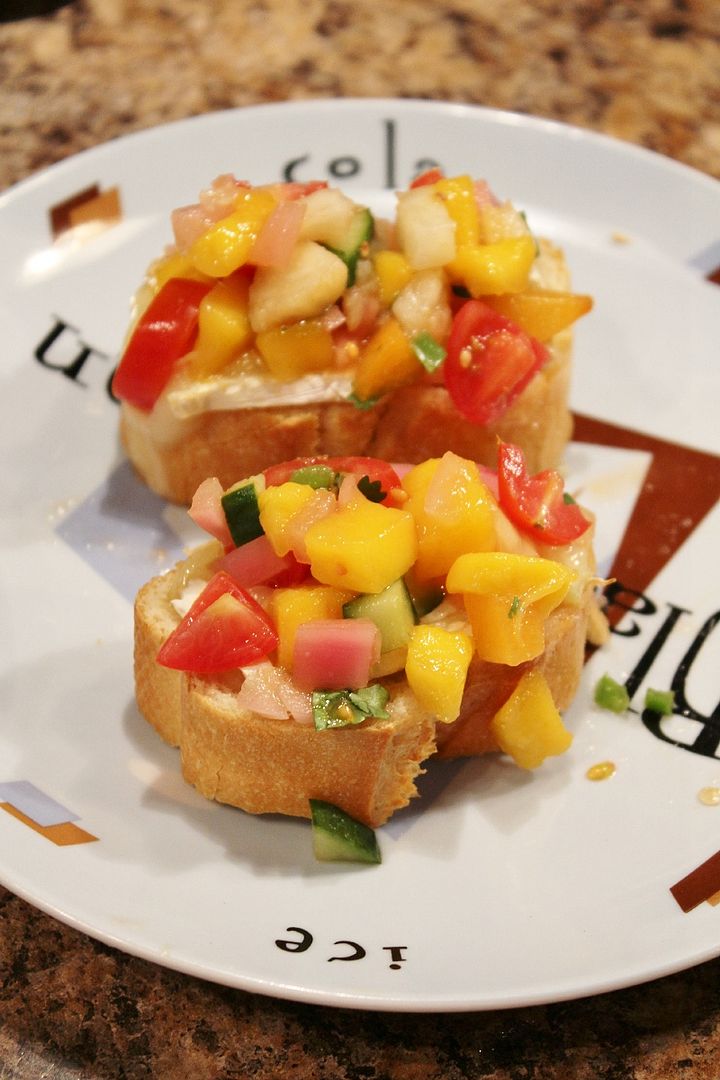
While Mom relaxed afterwards, we prepared an appetizer for everyone which we called rainbow salsa & brie on crostini.

Rainbow salad & brie crostini

The recipe was inspired by this peach salsa with pickles red onions and chile, but our version of salsa had mango, peaches, apricots, tomatoes, cucumber, jalapeno, mango hot sauce, lime juice, cilantro, and pickled red onions.  Then we warmed up some sliced baguette with brie in the oven and served the salsa on top like crostini.  It was so good!

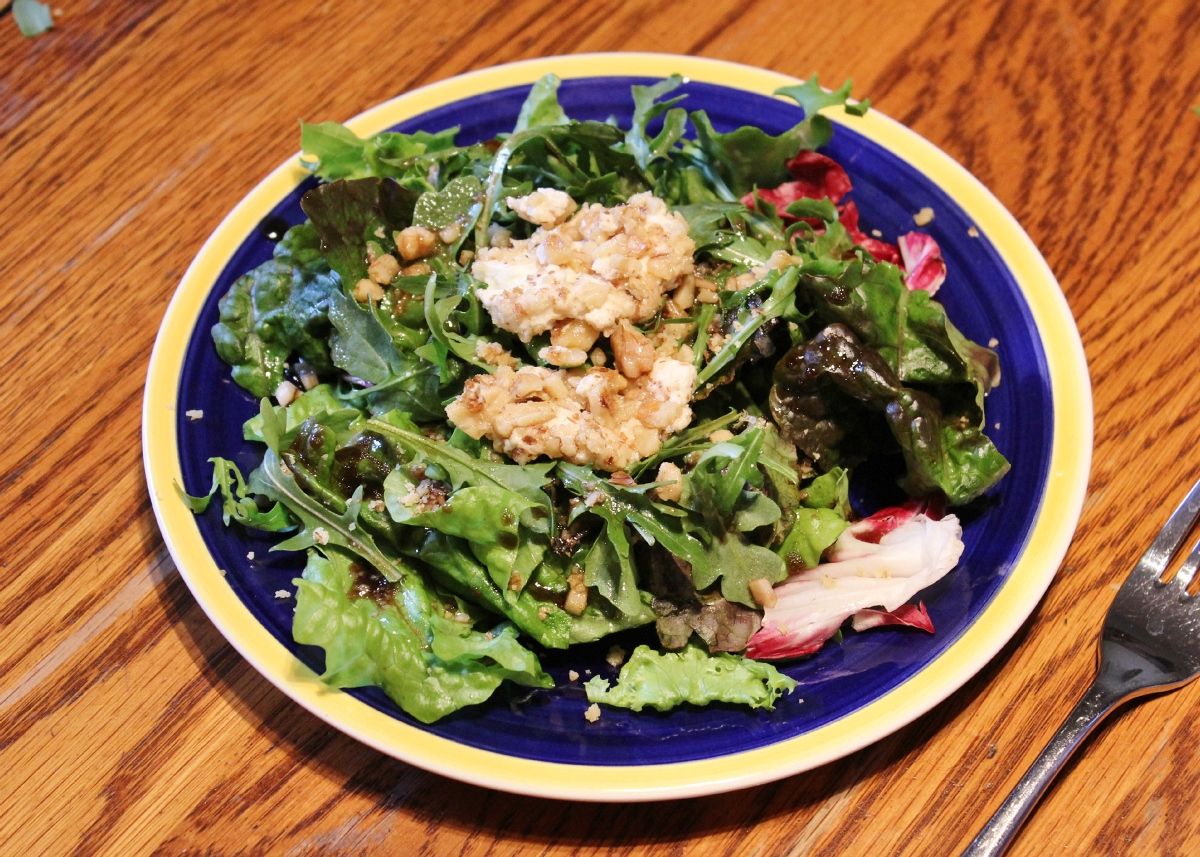
For dinner, our mom chose two salad recipes.  To start, we had this mixed greens and goat cheese salad with blueberry glaze, which looks horrible in the picture below but was really good!

Blueberry goat cheese salad

The salad was easy to prepare but tasted gourmet - the base was just mixed greens, then we added goat cheese that had been sliced into rounds, coated in walnuts, and warmed in the oven, along with a sprinkle of additional toasted walnuts.  The dressing was a mixture of olive oil, wild blueberry syrup (which you can get at the grocery store), a bit of maple syrup, garlic, and salt and pepper.  I was skeptical because it didn't sound like much, but everyone really enjoyed it.

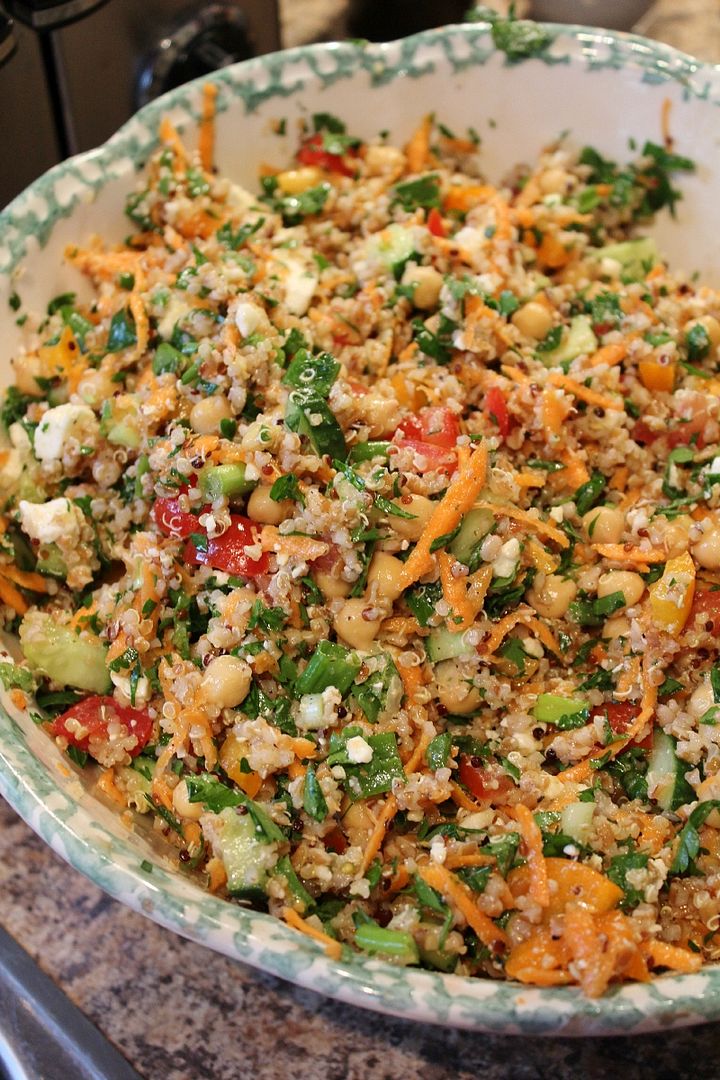
For the main dish, we had a tabbouleh salad, which required a bit of prep time to prepare but was quite easy to put together.

Tabbouleh

The salad was a mixture of bulgur and quinoa with chickpeas, tomatoes, yellow pepper, green onions, carrots, cucumber, parsley, mint, feta, and a lemon-olive oil dressing.  This was a nice light and refreshing dish to balance out the heavier breakfast we started the day with!

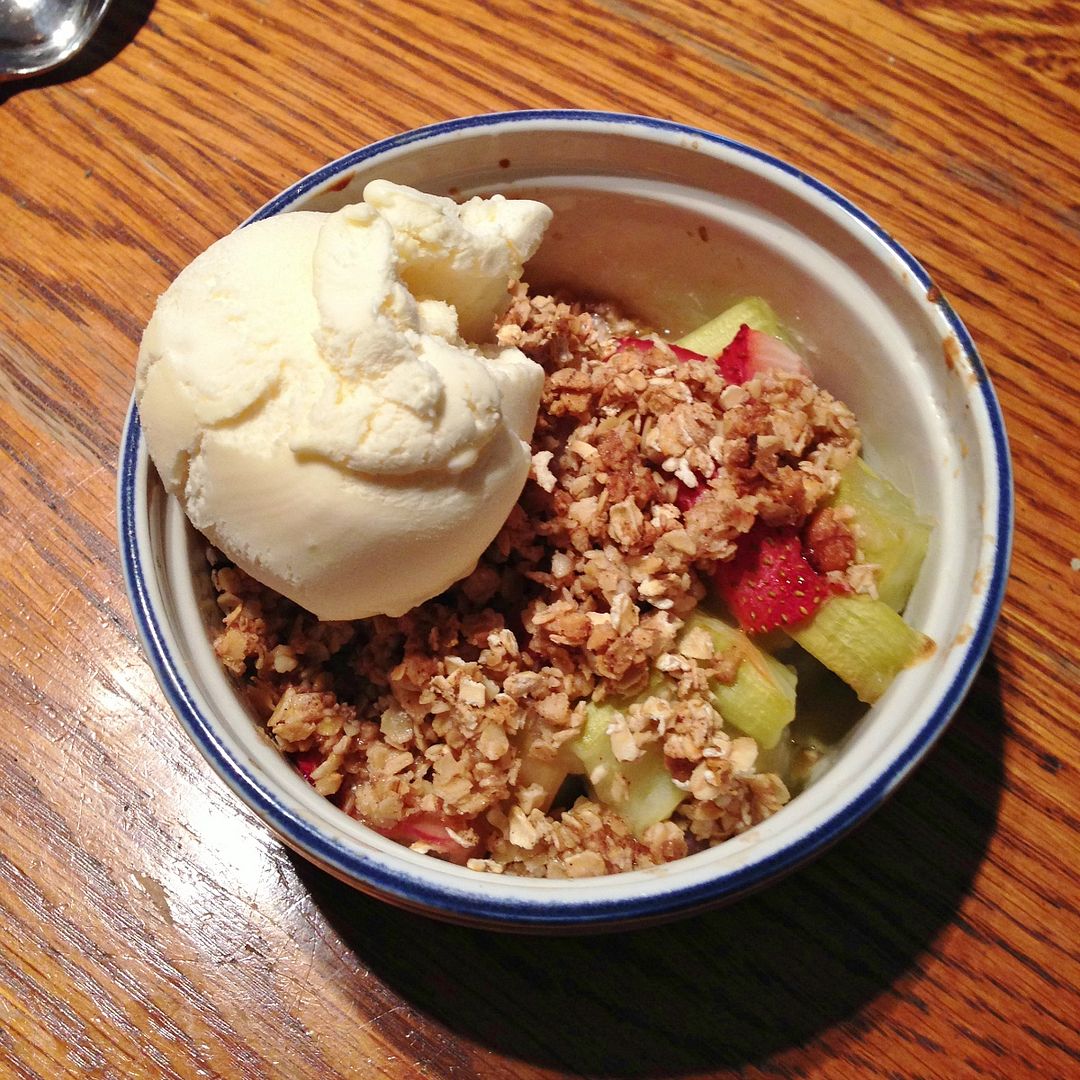
For dessert, we had a strawberry rhubarb crisp with a side of ice cream - the perfect way to end the meal and the day!

Rhubarb crisp

Hope all the moms out there had a lovely Mother's Day and those with fantastic moms, aunts, sisters, friends, or other mother figures in their lives spoiled them!  I'd love to hear how you spent your day so I can start getting ideas for next year!

May 10, 2013

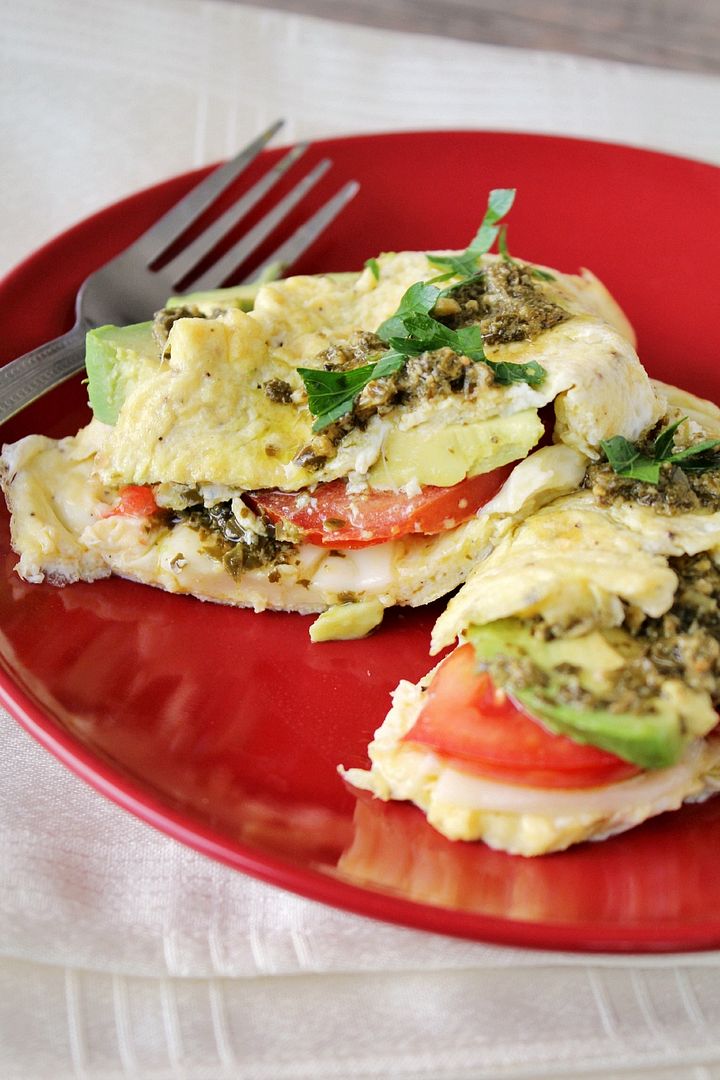
California Omelette

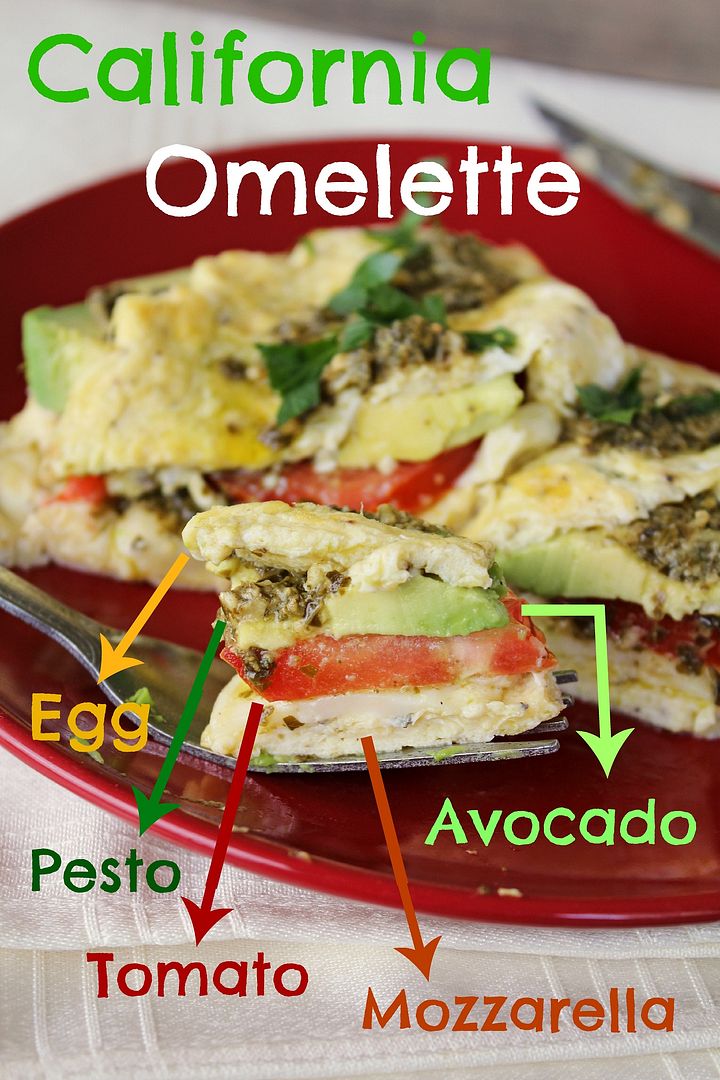
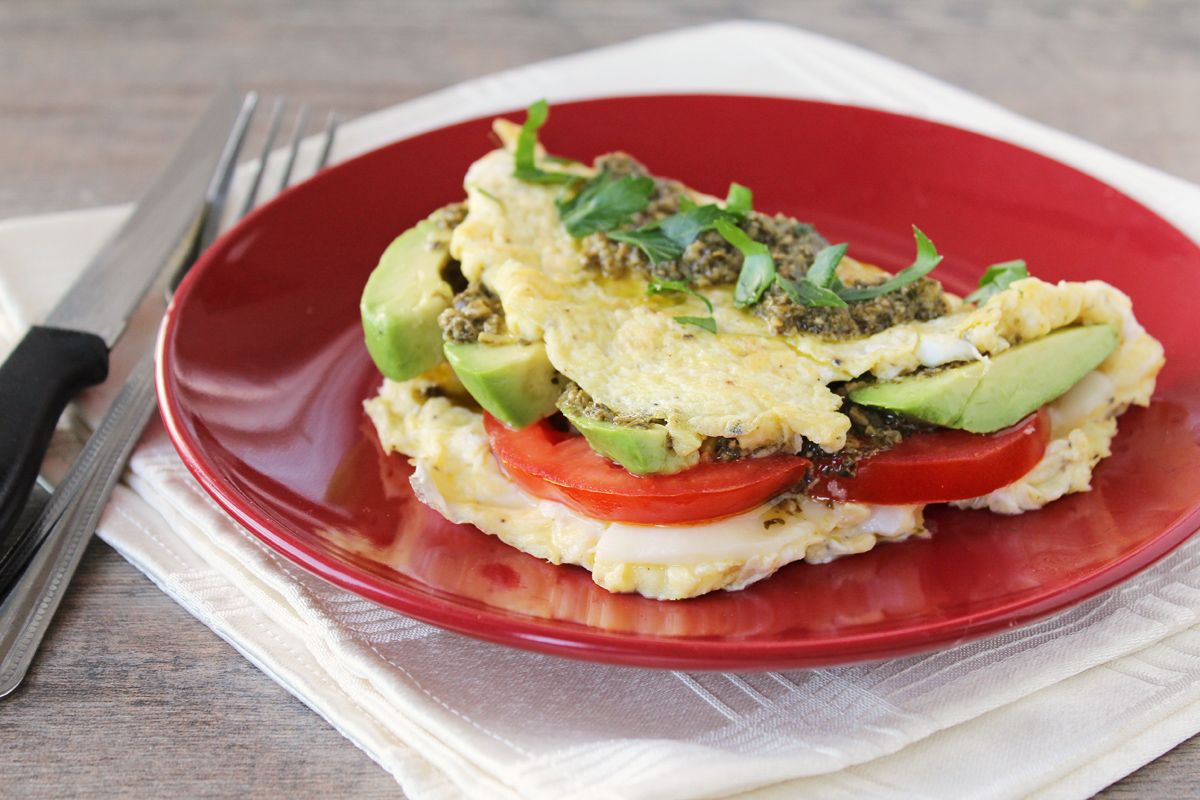
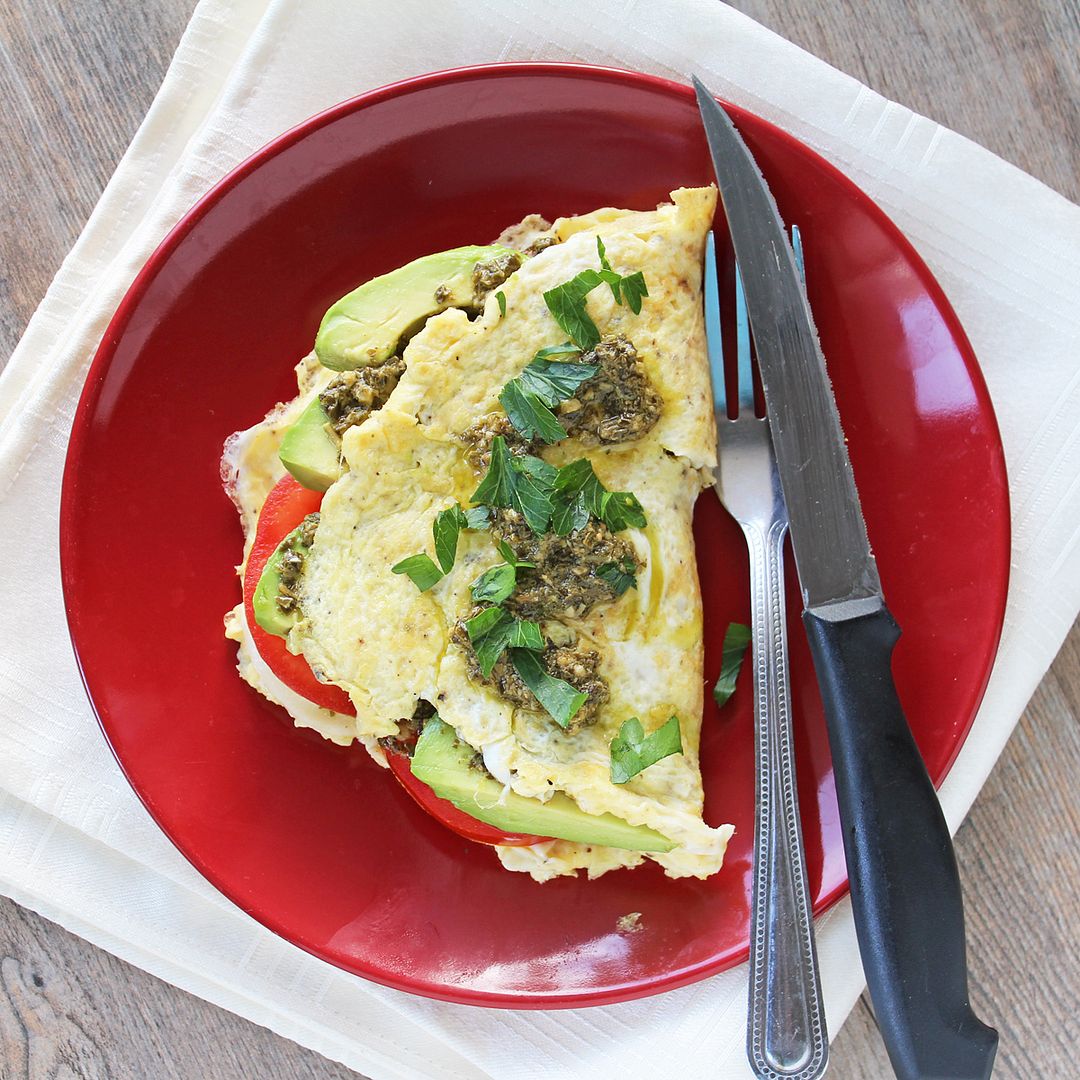
California Omelette with avocado, tomato, pesto, mozzarella

There were two dishes I ate during my trip to Boston last March that I was determined to try for myself once I returned home.  One was fish tacos, which I seemed to get a version of at every restaurant I went to because they were all so good, and the other was a California omelette that I treated myself to for breakfast at Sauciety in our hotel on the last morning.

When I looked up California omelette recipes later, it seemed that there are about a million different versions of them, but the one ingredient that appears to be common to them all is avocado.  The version I'd tried also included pesto, tomatoes, and mozzarella, and since I loved the combination of those four ingredients so much, I decided to just stick with them and create my own version off memory.

California Omelette with avocado, tomato, pesto, mozzarella

And I wouldn’t have wanted this any other way – it is so good!  I loved it when I had it in the restaurant but I think I loved it even more at home, where I could control the proportions of ingredients to my own liking (and of course, if you make this yourself at home you should do the same, taking the amounts I listed as a guide).

I've never been able to get the whole omelette technique down pat, and as you can tell from the pictures, my omelette certainly isn’t the prettiest thing in the world, but the flavour more than made up for it! 

California Omelette with avocado, tomato, pesto, mozzarella

With Mother’s Day coming up this weekend, I think this would be a great savoury brunch offering to serve her!  We are still menu planning for our own mom’s special meals – we’re still figuring out dinner and dessert, but for brunch we’re going towards the sweet side and are leaning towards either banana blueberry pancakes or this strawberry rhubarb baked French toast.  If you're also searching for menu ideas for Mother’s Day, you can check out what we made for our mom last year in this post. 

I hope all the moms out there have a fantastic Mother’s Day!

California Omelette with avocado, tomato, pesto, mozzarella

California Omelette (with mozzarella, pesto, tomatoes, and avocado)

Serves 1

Ingredients:

2 large eggs (fresh, good quality eggs are better)
1-2 tablespoons water (optional)
Salt & pepper
1 teaspoon butter or olive oil
A few slices of mozzarella cheese (about 1 oz)
2 slices of tomato
Half a ripe avocado, sliced
1-2 tablespoons pesto
Chopped parsley or herbs for sprinkling on top, if desired

Directions:

In a small bowl, beat the eggs, water (if using; I think it makes them fluffier but some prefer to leave out any liquid), and a pinch each of salt and pepper until mixed.

Heat butter or olive oil in an 8- or 9-inch non-stick skillet over medium-high heat.  Pour in the egg mixture.  Let sit for a few seconds until edges of omelette begin to set, then use a flexible heat-proof spatula to gently stir the eggs in a circular motion until thickened.  Gently push any cooked portions of egg toward the center of the skillet and tilt the skillet to allow uncooked egg to flow into empty spaces. 

When eggs are almost set on surface, layer the mozzarella, tomato, avocado, and pesto over half the omelette.  Gently fold the other half over the filling, and slide the omelette out onto a plate.  Serve sprinkled with chopped parsley or herbs and an additional drizzle of pesto, if desired.

May 07, 2013

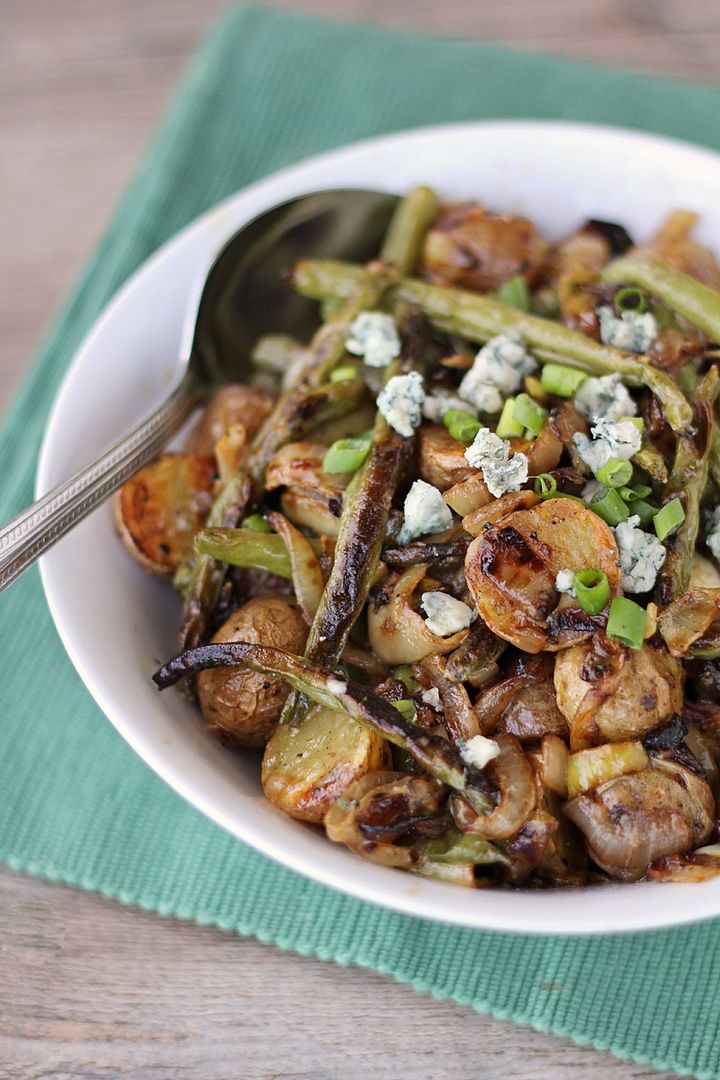
Roasted Potatoes and Green Beans with Caramelized Onions & Blue Cheese

Roasted Potatoes and Green Beans with Caramelized Onions & Blue Cheese

The weather has been absolutely gorgeous in Southern Ontario lately and I am loving everything about it (except how hard it is to get work done when you know how nice it is outside)!  This past weekend I wore shorts out for the first time this year, the farmer's market was outdoors and even had some local produce available, and I spent some time in the park reading and taking pictures of the beautiful flowers that the April showers brought!

may flowers

I also made some delicious meals with the veggies and cheese I bought at the market, my favourite of which being this twist on a potato salad.

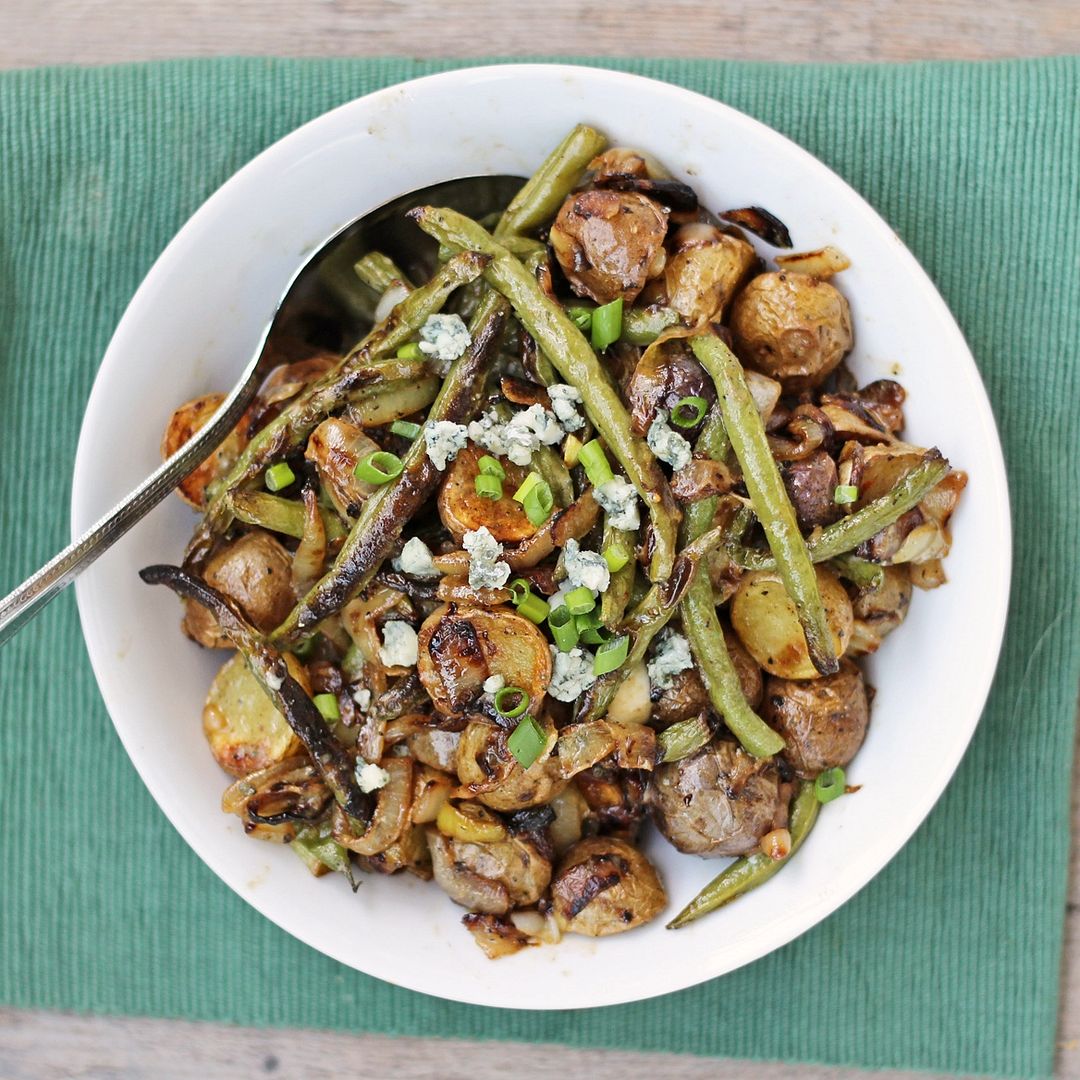
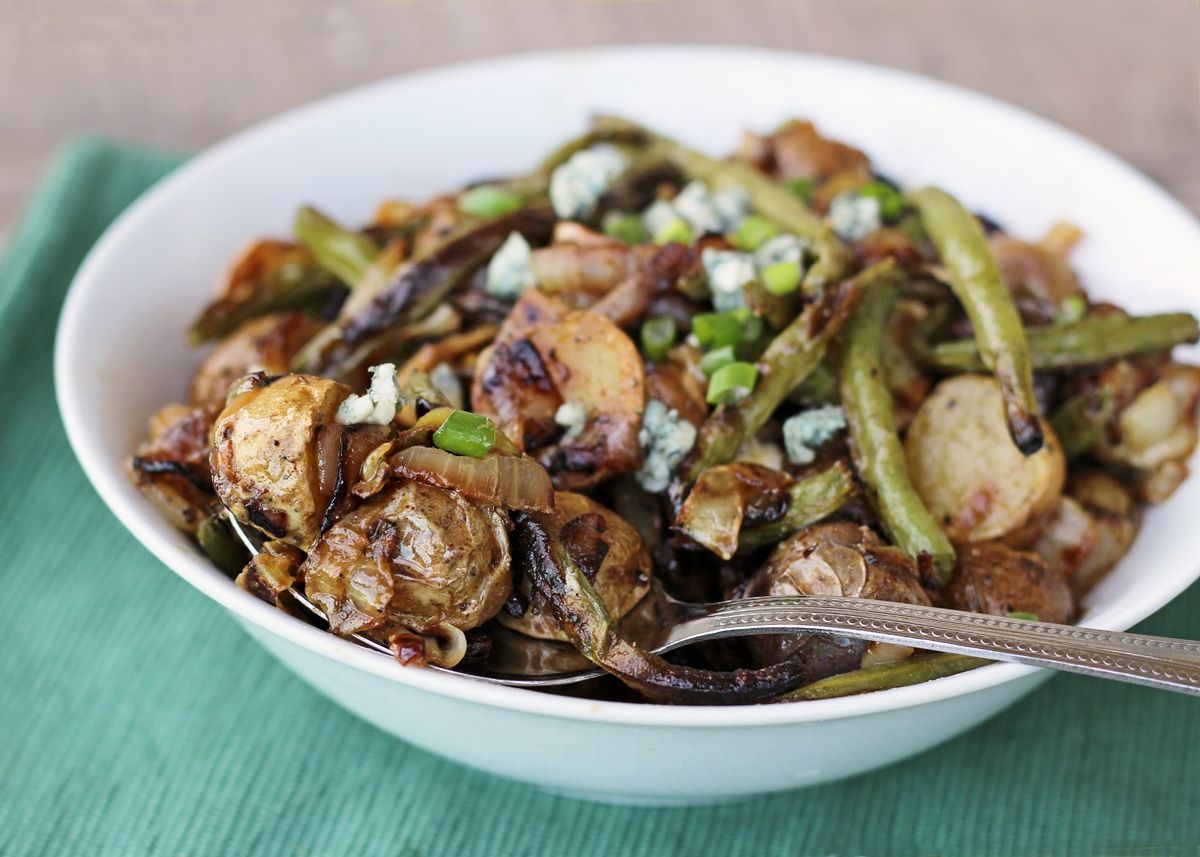
I was never a big fan of potato salads growing up because I usually had the cold, mayonnaise-covered versions, but warm potato salad is a totally different story.  I love this warm dijon roasted asparagus & potato salad, and but this green bean, caramelized onion, and blue cheese version might be even better!  In this dish, mini potatoes get roasted with green beans until they're both nice and browned up, while onions caramelize on the stovetop at the same time.  Then they get mixed together, tossed in a blue cheese dressing, and sprinkled with green onions and a little more blue cheese for good measure.  Needless to say, you have to like blue cheese to appreciate this dish!

Roasted Potatoes and Green Beans with Caramelized Onions & Blue Cheese

I don't know when potato salad stops being a salad and starts being just roasted potatoes, but whatever you call this, it's so good - you just have to get past the somewhat boring colours that made it hard to look good in photos!  This would be a great side dish to go with steak or burgers this summer, but I liked it so much I just ate it on its own!

Roasted Potatoes and Green Beans with Caramelized Onions & Blue Cheese

Roasted Potatoes and Green Beans with Caramelized Onions & Blue Cheese

Adapted from Eating Well

Serves about 6 as a side dish

Ingredients:

1-1/2 pounds mini potatoes, scrubbed and cut in half (I used a mix of red, white, and blue potatoes)
8 ounces green beans, ends trimmed
5 teaspoons extra virgin olive oil, divided
Salt & pepper
2 medium yellow onions, peeled and sliced
2 tablespoons white wine vinegar
2 teaspoons Dijon mustard
3 tablespoons crumbled blue cheese
Additional blue cheese and sliced green onions for topping

Directions:

Preheat oven to 450°F.  Toss potatoes and green beans with 2 teaspoons oil and season with salt and pepper.  Spread evenly on a foil-lined baking sheet and roast in preheated oven for 25-30 minutes, stirring once, until tender and golden brown.

Caramelize your onions at the same time that the potatoes are roasting.  Heat 2 teaspoons olive oil in a large skillet over medium heat.  Add onions, stir to coat with oil, and season with salt and pepper.  Spread onions out evenly across the pan and let cook, stirring occasionally, until onions are soft and caramelized, about 25-30 minutes.  Don’t stir the onions too often so they can brown, but don’t leave them alone long enough to burn or stick to the pan (though I like the burnt bits in this potato salad!) 

Meanwhile, prepare the dressing by whisking together the vinegar, Dijon, blue cheese, and 1 teaspoon oil in a small bowl.

When onions and potatoes are both done, combine them in a bowl and add dressing while warm.  Toss to coat.  Serve warm, topped with additional crumbled blue cheese and chopped green onions or chives, if desired.

May 02, 2013

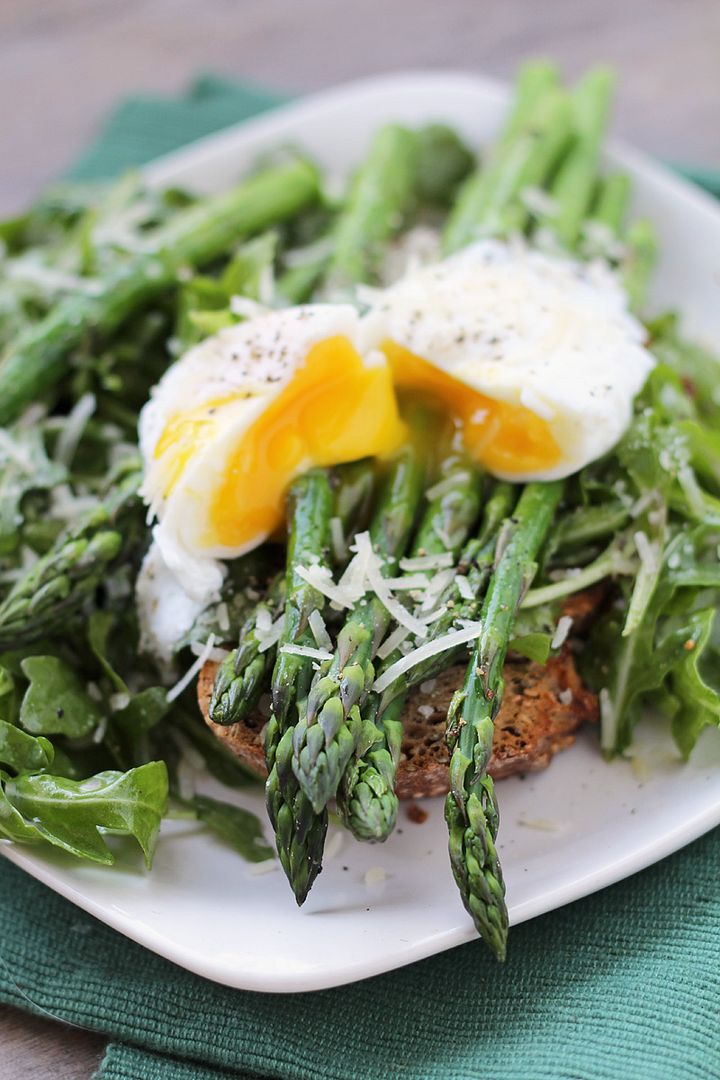
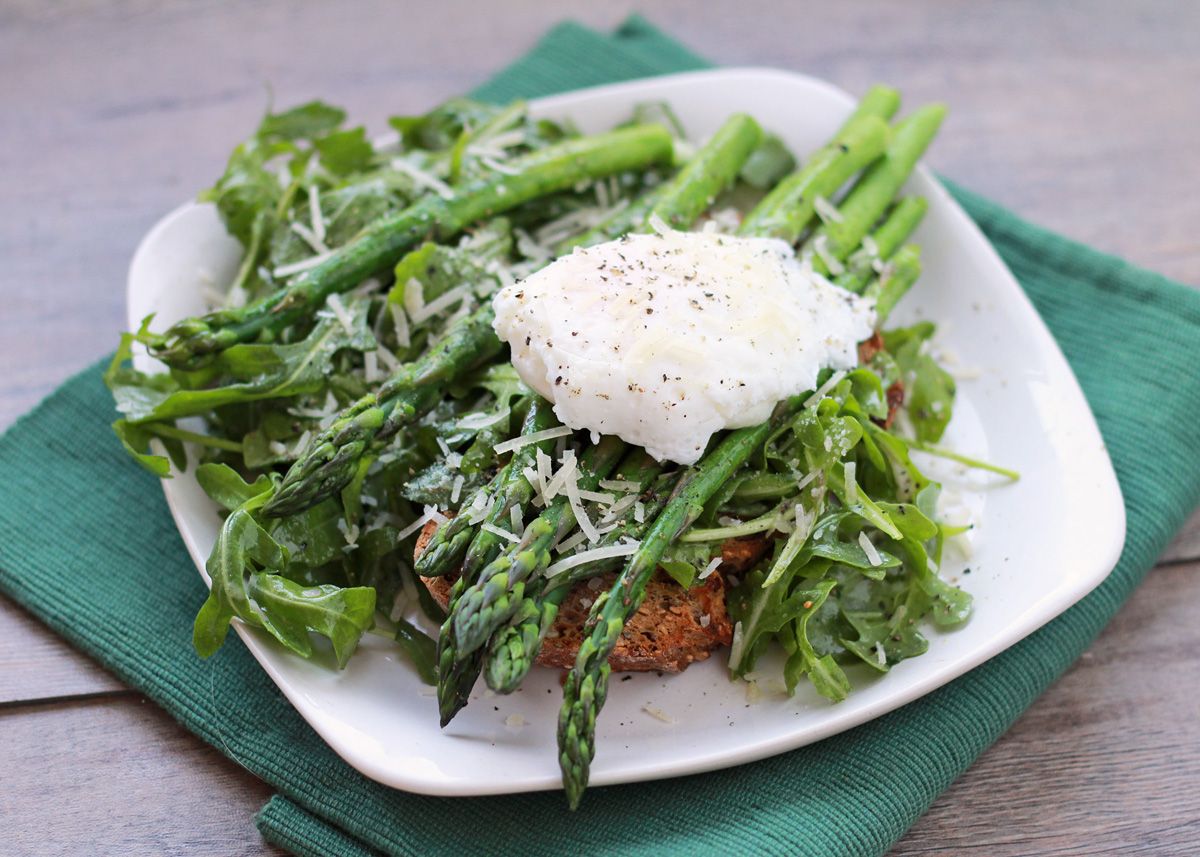
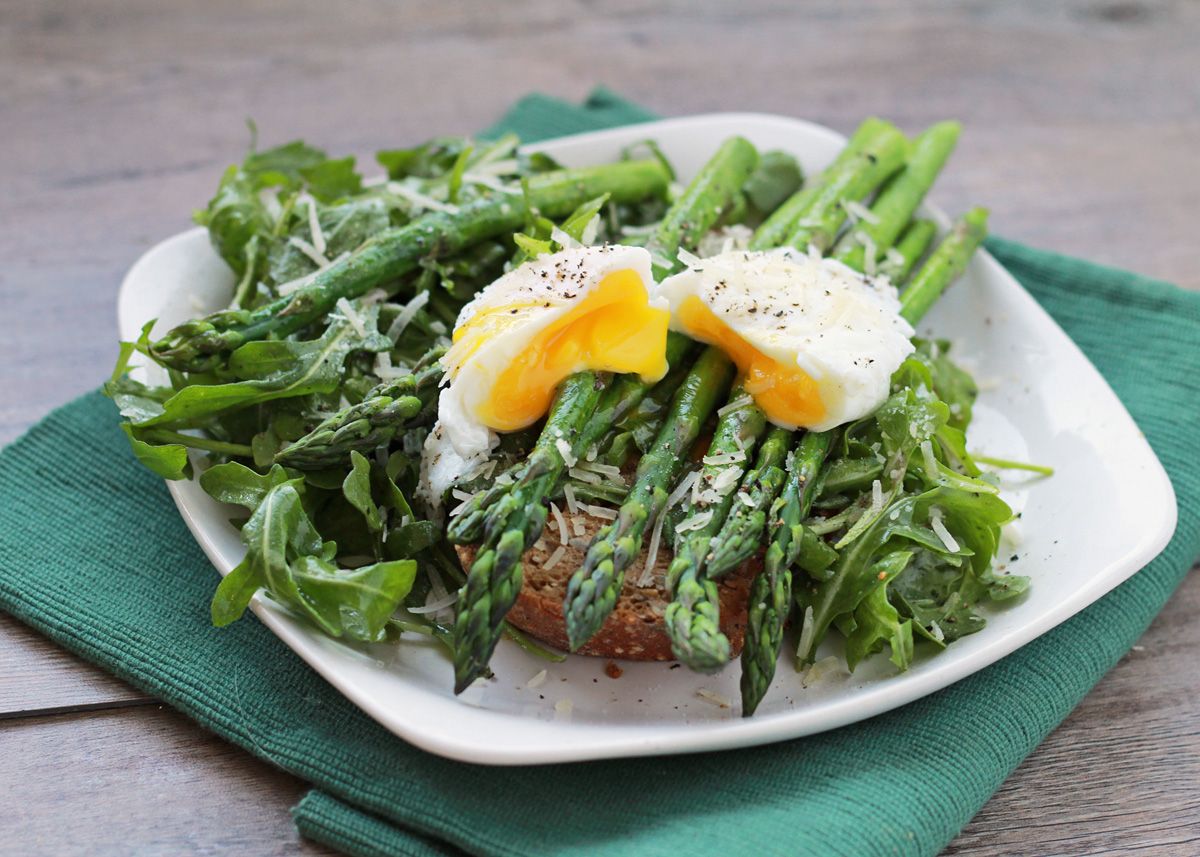
Asparagus & Arugula Salad with a Poached Egg on Toast

Roasted Asparagus & Arugula Salad with a Poached Egg on Toast

So I really wanted to wait until local asparagus was available before I posted an asparagus recipe this Spring, but this week I finally broke down and bought some of the imported stuff from the grocery store.  I was feeling too left out because it seems like every other blogger I follow has been posting asparagus recipes for a month now, but our asparagus season in Ontario hasn’t even begun yet (though it should really soon!) 

Of course, as soon as I got home I discovered that my asparagus smelled like someone had used it as toilet paper – so gross.  Serves me right for being impatient!  I tried Googling if smelly asparagus is still edible, but the only links that came up were about smelly pee from asparagus, so I decided to just give it a good rinse and use it anyway because it still looked fine as long as I kept my nose at a proper distance!  Turned out that it was fine once cooked, but I learned my lesson and will wait for the fresh stuff before I make my next asparagus dish.

Roasted Asparagus & Arugula Salad with a Poached Egg on Toast

I hope I didn’t turn you off this dish talking about smelly asparagus, because it was really good - it’s light and fresh and tastes just like Spring!  Peppery arugula is tossed in a light lemon dressing, topped with asparagus that’s been roasted just long enough to soften it up a bit and deepen its flavour but still keep it crisp, followed by a poached egg with a runny yolk that makes everything creamy and delicious.  I liked this so much that I made it again the next night (stinky asparagus and all), but this time added a piece of hearty Bavarian rye toast, which made the whole thing even better.  This makes a great lunch or light dinner, but could easily be eaten for breakfast or brunch too!

I'm hoping that the market will have some local Spring veggies available this weekend (though it will more likely be the following weekend), I'm not sure I can wait much longer!

Roasted Asparagus & Arugula Salad with a Poached Egg on Toast

Roasted Asparagus and Arugula Salad with Poached Egg

Adapted from Cooking Light

Serves 1

Ingredients:

Roasted Asparagus:
Handful of asparagus stalks (desired amount for one serving)
1-2 teaspoons olive oil
Salt and pepper

Arugula Salad:
2 handfuls of baby arugula
1 tablespoons extra virgin olive oil
1/2 tablespoon lemon juice
1/2 tablespoon minced shallot
1/4 teaspoon Dijon mustard
Salt and pepper

Poached Egg:
2 tablespoons white vinegar or white wine vinegar
Dash of salt
1 large egg

Assembling:
Salt & Pepper
Freshly grated parmesan cheese
1 or 2 slices of hearty whole grain bread, toasted

Directions:

Preheat oven to 450°F.  Snap off the woody ends of the asparagus spears where they naturally break off.  Toss asparagus with oil and season with salt and pepper.  Spread on a foil-lined baking sheet and bake in preheated oven for 5 minutes.

Meanwhile, prepare dressing by whisking oil, lemon juice, shallot, and Dijon in a small bowl.  Season with salt and pepper to taste.  Toss with arugula in a small bowl.

Fill a large skillet almost to the rim with water (or fill a shallow saucepan with a couple inches of water) and bring to a gentle boil. Add vinegar and salt to water. Break egg into a small cup, then bring the edge of the cup to the water and gently tip the egg into the water.  Turn off heat, cover, and let cook for 4 minutes (or 3 minutes for a runnier yolk).  Lift the egg out of the pan with a slotted spoon and set on a paper towel to drain.

Transfer arugula to a plate with the toast (you can either put the arugula on top of the toast or on the side), add roasted asparagus and poached egg atop the toast, and top with parmesan and salt and pepper.

*Note: You can use 2 poached eggs instead of 1 if you want this to be more filling