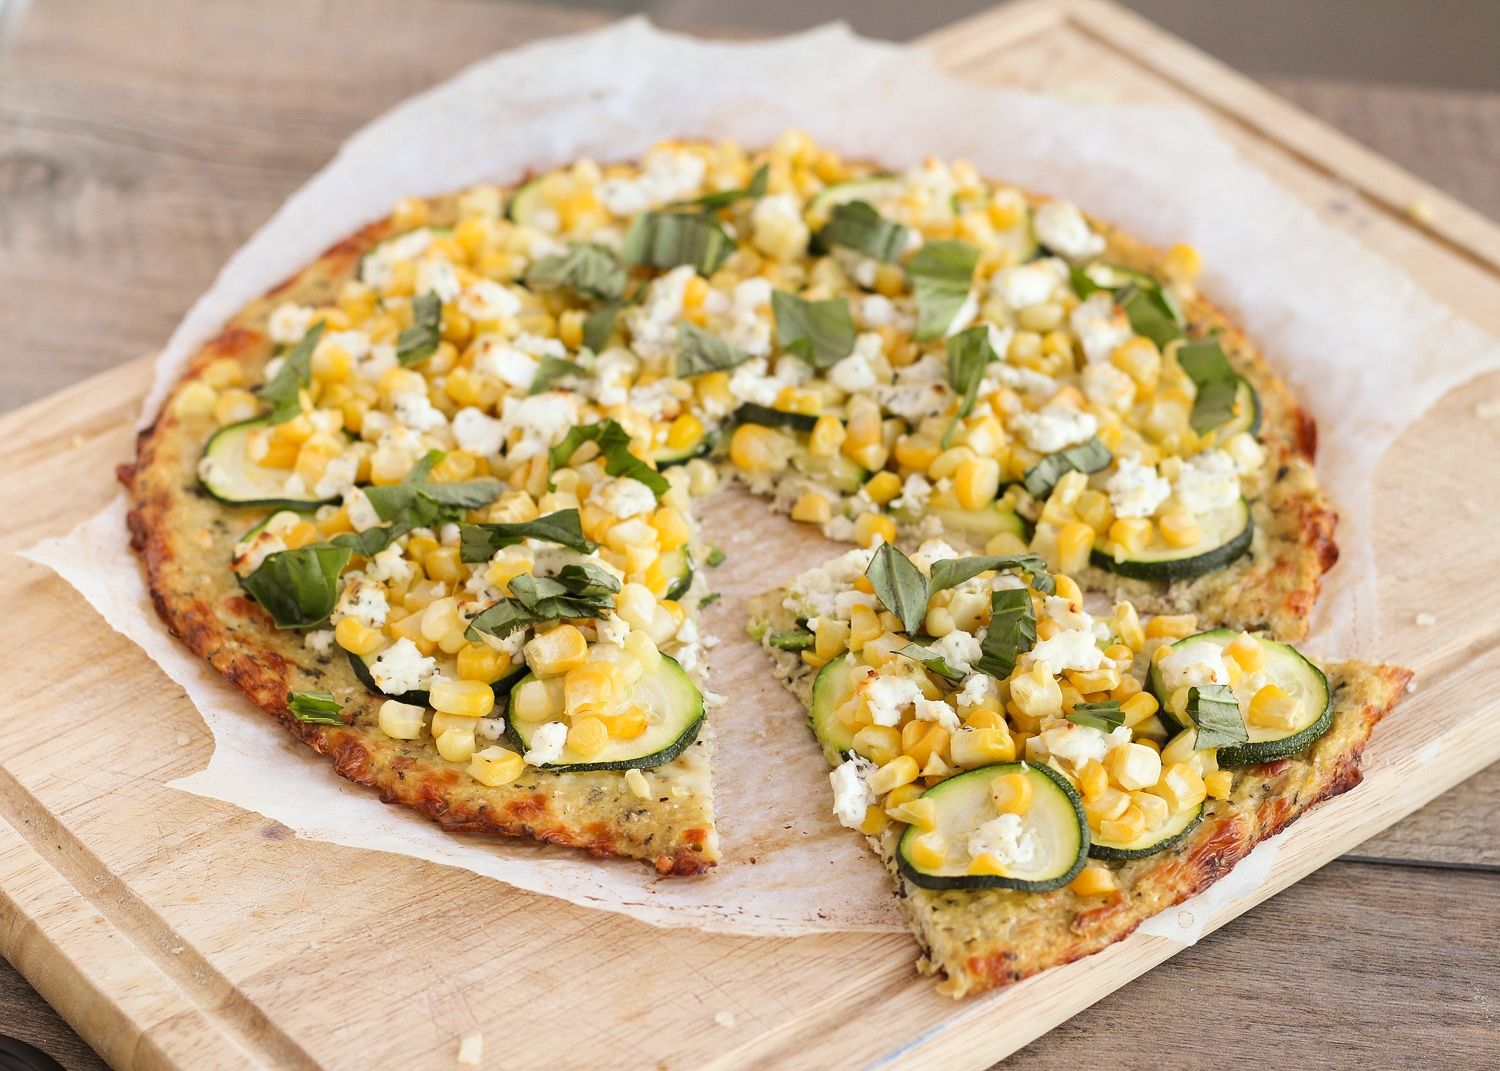
If you read blogs regularly or look at food on Pinterest, you've probably noticed at least a few recipes for cauliflower crust pizza before. I've been seeing it all over the place for a while now and keep adding it to my list of things I need to try, but for some reason it took me until now to finally make it. I admit I was skeptical that this was another fad that people go crazy for because it sounds good but in reality tastes disgusting (*cough*egg baked in an avocado*cough*), but I'm happy to report that this tastes as good as it sounds! (unless you think it sounds gross, like a certain boyfriend who shall remain unnamed, in which case you are wrong!)
If you have no idea what I'm even talking about when I refer to cauliflower crust pizza, I'll give a quick explanation of what it is. Basically it's a breadless pizza crust that's made by mixing pulverized cauliflower with cheese, egg, and spices (if you like) to form a "crust" that is then baked and topped with any pizza toppings you like. So it's healthier than pizza in the sense that there is actually some nutrition in the crust instead of empty carbs, but I should be clear that it's also not some sort of miracle calorie-free pizza because there is a lot of cheese in the crust, if that's what you're concerned about!
There are lots of different recipes for cauliflower crust floating around, but I used one from The Lucky Penny Blog (with a few small changes), which Jessica from How Sweet It Is recently affirmed is the best cauliflower crust pizza recipe around, and though I haven't tried any other versions, this one worked so well that I know I won't need to (though she does have a cheese-free version if you're interested in trying it)!
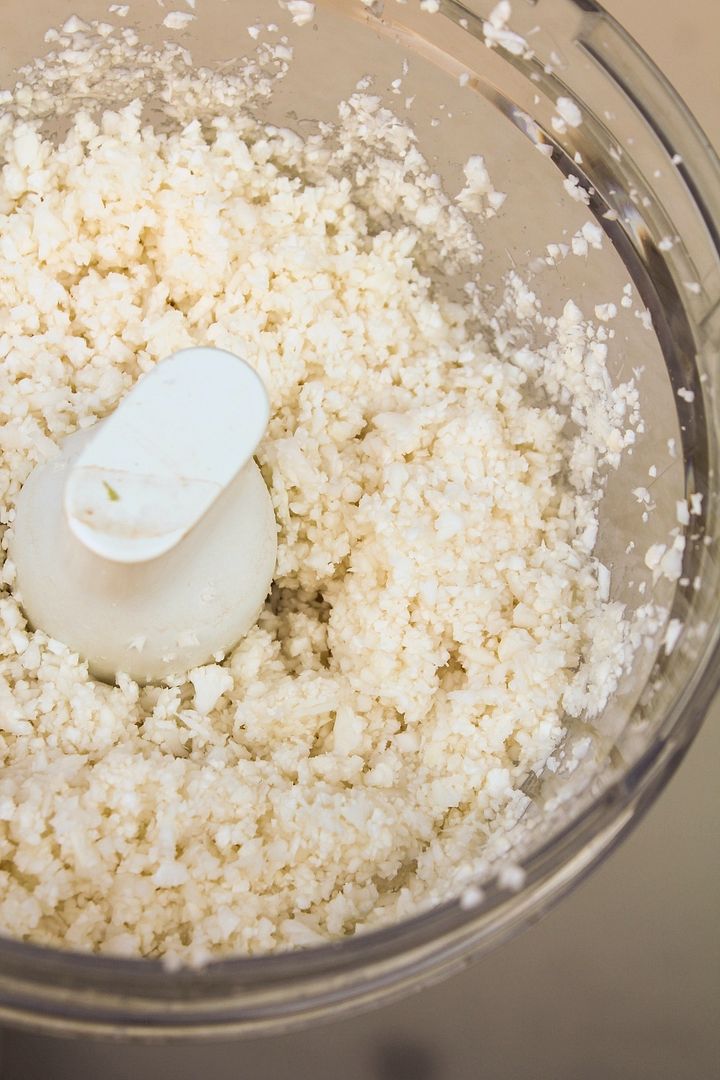
Making the crust is pretty simple. You start by pulsing your cauliflower florets in a food processor until you get a bowl of fluffy snow-like "crumbs":
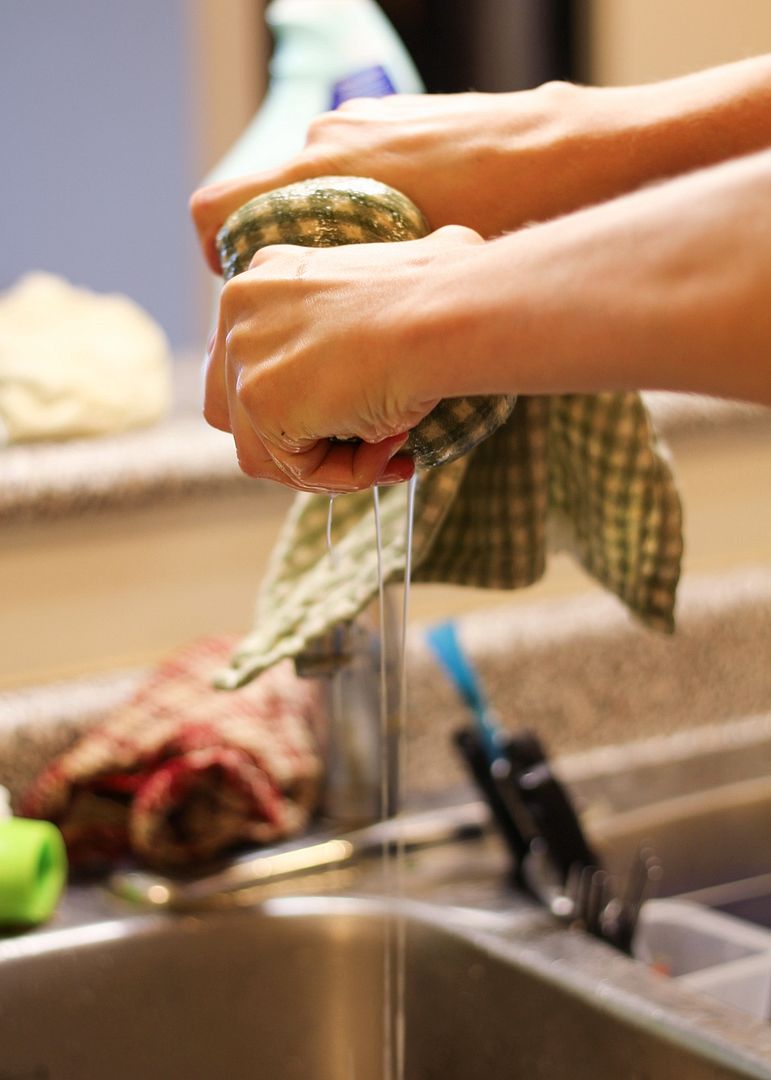
You then cook the "crumbs" in the microwave, let them cool, then transfer them to a towel to wring out all the water. This is probably the most important step, as it will help make sure your crust stays together later. You'll be surprised at how much water comes out - and you'll get a bit of an arm workout during the process!
After you wring out all the moisture, the cauliflower will look completely different and if you smoosh it together with your hands it should actually stay together in clumps:
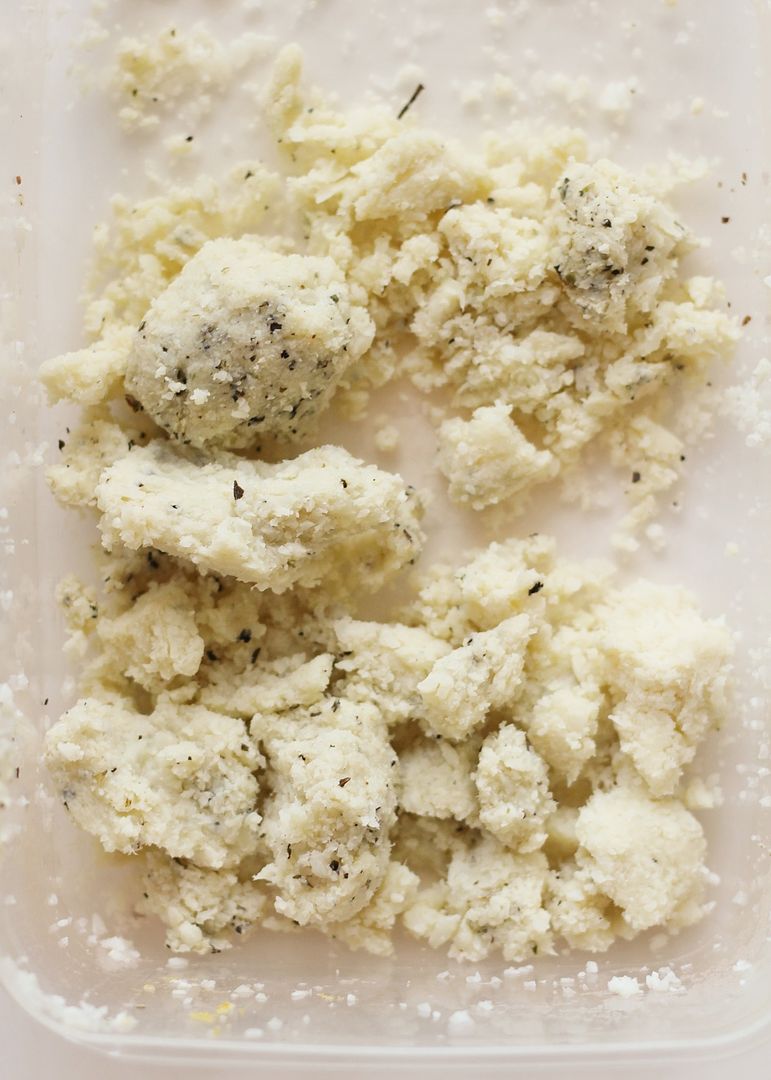
You then mix in your cheese, egg, and seasonings (if you like - I added dried basil, oregano, salt, pepper, and nutritional yeast for added cheesy flavour). Then you pat the mixture into a pizza crust shape:
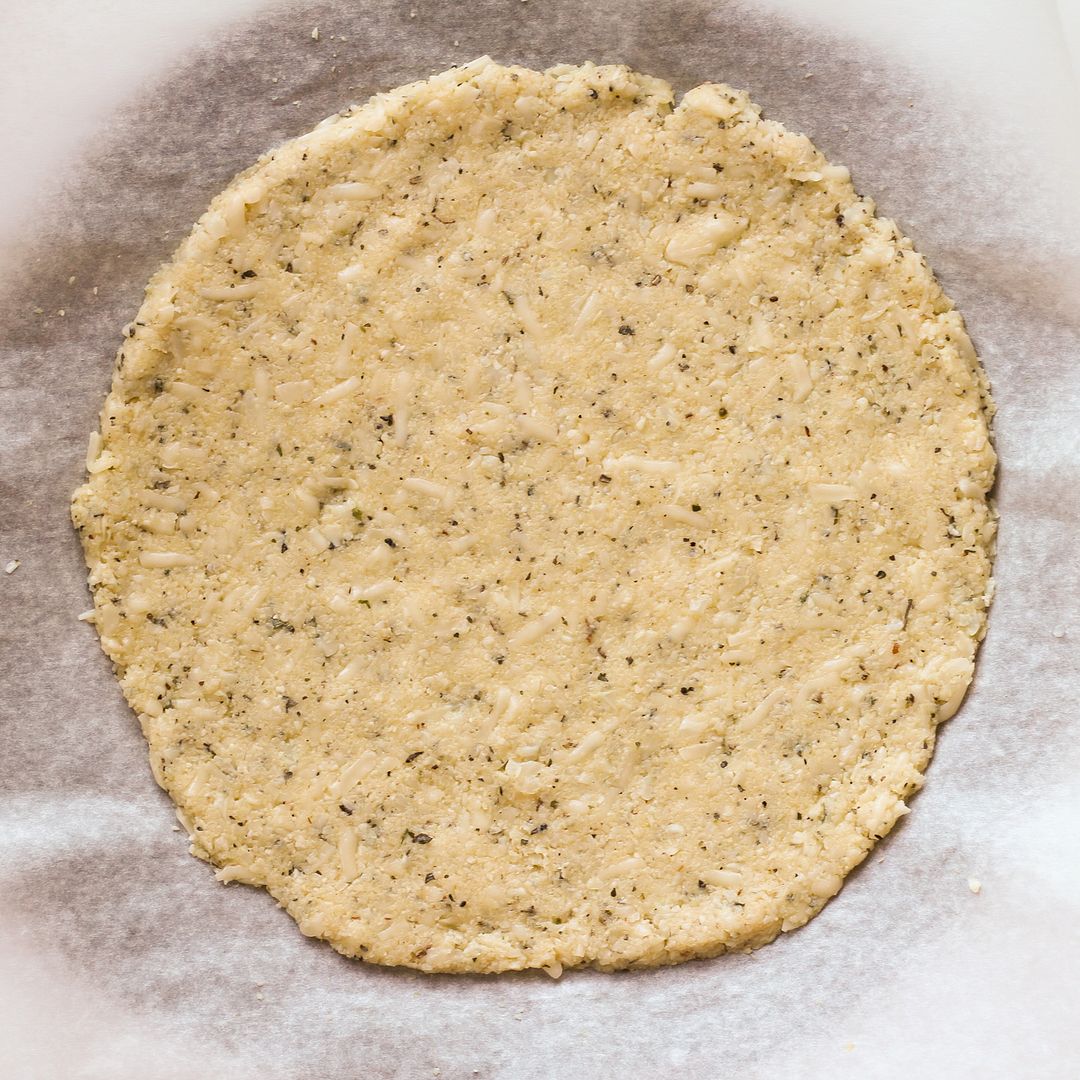
You'll need to prebake your crust, during which time you can get all your toppings ready, then return the pizza to the oven with the toppings, wait very impatiently for it to be ready, and eat!
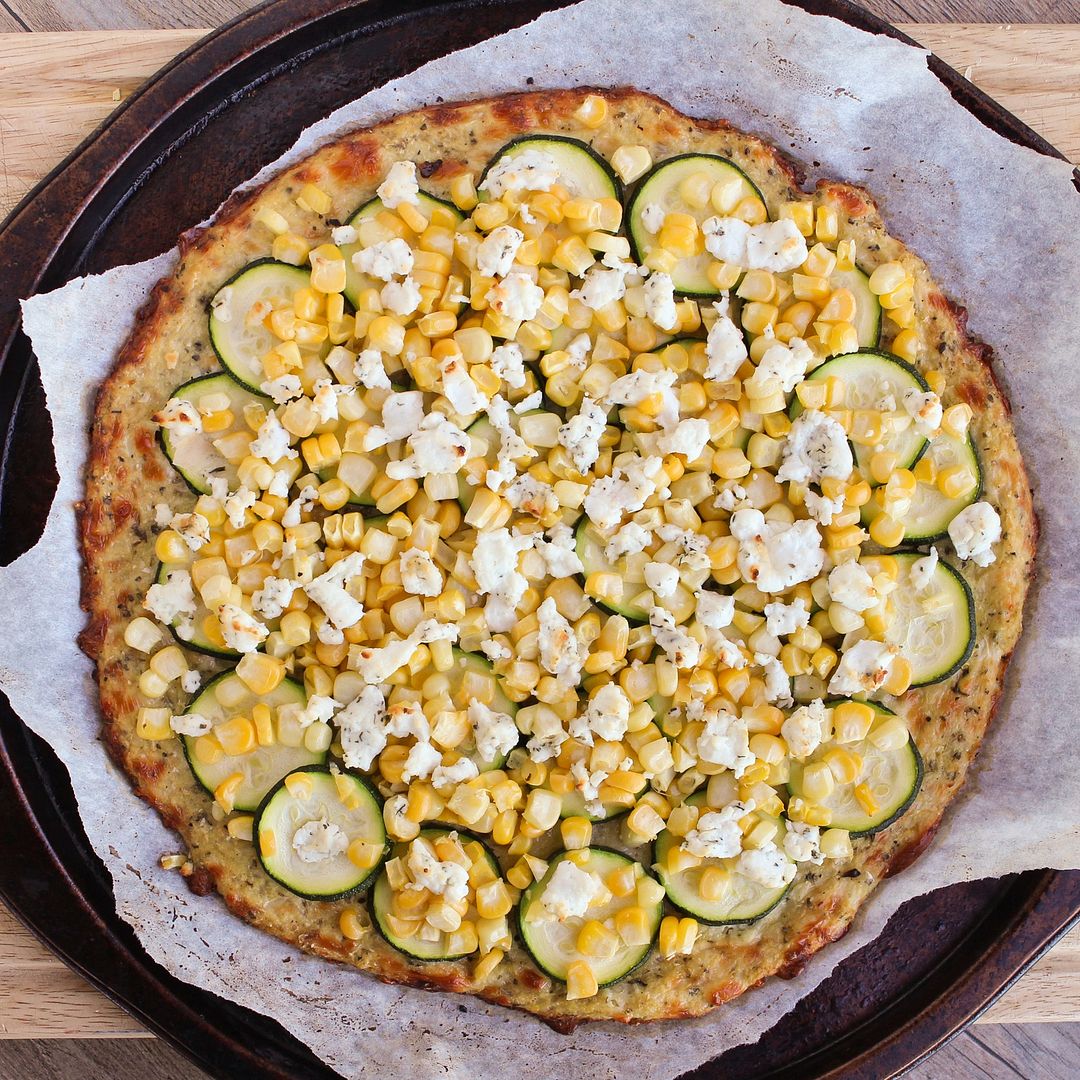
I decided to keep my toppings light and summery with corn, zucchini, and basil. Even though the air is definitely getting chillier around here, it's still summer and there's still lots of corn and zucchini available!
I didn't use a sauce or cheese except for the goat cheese on top, as there's already cheese in the crust and I didn't want this to be too heavy. Everything worked so well together and tasted fresh, which I loved!
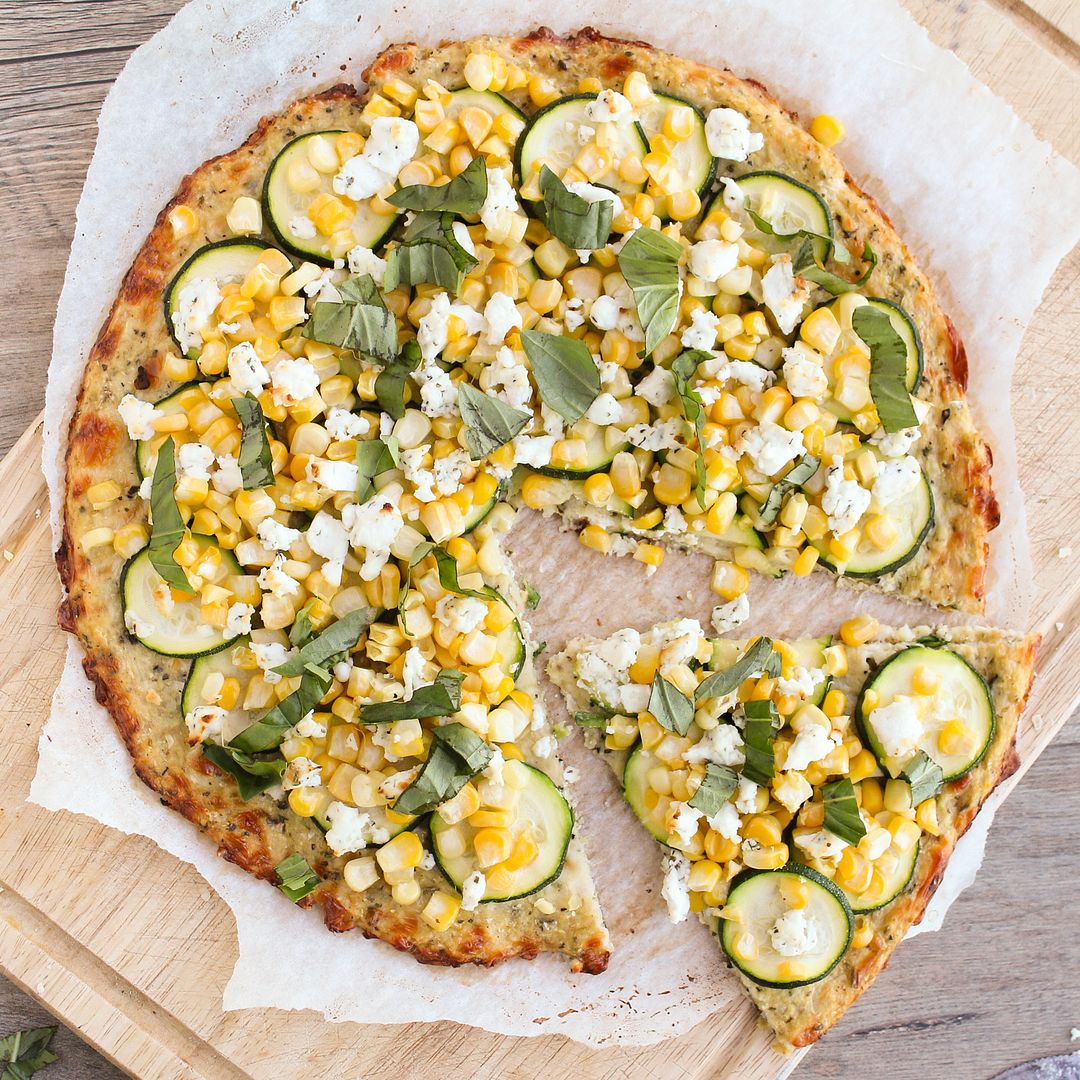
The crust was also way better than I expected! It definitely doesn't taste anything like traditional pizza crust, so if that's what you're expecting then you'll be sadly disappointed. Instead, it's chewy and flavourful and cheesy, and I think I actually might like it even better than regular crust!
Not that this will be replacing regular pizza for me as there's definitely still a time and place for that, but it's nice to have an alternative!
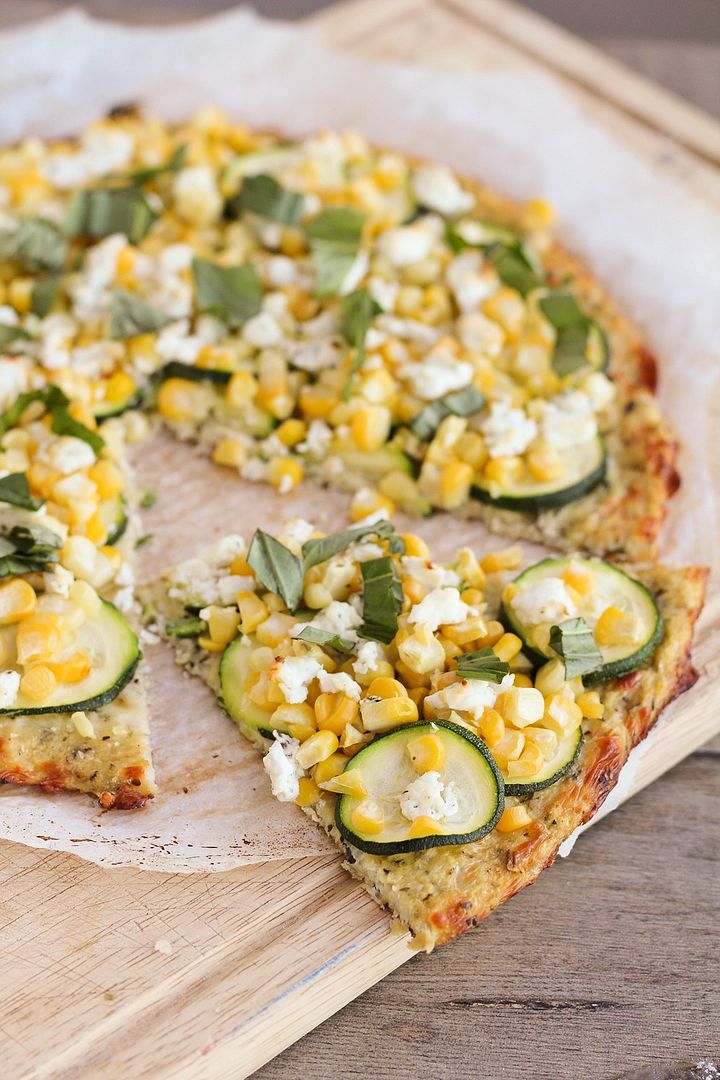
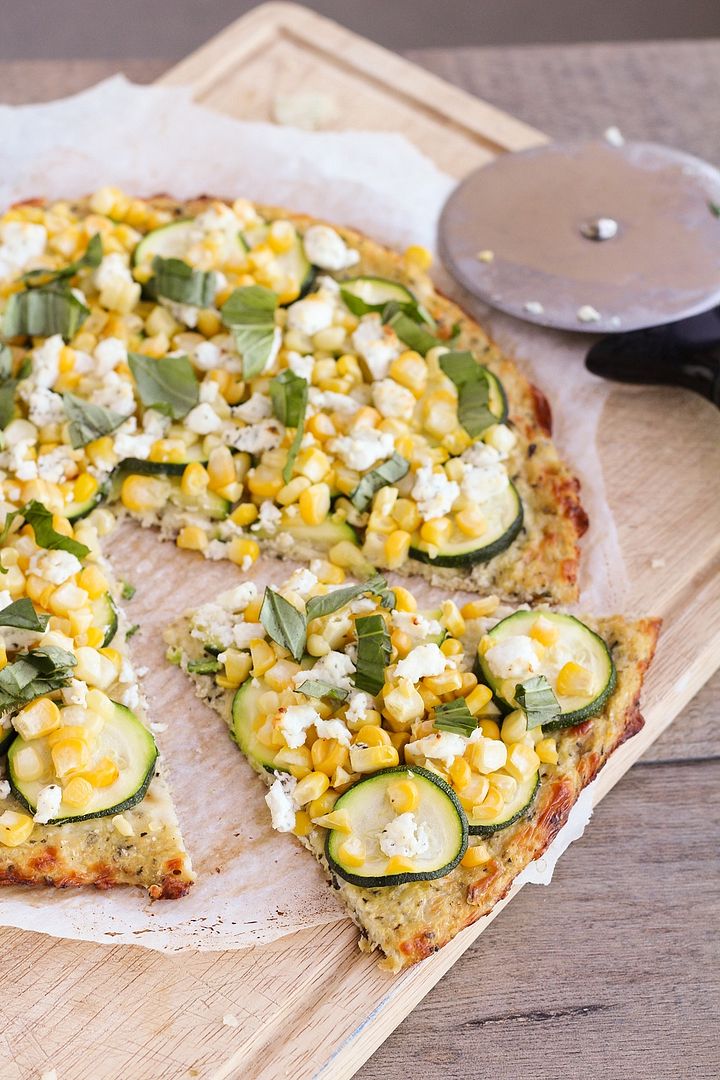
The only problem some people have noted is that the crust isn't super sturdy, so it can be hard to pick it up and eat it with your hands like regular pizza. I found that I could still pick up the slices of pizza (see picture below for an idea - sorry it's so dark, I didn't think to take a picture until I'd already started eating), but because I chose corn as a topping, it was a bit hard to keep everything in place! But as long as you don't mind getting a bit messy, it's worth it! (and you can always eat with a knife and fork if you prefer!)
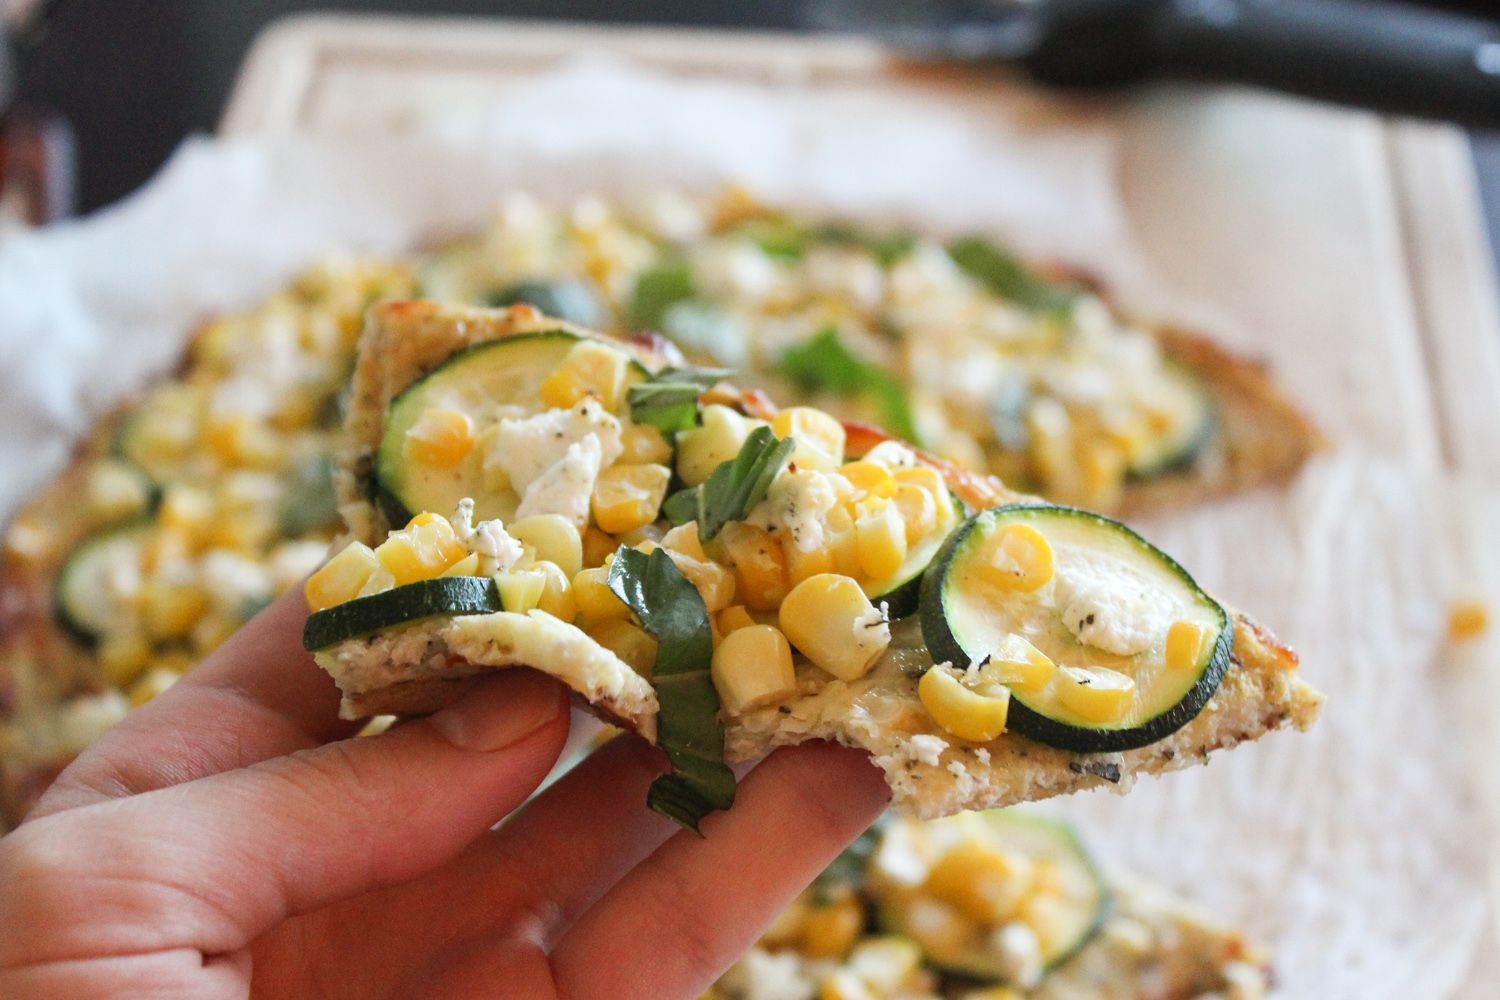
Cauliflower Crust Pizza with Corn, Zucchini, & Goat Cheese
Crust recipe adapted from The Lucky Penny
Serves 2-3
Ingredients:
For the Crust:
1 medium head of cauliflower
1 cup grated part-skim mozzarella cheese
1/2 teaspoon dried basil
1/2 teaspoon dried oregano
1/2 teaspoon salt
1/4 teaspoon pepper
1 teaspoon nutritional yeast (optional)
1 large egg
For the Toppings:
1 small zucchini, sliced into thin rounds
1 ear of corn, kernels removed
2 oz herbed goat cheese (or plain goat cheese)
A few leaves of fresh basil, sliced thinly
Directions:
Preheat oven to 450°F and line a baking sheet with parchment paper.
Chop the cauliflower into florets (try to remove the stems). Place in the large bowl of a food processor and pulse for about 30 seconds, just until all of the florets have been pulsed into very fine crumbs. You should have about 3 cups of crumbs. Transfer to a microwave safe bowl, cover, and microwave on high for 4 minutes. Remove and let cool slightly. Transfer to a clean tea towel (don’t use paper towels - they will shred), wrap up tightly in the towel, and wring all the water out of the cauliflower over the sink. You will be surprised at how much water comes out! Keep wringing to get as much water out of the cauliflower as you can – this will prevent the crust from crumbling. Combine dried cauliflower with the cheese, basil, oregano, salt, pepper, nutritional yeast, and egg. Mix to combine (I just used my hands). Transfer to prepared baking sheet and form into a 10” thin circle. Bake in preheated oven for 10-11 minutes.
Once crust has precooked, remove from oven and top with zucchini, corn, and goat cheese (you might not be able to fit all of the zucchini or corn kernels, depending on how big the zucchini and ear of corn were). Top with crumbled goat cheese. Return to oven and bake for another 15-20 minutes. Remove from oven, top with sliced basil, season with additional pepper if desired, and serve!
Note that this is best eaten fresh - it doesn't keep very well.
Note that this is best eaten fresh - it doesn't keep very well.

No comments:
Post a Comment