Showing posts with label baking soda. Show all posts

July 22, 2014

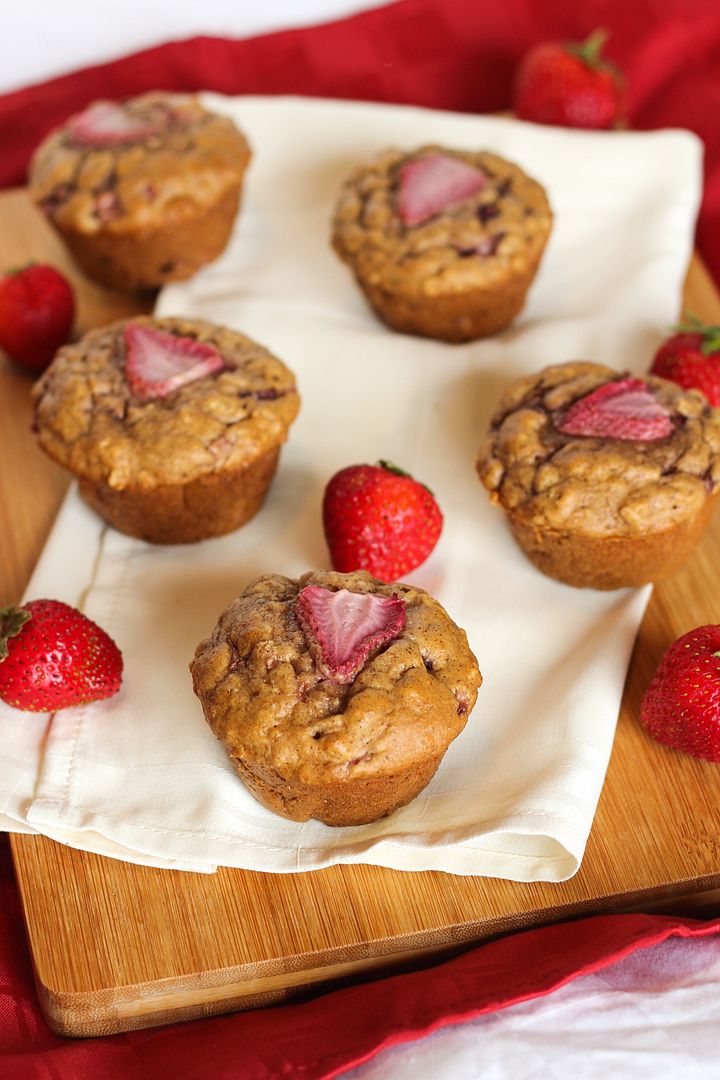
Strawberry & Peanut Butter Whole Wheat Oat Muffins

Strawberry & Peanut Butter Whole Wheat Oat Muffins

Somehow I always end up missing strawberry season because it seems to go by so quickly, so this year I was determined to bake at least one thing with strawberries. 

We don't really want a lot of desserts around right now though, so I decided to bake something on the healthier side.  And because we are only two people, I wanted something that can freeze well.  Enter muffins!

I had it in my head to make peanut butter and strawberry muffins, which surprisingly I could find almost no recipes for, so I decided to make up my own.  Peanut butter and jam goes together, so why not pb and fresh strawberries!
Strawberry & Peanut Butter Whole Wheat Oat Muffins

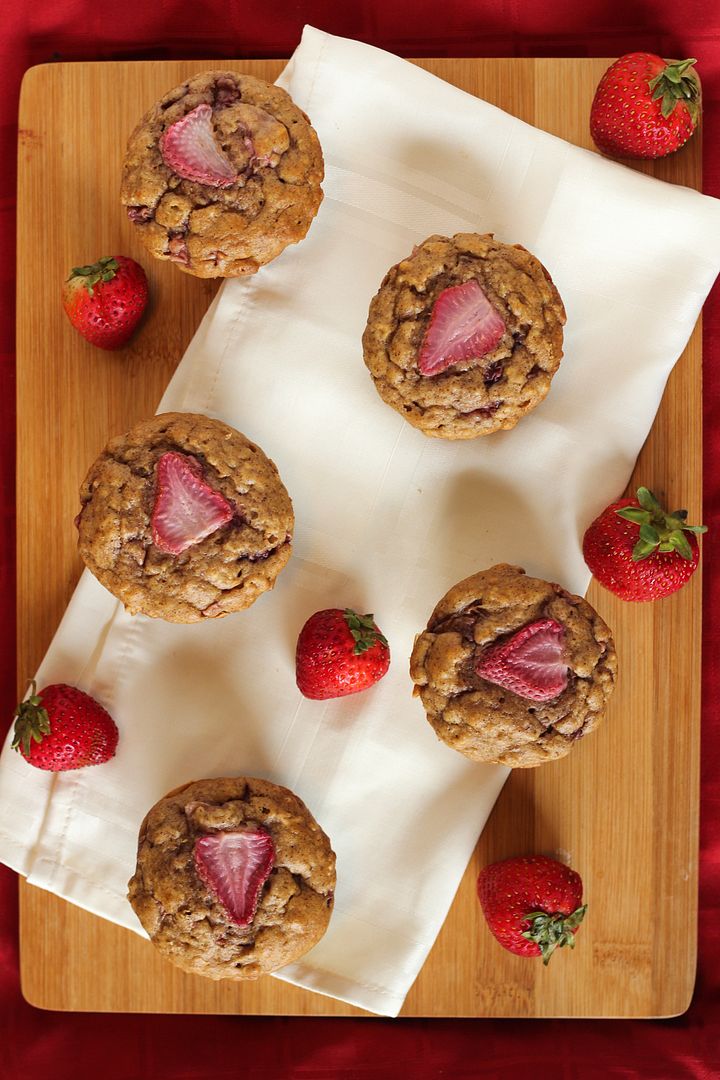
Because I wanted these to be on the healthier side, I used all whole wheat flour combined with oats, only a bit of pure maple syrup for sweetener instead of sugar, natural peanut butter, unsweetened almond milk, only a tablespoon of oil, and fresh strawberries instead of jam.

While they're not exactly low-fat because of the peanut butter, and not vegan because I included an egg (I haven't really had success with eggless baked goods in the past and don't have any problems personally with an egg being included), I still consider them a wholesome snack that is perfect for afternoon cravings as they satisfy hunger pretty well!
Strawberry & Peanut Butter Whole Wheat Oat Muffins

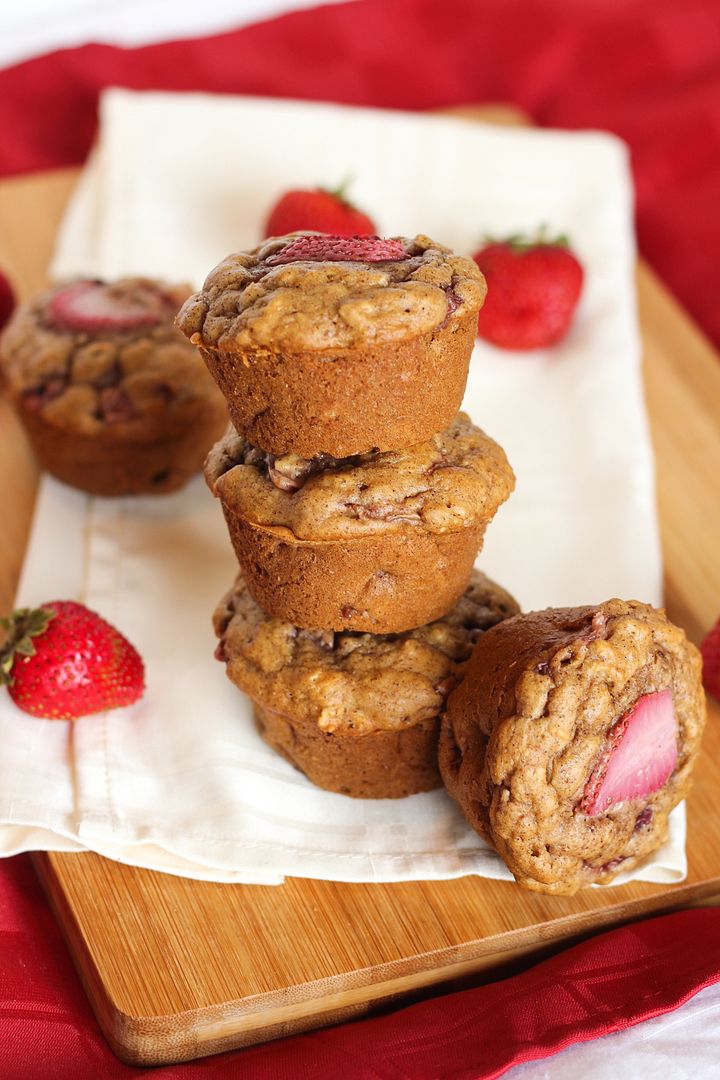
These were photographed over a day after making them, so the strawberries I had placed on top aren't looking so hot, but I assure you that these still turned out great!

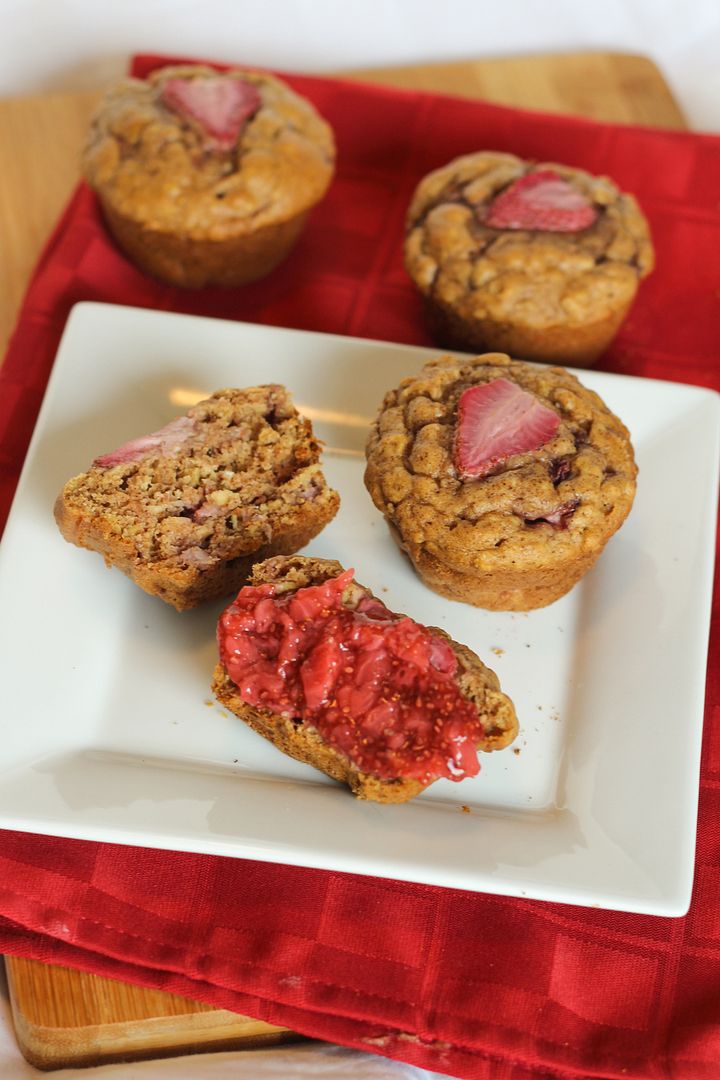
I also love slathering these in chia jam for more strawberry goodness.  If you've never made chia jam before, I encourage you to give it a try!  It's super easy and quick to make and so much better for you than regular jam.  I used the jam recipe from these strawberry oat squares by Oh She Glows, another strawberry recipe I'll have to try soon before the season is over!
Strawberry & Peanut Butter Whole Wheat Oat Muffins


Strawberry & Peanut Butter Whole Wheat Oat Muffins

Makes 12 muffins

Ingredients:

1-1/4 cups whole wheat flour
3/4 cups rolled oats
1 teaspoon baking soda
1 teaspoon baking powder
1 teaspoon cinnamon
1/4 teaspoon salt
1 large egg, lightly beaten
1 cup unsweetened vanilla almond milk
1/2 cup natural peanut butter, melted slightly to mix in better
1/4 cup pure maple syrup (or I used 2 T maple syrup + 2 T honey)
1 teaspoon vanilla extract
1 tablespoon extra virgin olive oil
1 cup diced fresh strawberries
12 slices strawberries for the tops, if desired

Directions:

Preheat oven to 350°F.  Spray a regular 12-cup muffin tin with non-stick cooking spray.

Whisk the dry ingredients (flour through salt) together in a medium bowl.  In a separate bowl, mix the wet ingredients until just blended (egg through oil).  Add the wet ingredients along with the diced strawberries to the dry ingredients and fold together until just combined.

Divide batter evenly among the 12 muffin cups.  If desired, add a strawberry slice to the top of each muffin.  Bake muffins in preheated oven for 18-20 minutes or until toothpick inserted in middle of a muffin comes out clean.  Let cool for a couple minutes in the pan then remove to a wire rack to cool completely.

December 24, 2013

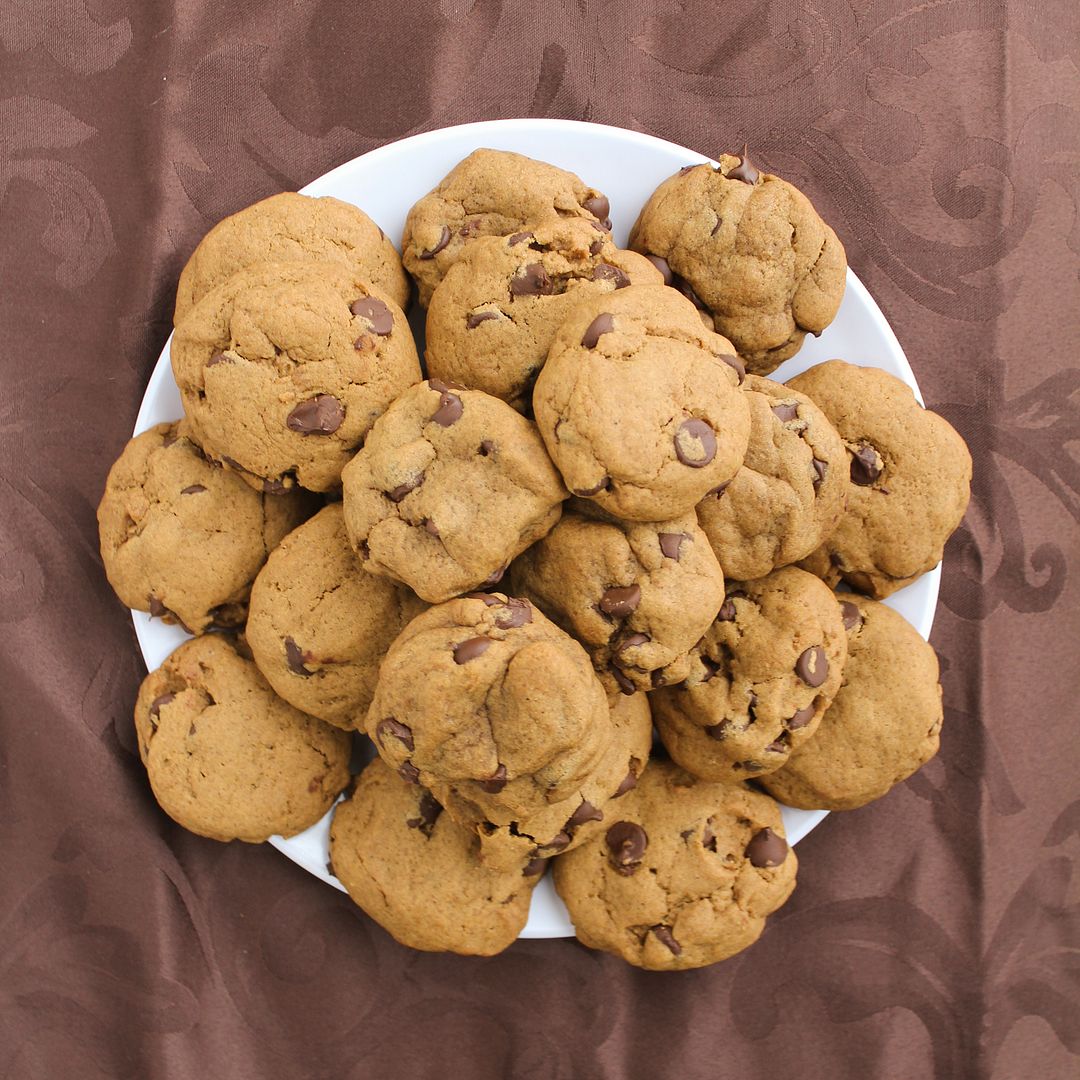
Gingerbread Chocolate Chip Cookies

Gingerbread Chocolate Chip Cookies

I'll have to make this post short as I'm not feeling well but still have to do all my Christmas wrapping and last minute preparations before the big day tomorrow (which hopefully I'll be feeling better for)!  I just wanted to squeeze in one last Christmas recipe though as these cookies were probably my favourite thing I've made this season!

Gingerbread Chocolate Chip Cookies

These cookies are inspired by a recipe I saw on Baked By Rachel, which I then went and changed almost everything about so I'm sure they're nothing like the original, but I absolutely loved my own version!  They're puffy but chewy, with a nice strong gingerbread flavour and just the right amount of sweetness from the chocolate chips.  I think these will be a new holiday favourite of mine!

Gingerbread Chocolate Chip Cookies

I'd also like to take this time to wish everyone the very best of the holiday season, with lots of rest and relaxation, cheer and good times spent with family and friends, and of course, delicious food!

Gingerbread Chocolate Chip Cookies

Gingerbread Chocolate Chip Cookies

Inspired by Baked By Rachel

Makes about 2 dozen cookies

Ingredients:

1/2 cup + 2 tablespoons unsalted butter, softened
1/4 cup sugar
1/4 cup dark brown sugar
1 large egg
1/4 cup molasses
1 teaspoon vanilla extract
2 cups all-purpose flour
1/2 teaspoon salt
1 teaspoon cinnamon
1/2 teaspoon nutmeg
1-1/2 teaspoons ground ginger
1/2 teaspoon cloves
1 tablespoon cocoa powder
3/4 teaspoon baking powder
1/2 teaspoon baking soda
3/4 cup semi-sweet chocolate chips

Directions:

In a large bowl, use a hand mixer or electric mixer to cream the butter and sugars until light and fluffy, about 2-3 minutes.  Add the egg and mix until combined.  Add molasses and vanilla and mix until combined.

In a separate bowl, whisk together the flour, salt, cinnamon, nutmeg, ginger, cloves, cocoa powder, baking powder, and baking soda.  Add the dry ingredients to the wet ingredients in 3-4 additions, mixing on low speed until each addition is just combined.  Stir in chocolate chips.  Cover dough and refrigerate for several hours until chilled through – this is important if you want the cookies to stay thick and puffy.  I chilled mine for about 3 hours.

Preheat oven to 350°F.  Scoop dough by about 1.5 tablespoons full and drop onto a parchment-lined baking sheet about 1 inch apart.  Because the dough will still be quite firm, I pressed the cookies slightly at the top to flatten them slightly.  Bake for 11-12 minutes.  Allow to rest on cookie sheet for 1-3 minutes, then transfer to a wire cooling rack to cool completely.  Store covered in a container.

July 12, 2013

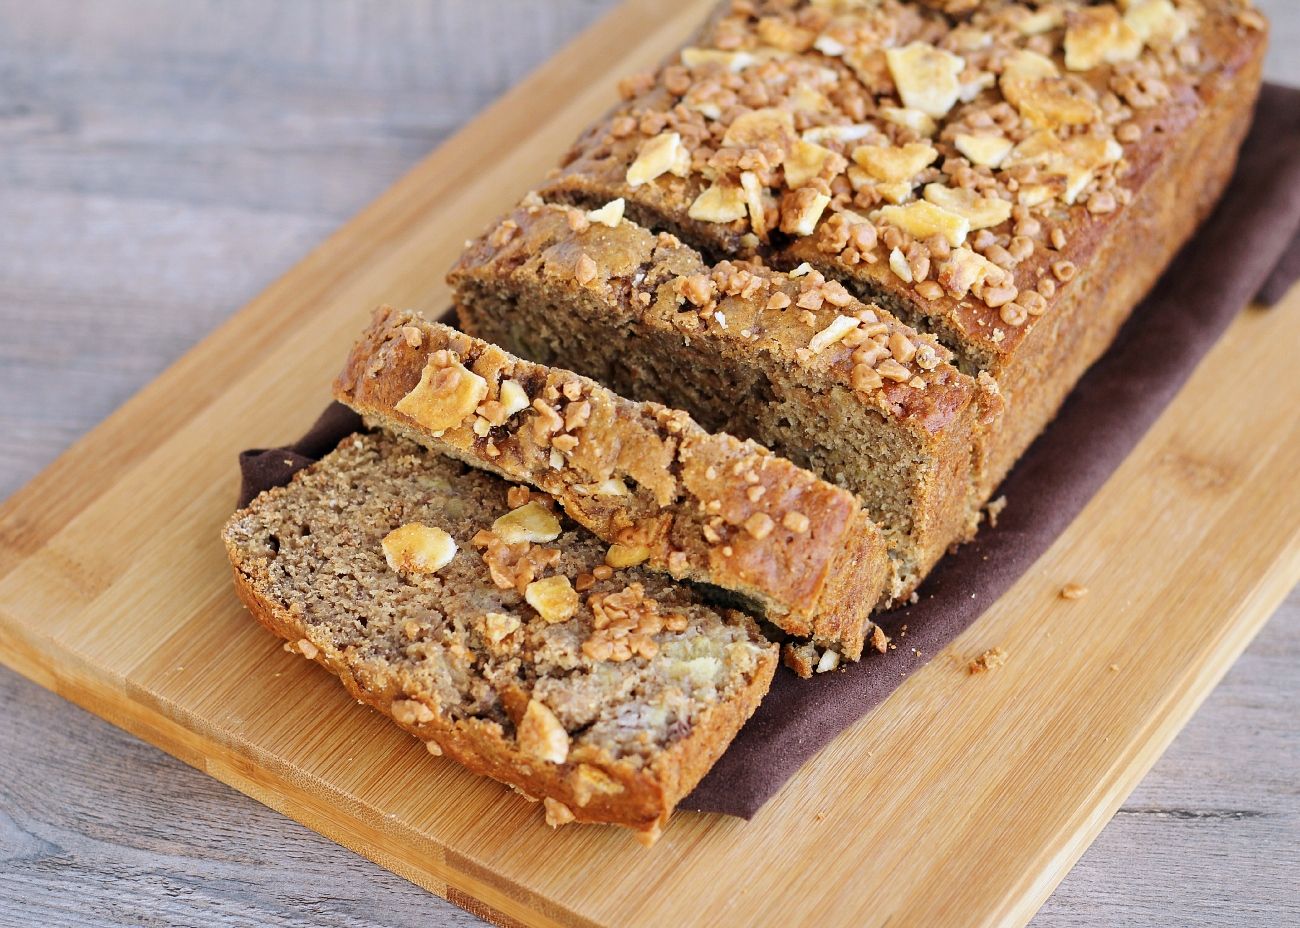
Coffee Toffee Banana Bread

Coffee Toffee Banana Bread

Has anyone else been thinking that it’s already July 12th, which means it’s almost halfway through July, which means summer is halfway over already?! I swear summer JUST started (which is practically true considering the weather we had in June), so I'm freaking out that it’s going by way too fast! I think I’ve only managed to make it to the farmer’s market once so far, I’ve hardly made any summer recipes (especially with berries – and I completely missed strawberry season somehow), I’ve only gone to the beach once, and stores are already starting to clear out their summer clothes before I’ve had the chance to look at them! I think I say this every year, but slow down, summer!

With that being said, I’ll try to make the rest of this post short so I can finish my work then make an effort to get outside for a bit this afternoon to enjoy the sunshine :) Our city has a classic car show today where all the classic cars gather in the park for display, then drive down the streets of downtown and park on the sides of the road, so when you walk downtown it feels like you’ve been transported to the 50’s.  Not the most exciting event for someone who doesn’t appreciate cars (like me), but I’m still looking forward to doing something summery!

Coffee Toffee Banana Bread

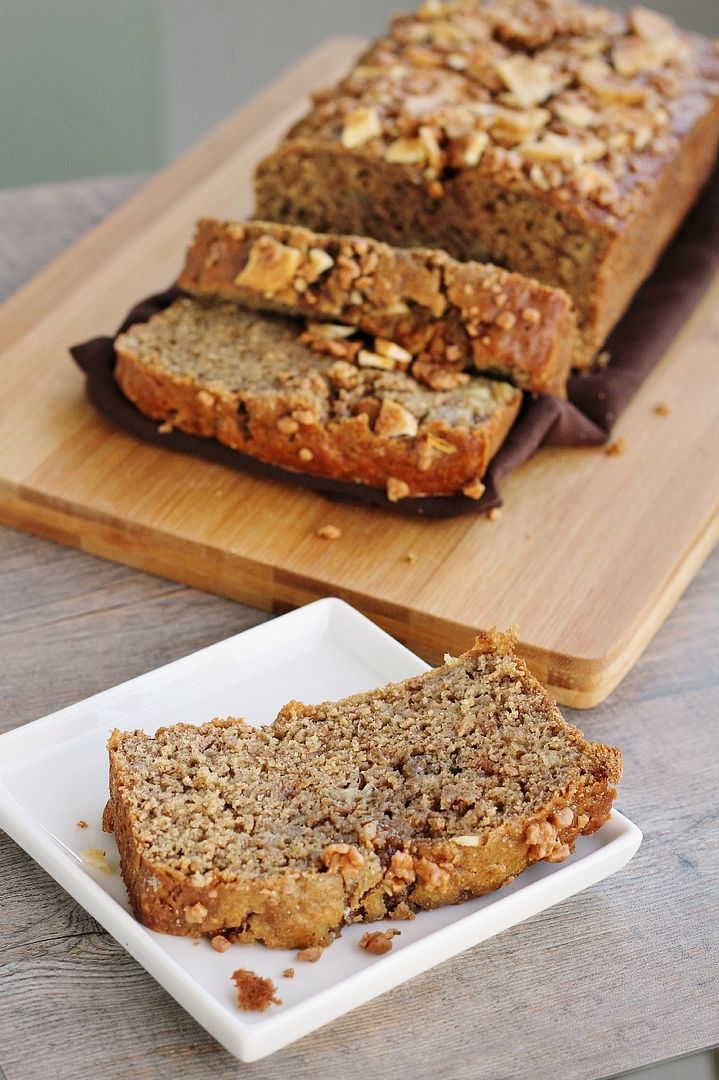
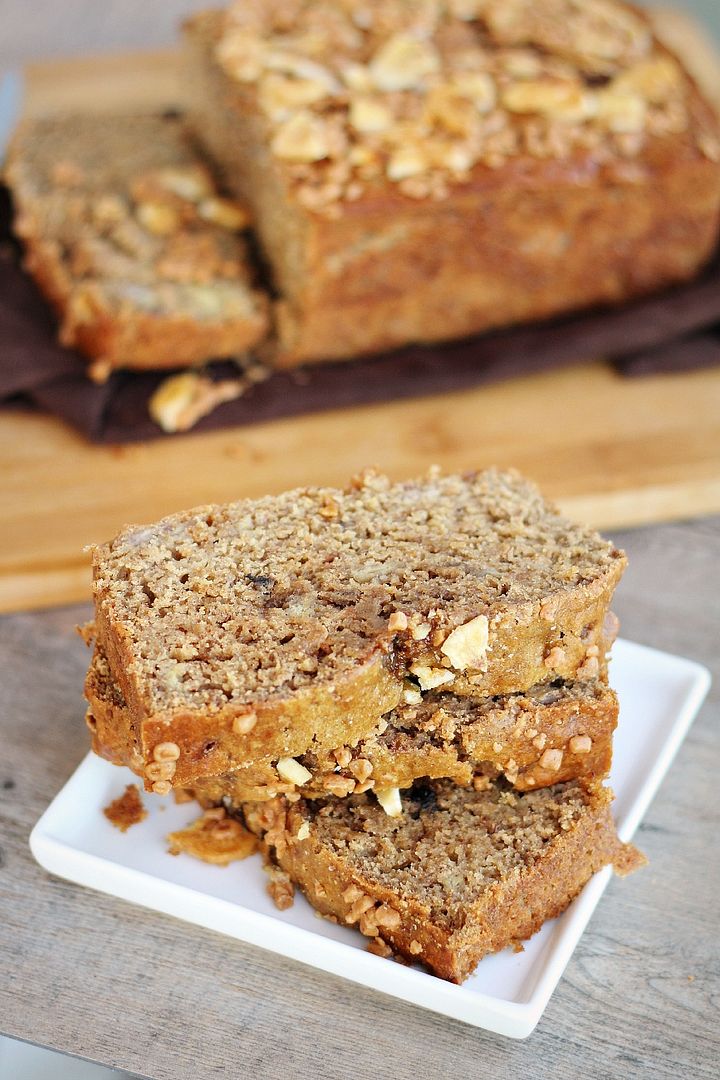
This banana bread has a subtle coffee taste along with a subtle toffee taste that not only give it a rhyming name, but make it a little more special than regular banana bread. The original recipe included 1/2 cup of melted butter and all white flour, so to lighten it up a bit I increased the amount of banana and used 1/4 cup of olive oil instead of the butter, and replaced half the flour with whole wheat. I also used dark brown sugar instead of regular sugar, and added cinnamon and instant espresso to boost the flavour. The result is a moist banana bread with a fun flavour twist that goes perfectly with your morning coffee!

Hope you all have a great weekend and do something to enjoy summer!

Coffee Toffee Banana Bread

Coffee Toffee Banana Bread


Makes one 9x5-inch loaf

Ingredients:

3 large ripe bananas, mashed (about 1-1/4 cup)
1/2 cup brewed strong coffee
1 cup all-purpose flour
1 cup whole wheat flour
2 teaspoons baking powder
1/2 teaspoon baking soda
1/2 teaspoon salt
1/2 teaspoon cinnamon
1/4 teaspoon nutmeg
1 tablespoon instant espresso
1/4 cup extra-virgin olive oil
3/4 cup packed dark brown sugar
2 large eggs
1-1/2 teaspoons pure vanilla extract
1/2 cup + 2 tablespoons toffee bits (such as Skor or Heath bits, found in stores with the chocolate chips), divided
1/4 cup chopped banana chips (optional)

Directions:

Preheat oven to 350°F and spray a 9 x 5-inch loaf pan with non-stick spray.

Mix banana and coffee in a small bowl.

In a medium bowl, whisk together the all-purpose flour, whole wheat flour, baking powder, baking soda, salt, cinnamon, nutmeg, and instant espresso.

In a large bowl, whisk together the olive oil and brown sugar.  Add eggs one at a time, mixing well after each addition.  Add the vanilla extract and the banana-coffee mixture and stir until combined.

Slowly add the dry ingredients to the wet ingredients, stirring with a wooden spoon or a spatula until just incorporated.  Fold in 1/2 cup toffee bits. 

Pour mixture into prepared loaf pan and bake for 25 minutes.  Remove from oven, sprinkle the top of the loaf with the remaining toffee bits and banana chips, then return to oven for an additional 25 to 30 minutes, until a toothpick inserted in the middle comes out clean.  *Don't worry about getting all the banana chips on top of the loaf if they don't all fit; you don't want to weigh down the top of the loaf too much to make sure it bakes evenly inside.*  Let stand in pan 10 minutes before transferring to a wire rack to cool completely, then slice.

March 12, 2013

Mini Irish Soda Breads for Two

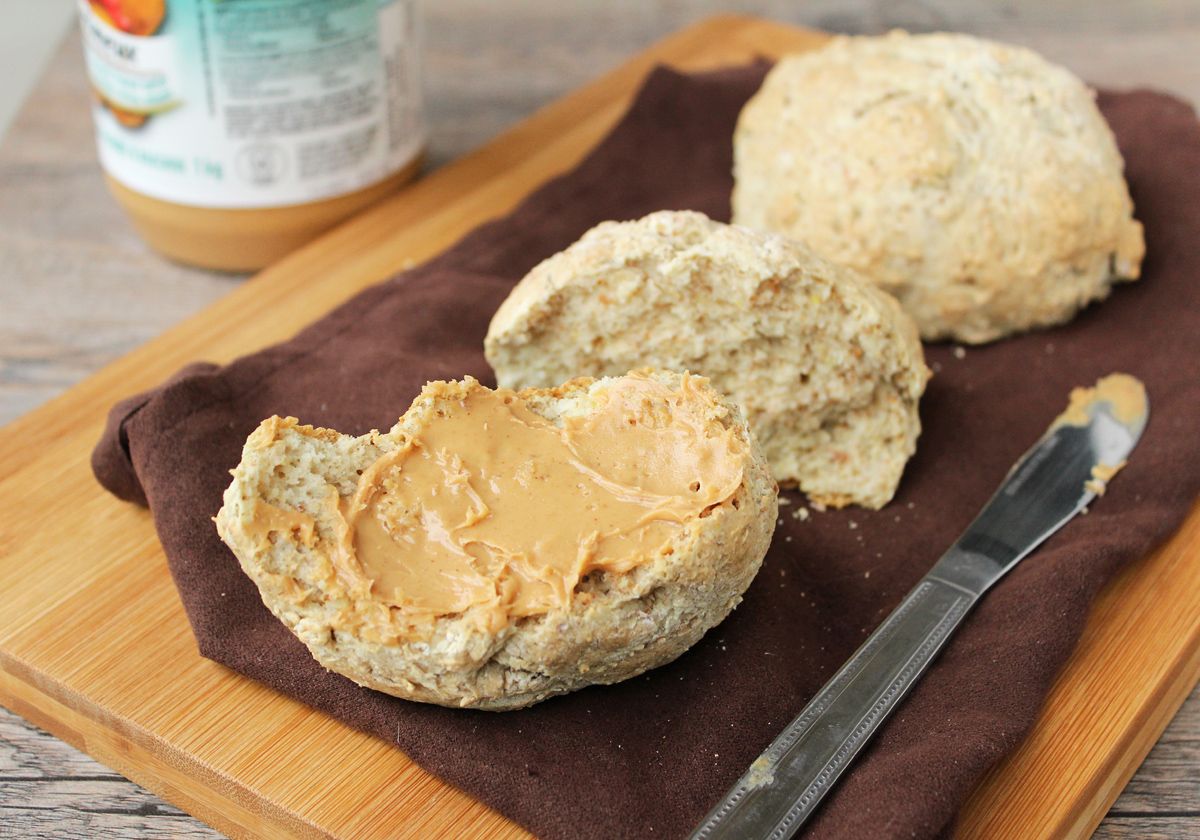
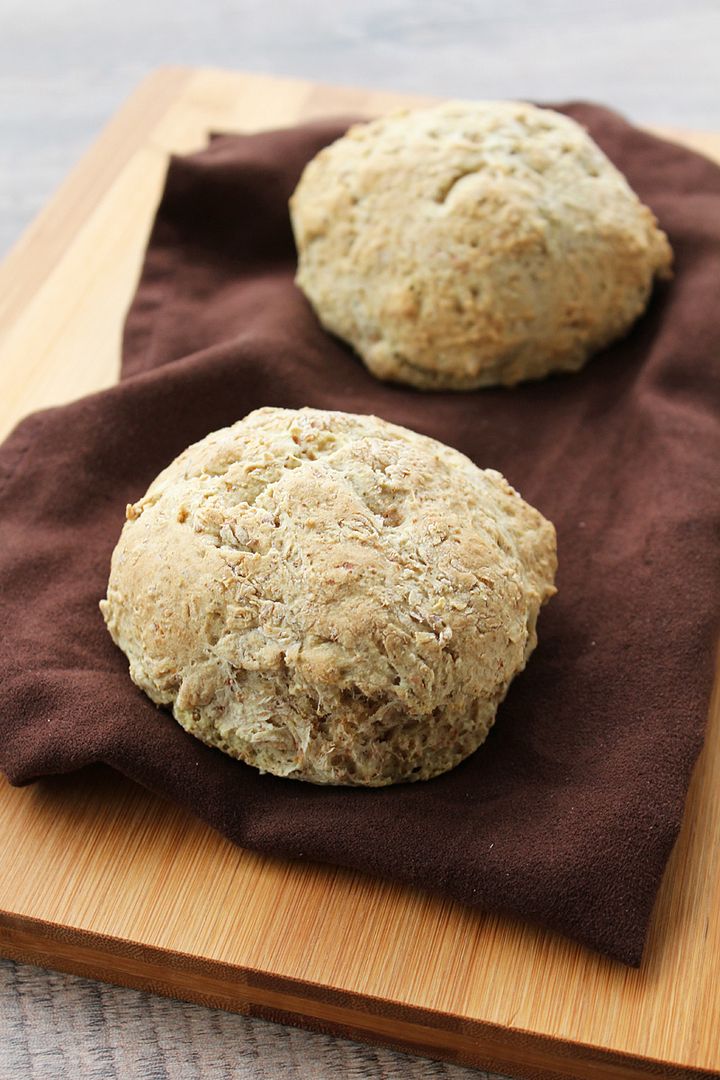
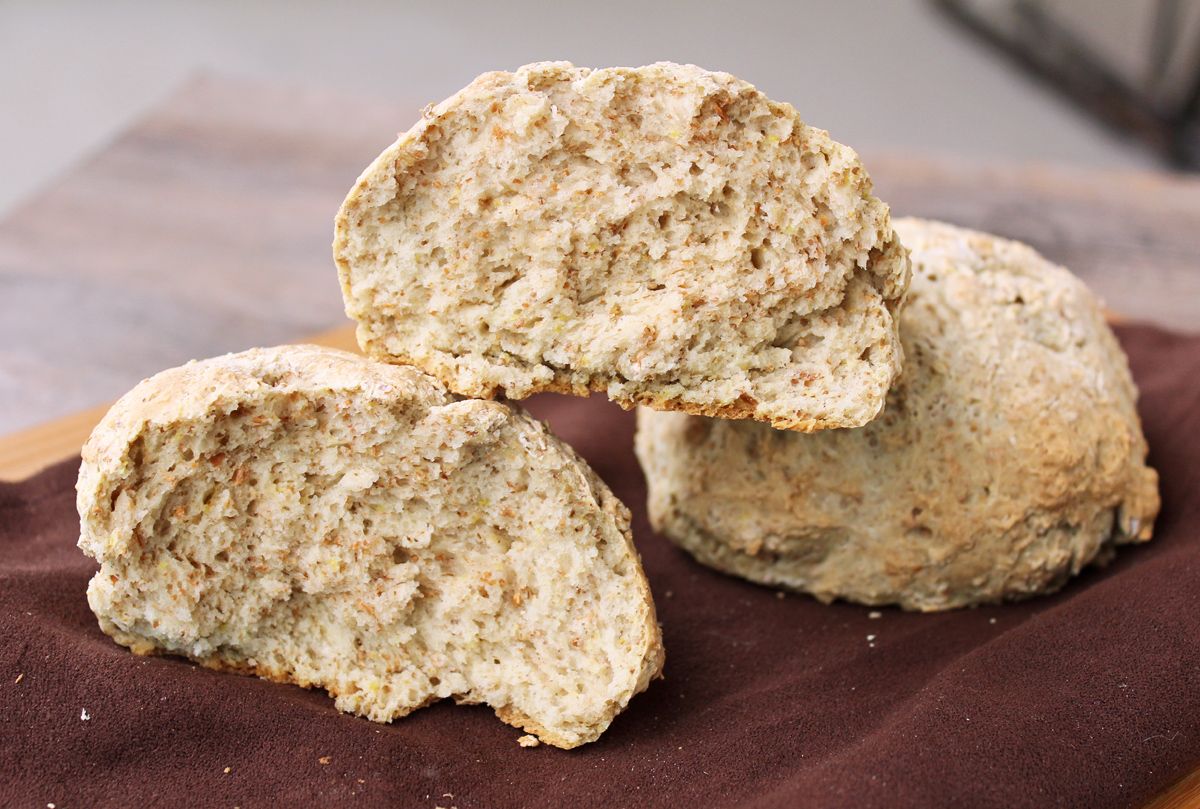
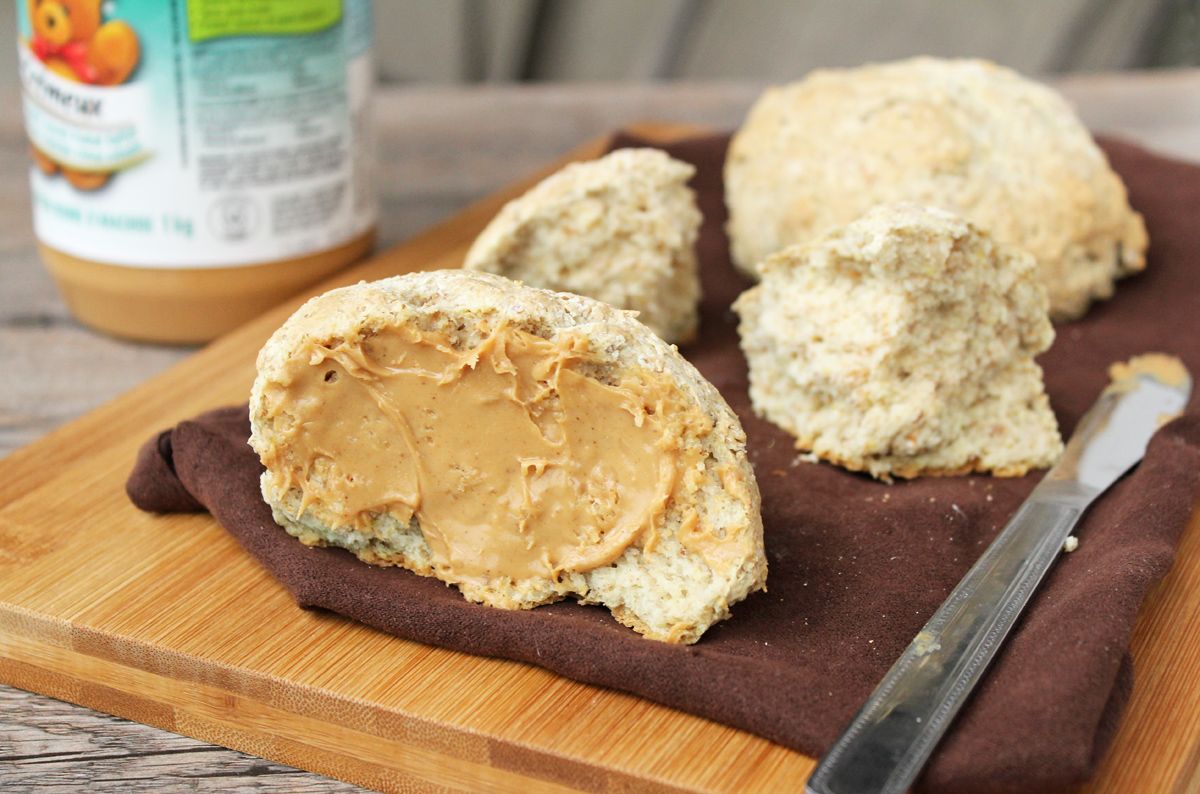
Mini Irish Soda Breads for Two (vegan and half whole-wheat)

So I know you've probably seen a hundred Irish soda bread recipes before and they're popping up all over your feeds lately with St. Patrick's Day coming up, but don't turn away quite yet - this one's different, I swear!

First of all, this recipe only feeds two people (or four if you like sharing, but you probably won't want to share these).

Second, these are vegan if you use almond milk like I did (though I've also tried it with dairy, which works too), and they use half whole-wheat flour, so they have some nutritious quality to them!

Third, they're ridiculously easy to make!  I know that's true of most soda breads because the whole point is that you use baking soda as your leavening agent instead of waiting for yeast to rise, but these are even easier and so much faster than a regular loaf because they're mini-sized.  So while an average soda bread needs to bake for about 45 minutes, these only take 15 minutes to bake (and only 5-10 minutes to make)!

Convinced?  Good - then read on!

Mini Irish Soda Breads for Two (vegan and half whole-wheat)

The first time I made these was actually not for St. Patrick's Day at all but because I had absolutely nothing to eat for breakfast one morning.  For some reason, I recalled that Irish soda bread is pretty easy to make, so I found a recipe for mini versions then reworked it to feed only two people and use ingredients I had on hand (aka not buttermilk).

I didn't have high hopes for these at the time because I was just desperate for something to spread peanut butter on and fill my empty stomach, but I absolutely loved them!

Mini Irish Soda Breads for Two (vegan and half whole-wheat)

These are perfectly crunchy and golden on the outside, and soft and dense on the inside, with a hearty texture and flavour from the addition of whole wheat flour.  They make a great base for peanut butter or jam in the morning, but would also work as a side for your dinner with a little pat of butter!

If you've seen a hundred soda bread recipes but have never actually tried it yourself, you really have to give this a try - it's so easy, takes no time at all, won't give you leftovers to deal with, and is "in season" for St. Paddy's, so there are no excuses!

Mini Irish Soda Breads for Two (vegan and half whole-wheat)

Mini Irish Soda Breads for Two

Adapted from Baking Bites

Makes 2 biscuit-sized soda breads

Ingredients:

1/2 cup + 2 tablespoons milk – almond milk or dairy milk both work
1/2 tablespoon vinegar
3/4 cup all-purpose flour
1/2 cup whole wheat flour
1/2 teaspoon salt
3/4 teaspoon baking soda
1/2 tablespoon sugar

Directions:

Preheat oven to 425°F.  Line a baking sheet with parchment paper.

Combine milk and vinegar in a small bowl or measuring cup, stir, and let sit for about 5 minutes until milk thickens slightly.

Whisk together the two flours, salt, baking soda, and sugar in a large bowl.  Form a well in the middle and pour the milk mixture into the center.  Stir together with a wooden spoon or flexible spatula just until combined.  Dough will be sticky.

Divide dough in half and drop each half onto the prepared baking sheet.  Wet your hands and shape each dough into a circle if necessary.  Cut an ‘x’ shape into the top of each ball of dough, cutting about halfway into the dough.  Bake for about 15 minutes in preheated oven, until golden brown.  Remove from oven and let cool slightly before eating.  Serve with peanut butter, jam, butter, or your favourite spread.

February 22, 2013

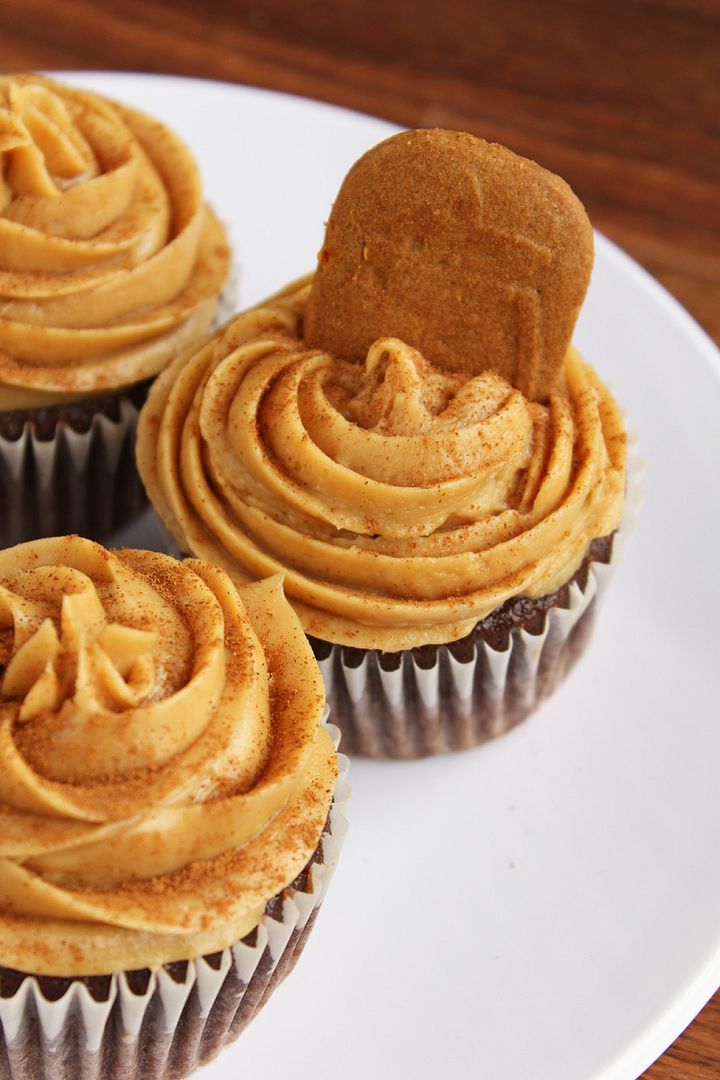
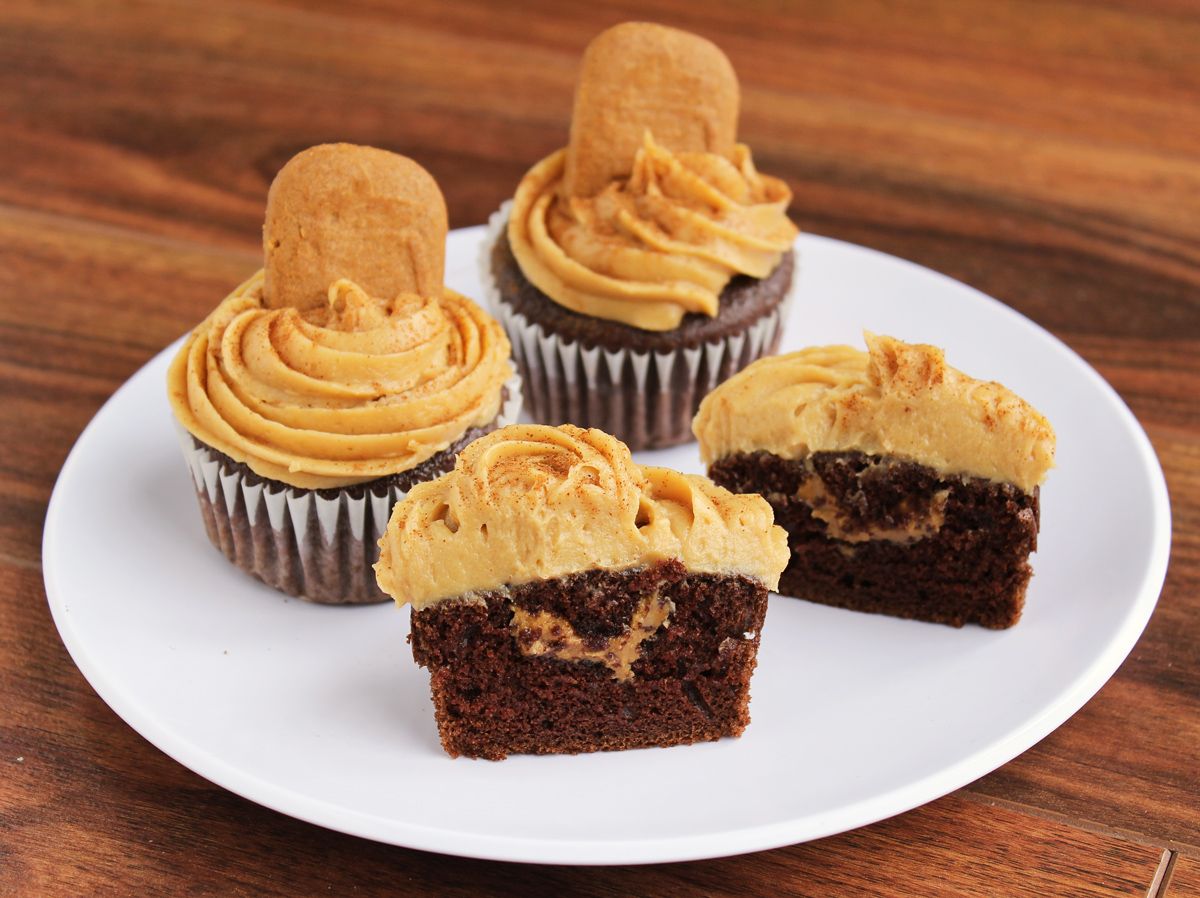
Chocolate Biscoff Cupcakes with Biscoff Cream Cheese Frosting

Chocolate Biscoff Cupcakes with Biscoff Cream Cheese Frosting

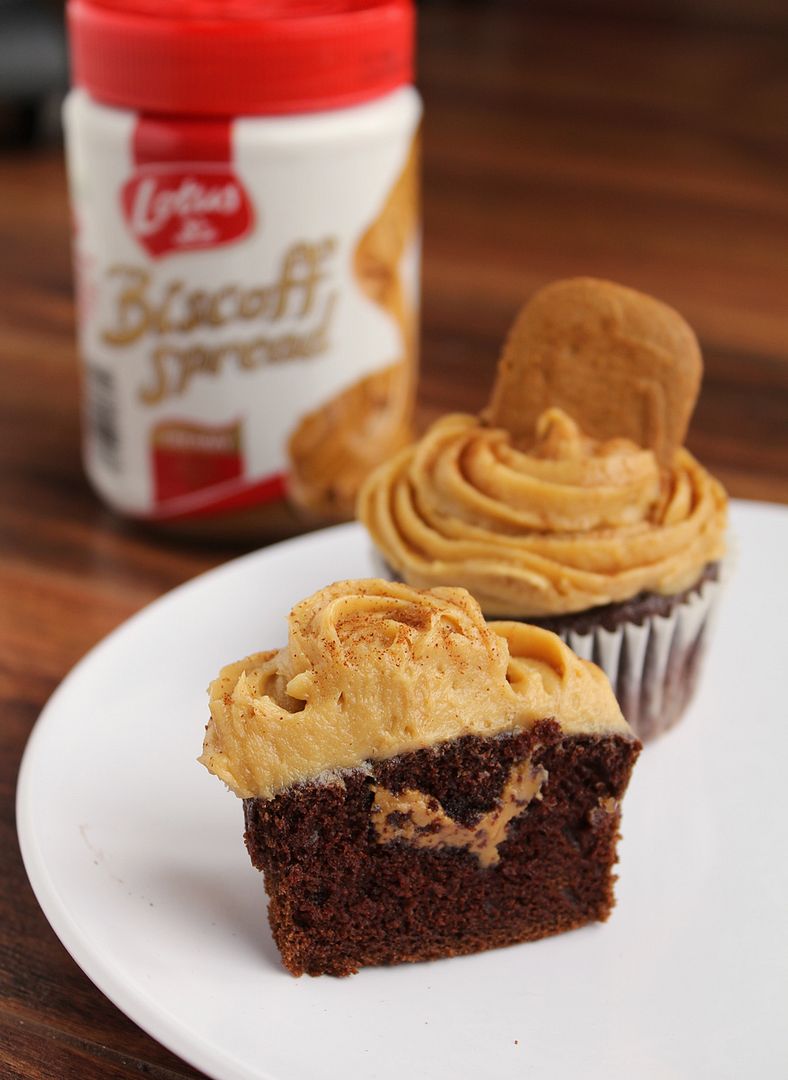
So this is the first Biscoff recipe on my blog, and I’m sure most of you are probably thinking that I’m the last one to the Biscoff party, which started almost two years ago. The thing is, Biscoff hasn’t really become as popular here in Canada as it has in the United States (or Europe, I assume, as that’s where it originated). In fact, when I sent these cupcakes to work with my boyfriend, he had to call me to ask me again what they were called because he had never heard of Biscoff, and apparently nobody at his work had either. And when I wrote about these cupcakes on Facebook, the first comment I got was asking me what Biscoff is.

So even though I feel like my fellow bloggers are probably already sick of Biscoff because it’s been popular on blogs for a while, in real life I don’t know anyone who’s even heard of the stuff, so I feel obligated to explain what it is!  But if you’ve already seen a thousand Biscoff recipes and have gone through fifty jars of the stuff at home, feel free to skip past these next paragraphs :)

Chocolate Biscoff Cupcakes with Biscoff Cream Cheese Frosting

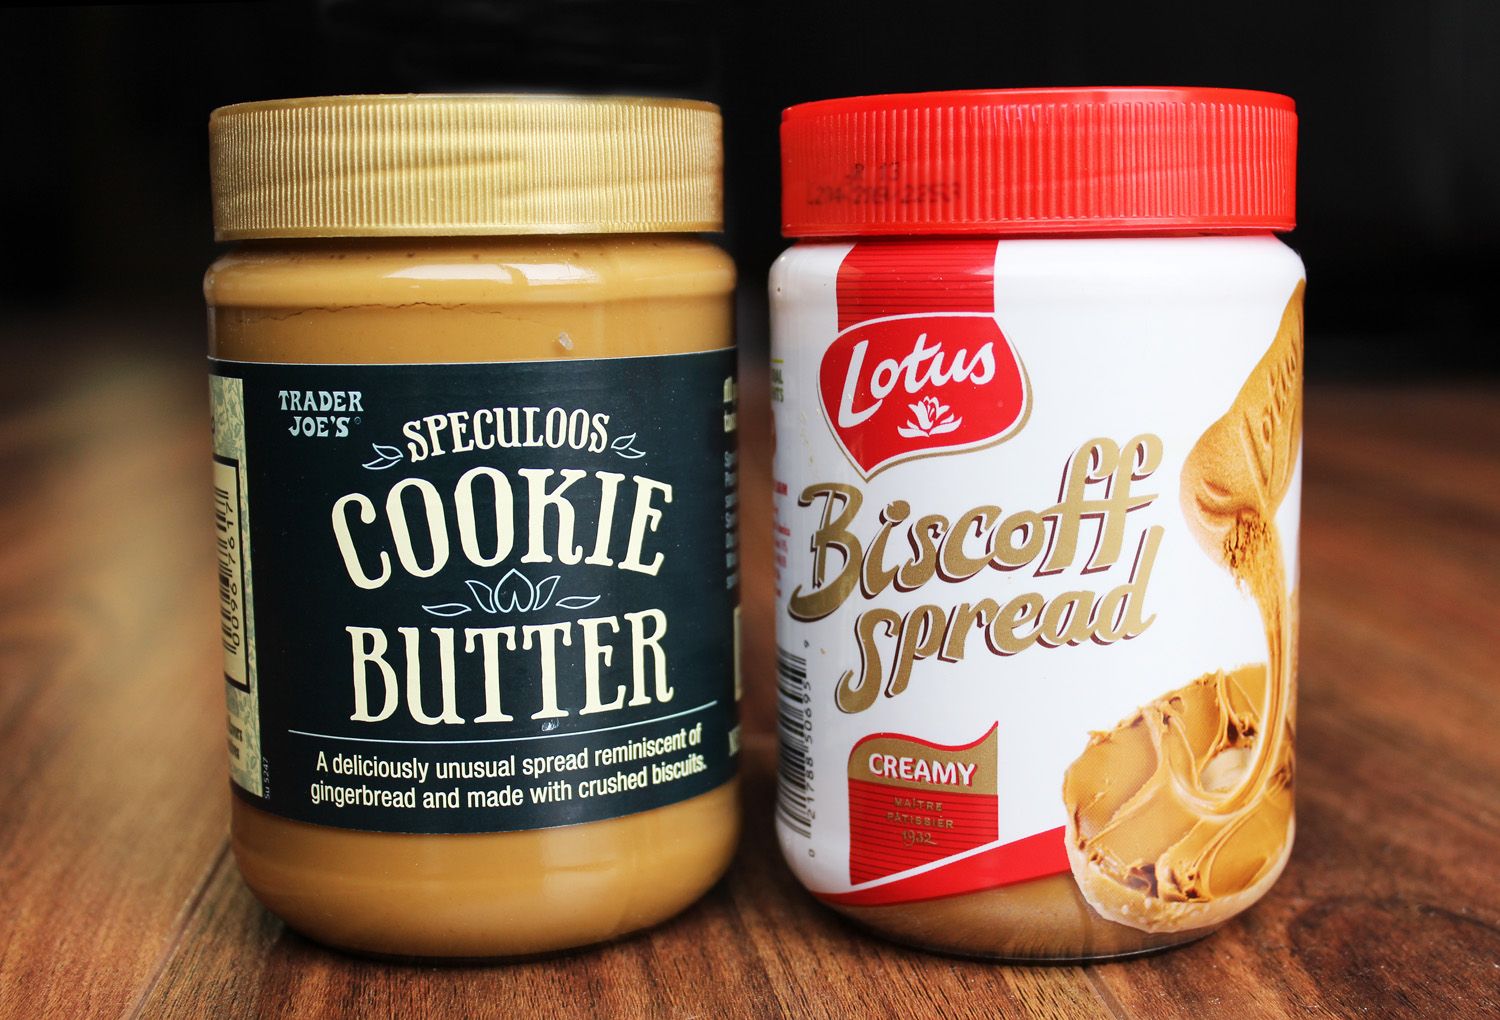
Biscoff cookies (“Europe’s favourite cookie with coffee”, according to their website), also known as Speculoos, are a crisp little Belgian cookie with a cinnamon/caramel/gingersnap-like flavour.  They originated in Europe but grew in popularity around the world when airlines like Delta started handing them out on flights.  A few years ago, the cookies were turned into a creamy spread with a consistency of peanut butter and taste of Biscoff/speculoos cookies.  The main ingredient in the spread is cookies, which is why it’s also referred to as cookie butter.  I think a lot of people eat the spread as they would peanut butter, such as on toast or as a dip for apples, but it’s also become really popular for use in baking.  There’s a nice little slideshow on Huffington Post of some of the ways you can use Biscoff spread!

cookie butter spreads

While it’s now available in many grocery stores in the United States, including Trader Joe’s, which has its own version called Speculoos Cookie Butter (pictured above), it hasn’t really appeared much in Canada yet, which is why most of my friends haven’t heard of it. I buy it when I go on trips to the US, but if you don’t live anywhere near the States (or Europe), I’d recommend looking in European grocery stores – I’ve actually spotted Biscoff at an Italian supermarket in Waterloo, Ontario, so it is out there!

 Chocolate Biscoff Cupcakes with Biscoff Cream Cheese Frosting

I had a hard time choosing what to make for my first experiment with Biscoff.  I’ve never really been a big fan of cupcakes, but I made some red velvet cupcakes on Valentine’s Day (which I posted about on Facebook, if you’re interested) and they turned out so well that they changed my mind about cupcakes.  Plus they are so fun to decorate!  

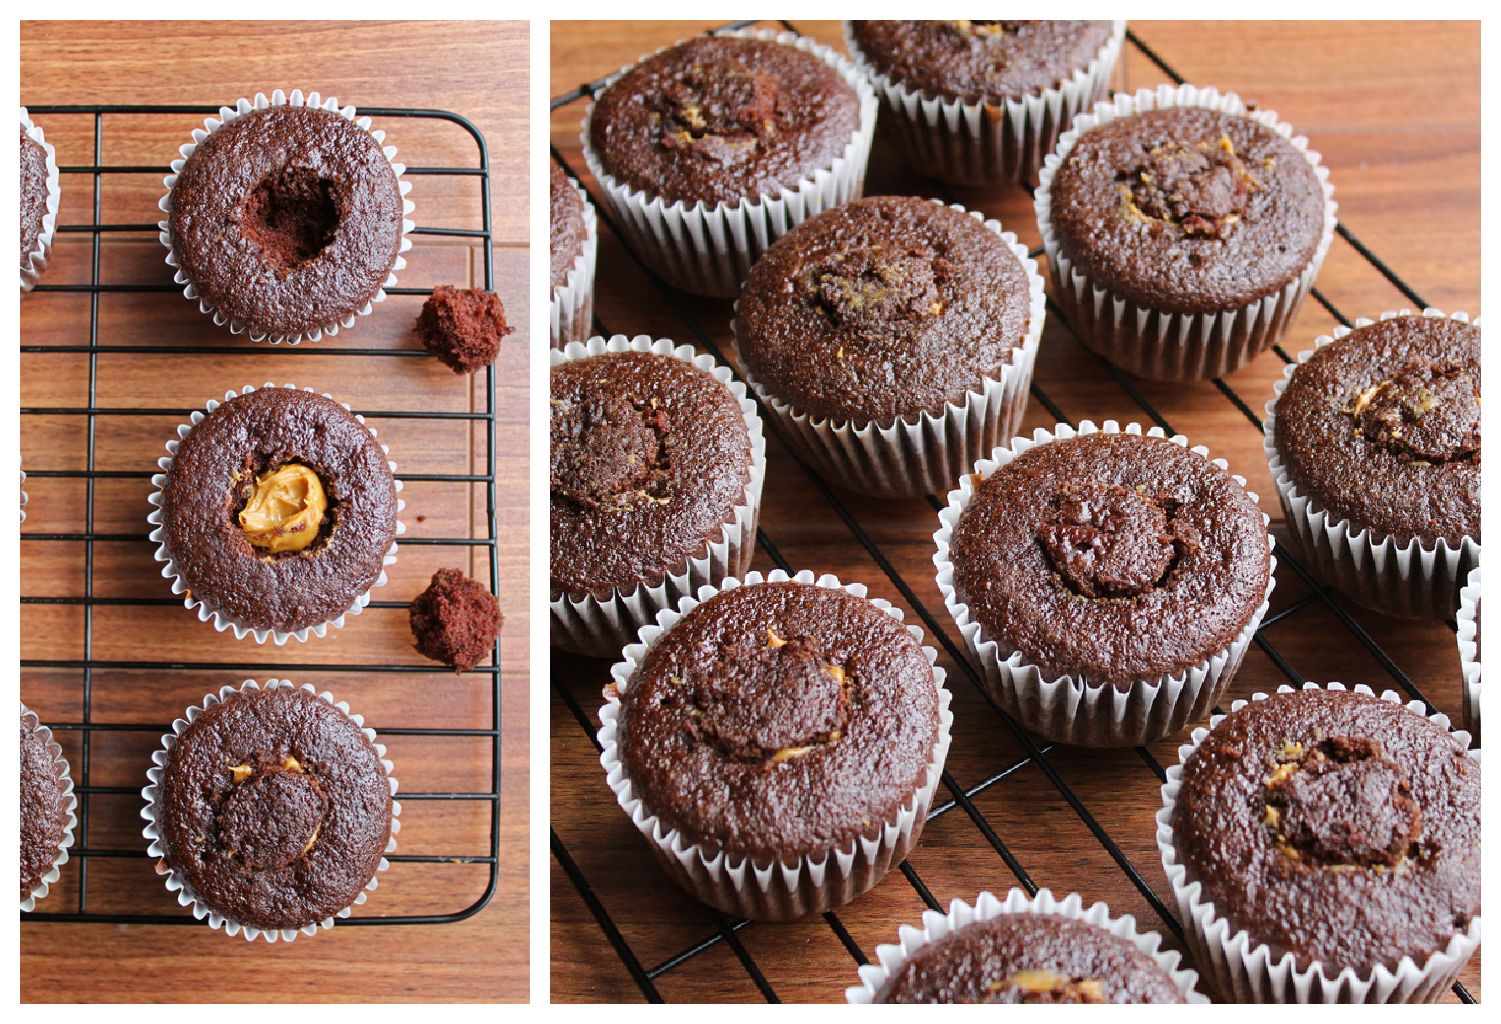
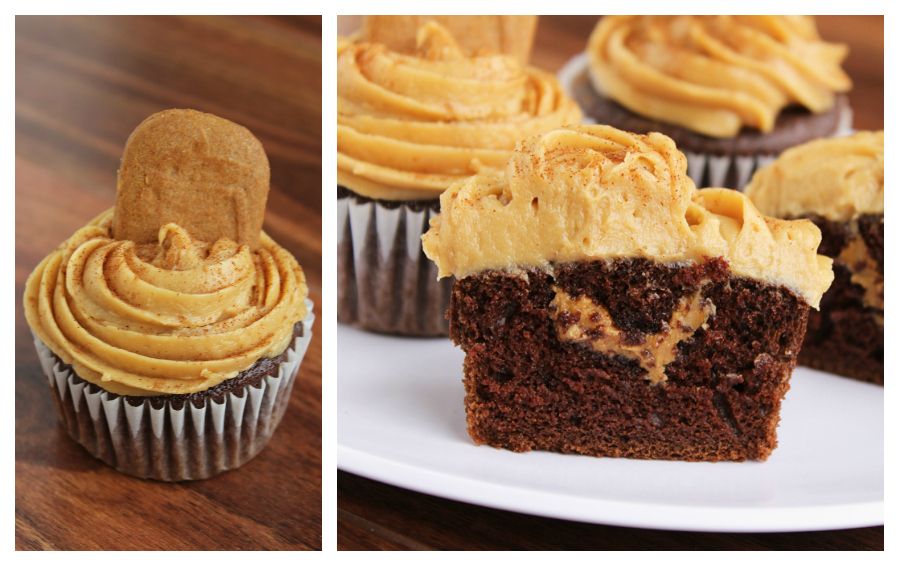
So I decided to make Biscoff cupcakes. My first thought was to make both the cupcake batter and frosting with Biscoff, but I thought that might be a bit too much, so I decided to go with a chocolate base instead.   I used Beantown Baker’s idea of stuffing a little Biscoff inside the cupcake for a fun surprise, which was super easy – you just have to cut a hole in the top of the cupcake after they’re done, fill it with a spoonful of Biscoff, and cover it back up.  Don’t try putting Biscoff in the center of the cupcake before you bake them – it will just sink to the bottom, trust me!  Here’s a little visual of how to fill the cupcakes:

 Filling Biscoff Chocolate Cupcakes

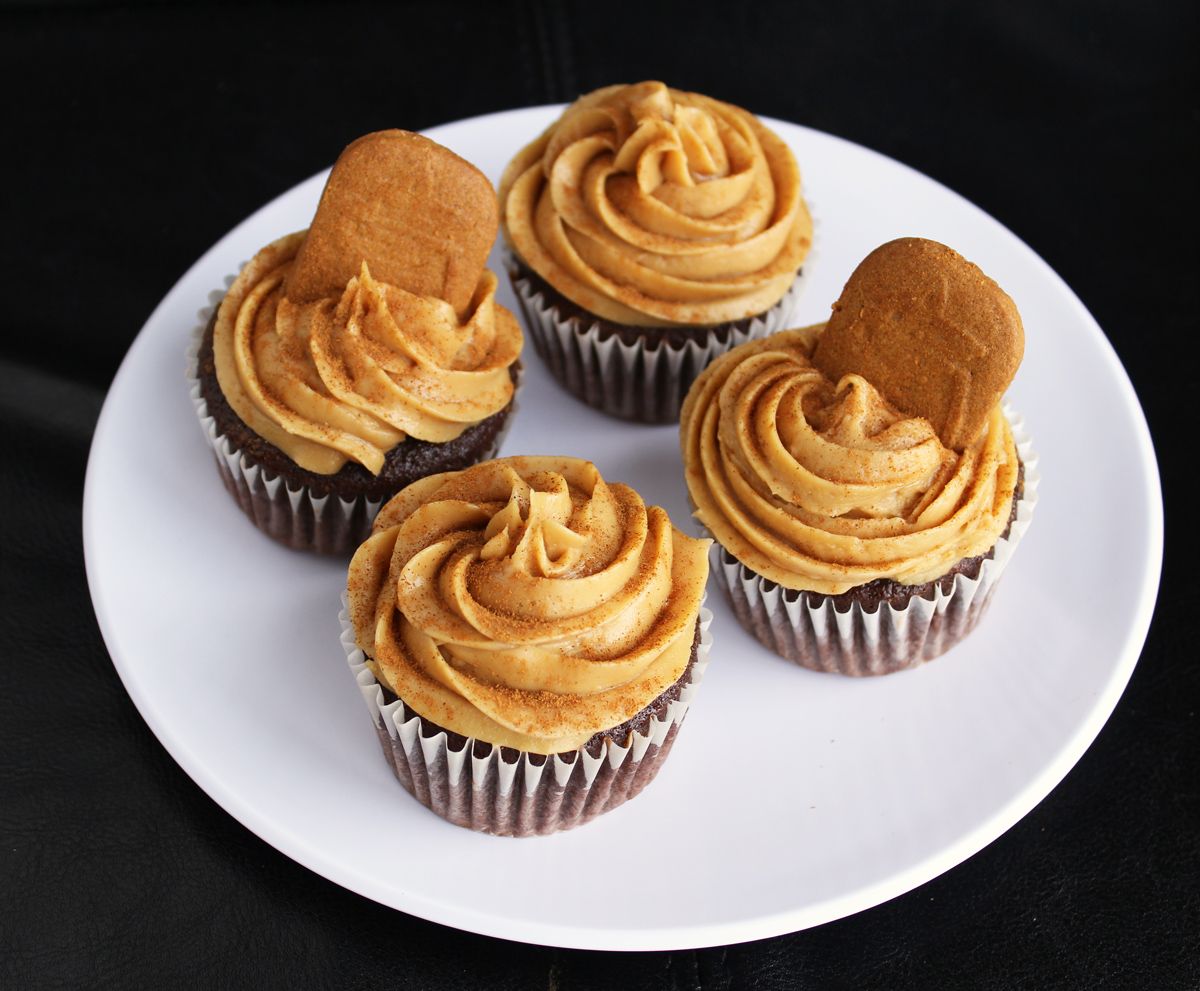
I was so happy with how these turned out! The Biscoff cream cheese frosting was my favourite part and the chocolate cupcake was the perfect complement to it, plus I loved the little surprise of Biscoff in the center! I ate two right after I made them then had to send the rest away to be shared before I got carried away, and I’m told they were very well received at work, even though most people probably didn’t know what they were eating!

 Chocolate Biscoff Cupcakes with Biscoff Cream Cheese Frosting

I still have a jar and a half of Biscoff to use up, so now that I’ve introduced you guys to it, expect to see a few more recipes here in the near future!

And if you have a favourite Biscoff recipe or way to use it, please feel free to share in the comments, I’d love to hear your ideas!

 Chocolate Biscoff Cupcakes with Biscoff Cream Cheese Frosting

Chocolate Biscoff Cupcakes with Biscoff Cream Cheese Frosting

Inspired by Beantown Baker, Chocolate cake recipe adapted from Hershey’s Kitchens, Biscoff frosting adapted from Biscoff

Makes about 12 cupcakes

Ingredients:

For the Cupcakes:
3/4 cup + 2 tablespoons all-purpose flour
1 cup sugar
1/4 cup + 2 tablespoons unsweetened cocoa powder
3/4 teaspoon baking soda
3/4 teaspoon baking powder
1/2 teaspoon salt
1/2 teaspoon cinnamon
1 large egg
1/2 cup milk
1/4 cup canola oil
1 teaspoon vanilla extract
1/2 cup brewed coffee
~1/4 cup Biscoff spread for filling

For the Frosting:
8 oz brick of cream cheese
1/2 cup Biscoff spread
1/2 cup icing sugar
1/4 teaspoon salt
1 teaspoon vanilla extract

Directions:

Preheat oven to 350°F.  Line a muffin tin with paper liners and spray with non-stick spray.

In a large bowl, whisk together the flour, sugar, cocoa powder, baking soda, baking powder, salt, and cinnamon until well combined.  In a separate bowl, whisk the egg, milk, oil, and vanilla extract until smooth.  Add the wet ingredients to the dry ingredients and mix well until smooth.  Stir in the coffee; batter will be thin.   Use a measuring cup to pour batter into liners, filling them only 2/3 full.  Bake in preheated oven for 22-25 minutes, until a toothpick inserted in the middle comes out clean.  Transfer to a wire rack and let cool completely.

Meanwhile, prepare frosting.  Beat the cream cheese and Biscoff together with an electric mixer until smooth, about 2 minutes.  Slowly add the icing sugar and mix on low speed until combined.  Mix in the salt and vanilla. 

Once cupcakes have cooled, use a sharp knife to cut a small cone out of the top of the cupcake.  Remove the top and fill with about 1 teaspoon of Biscoff spread.  Replace the top and push down to hide the biscoff inside the cupcake and create a flat surface on the top of the cupcake. (see here for pictures of the cone filling method).

Transfer cream cheese frosting to a piping bag (I fitted mine with a Wilton 1M tip) and frost cupcakes.  I decorated mine with Biscoff/Speculoos cookies and a dusting of cinnamon.

 Chocolate Biscoff Cupcakes with Biscoff Cream Cheese Frosting

December 11, 2012

Rudolph Gingerbread Cookies

Rudolph Gingerbread Cookies

Our department had our holiday cookie swap last Friday, and as usual, I made two types of cookies because I love experimenting with new holiday recipes!  Last year I brought these hidden candy cane kiss cookies and eggnog cake cookies, both of which I loved, but I wanted to try something different this year.  So I decided to make one cookie that was simple but tasted good (recipe to come later), and one that would stand out more for having a ‘cute factor’, like  the popular melting snowmen cookies from last year’s cookie swap (Google it, they’re adorable!).

Rudolph Gingerbread Cookies

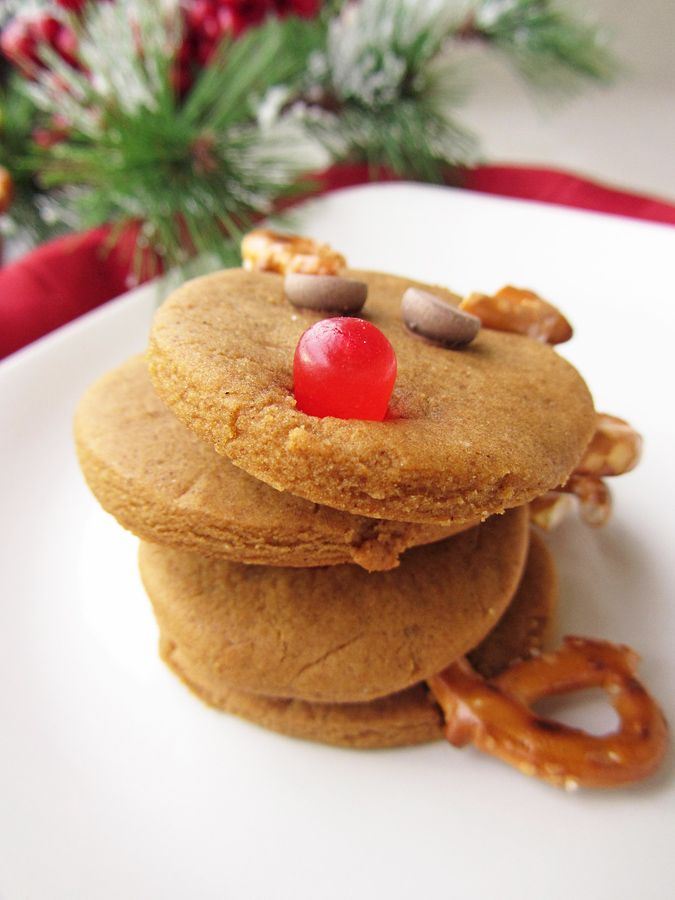
When I saw these peanut butter reindeer cookies, I knew I’d found my cute factor!  But since I like to keep things nut-free when I’m bringing them somewhere for lots of people to share, I decided to make them into gingerbread cookies instead – not only are they nut-free but they’re also more festive and reindeer-coloured!

I used Bakergirl’s gingerbread cookie recipe, cut the dough into ovals for the reindeer heads, then stuck some pretzels on for antlers, chocolate chips for eyes, and red Mike & Ike’s for the nose (though I’ve heard that Mike and Ike have recently split up, so I’m not sure who the red colour is supposed to represent, if it even works that way – mine just came from a bulk bin where all the Mike & Ikes still live happily together).

Rudolph Gingerbread Cookies

These turned out to be so adorable and got lots of compliments!  I also really liked the gingerbread recipe – while they were a bit hard coming out of the oven, they softened up and stayed soft for days in a container.  True that the pretzels and candy don’t exactly go with the taste of gingerbread, but you can pick them off and eat them separately if you like, and I don’t think kids would mind the mesh of flavours!  If you’re very concerned though, you could always replace the red nose with an m&m – I just liked the 3D effect of the candy! You could also try using chocolate-covered pretzels, they'll just be a little more expensive.

Rudolph Gingerbread Cookies

Rudolph Gingerbread Cookies

Adapted from Bakergirl (reindeer cookie idea here, gingerbread cookie recipe here)

Makes around 35 cookies

Ingredients:

1/4 cup + 2 tablespoons unsalted butter, at room temperature
1/2 cup packed dark brown sugar
1/2 a large egg (whisk one large egg in a bowl then use only half)
1/4 cup + 2 tablespoons molasses
2 cups all-purpose flour
3/4 teaspoon baking soda
1 teaspoon ground ginger
1/2 teaspoon cinnamon
1/4 teaspoon nutmeg
1/8 teaspoon ground cloves
1/8 teaspoon salt
Around 40 small pretzel twists (this is only a few handfuls from a bag)
Around 70 chocolate chips (again this is only about a handful from a bag)
Around 20 red Mike & Ike candies (I got these from a bulk bin)

Directions:

Cream together the butter and sugar in the bowl of an electric mixer, on medium speed, until light and fluffy.  Add the egg and molasses (tip: coat your measuring cup/spoon with non-stick oil spray before measuring the molasses so it pours out easier) and mix until combined.  In a separate bowl, whisk together the flour, baking soda, ginger, cinnamon, nutmeg, cloves, and salt.  Add the dry ingredients to the mixing bowl in small additions, mixing on low speed until incorporated.  Cover the dough and refrigerate for 2 hours.

Preheat oven to 325°F.

On a lightly floured surface, roll the dough into 1/8-inch thickness.  Don’t worry if the dough’s a little crumbly, you may need to work the dough with your hands for a bit first to get it to roll out smoothly.  Cut out 2-inch ovals with a cookie cutter (I just bent my circle cutter slightly to form an oval).  Place oval cookies two inches apart on a parchment-lined baking sheet.

Break pretzels in half to form antlers, and cut Mike & Ike’s in half so each candy makes two noses.  Press two antler halves onto the top of each cookie oval to form the antlers.  Press two chocolate chips pointy tip facing down into the cookies to form the eyes, and press one Mike & Ike ‘nose’ below the eyes. 

Bake cookies for 7-9 minutes or until edges are firm.  Let cool on baking sheet for a couple minutes then transfer to a wire rack to cool completely.

Reroll remaining scraps of dough and continue cutting out circles and baking cookies until the dough is used up.  I had to bake mine in 3 rounds.

Store cookies in an airtight container.  They may be hard after baking but they will soften up in the container. 
---------------------------------------------------------------------------------------------------------------------

And just so you don't think I only chose the cutest cookies for the pictures (although I did try to do that), here are my phone pics of all the cookies right out of the oven (except for my last batch of 6) - they were all cute and each slightly different!

Rudolph Gingerbread Cookies

August 24, 2012

Whole Wheat Peach Oatmeal Bread

Whole Wheat Peach Oatmeal Bread


It seems that this time of year seems to divide people into two camps: those who are already dreaming of pumpkin pie, apple cider, cozy sweaters, and all those warm and fuzzy things that go along with the fall season, and those who are not yet ready to say goodbye to warm weather, long days of sunshine, and abundant fresh summer fruits and veggies.  I definitely fall into the latter camp; as much as I love fall, I always feel like summer’s way too short and I haven’t fit in enough peach/tomato/blueberry/corn/basil/etc. goodness yet!

Whole Wheat Peach Oatmeal Bread


I also feel like I have a ton of summer recipes still to share with you guys and I’m running out of time to do so, so I’m trying to switch from two to three posts per week over these last few weeks of summer.  So because I’ve spent more time than usual on blogging this week and also seem to have WAY more schoolwork than usual this week, I’m going to keep today’s post fairly short!

Whole Wheat Peach Oatmeal Bread


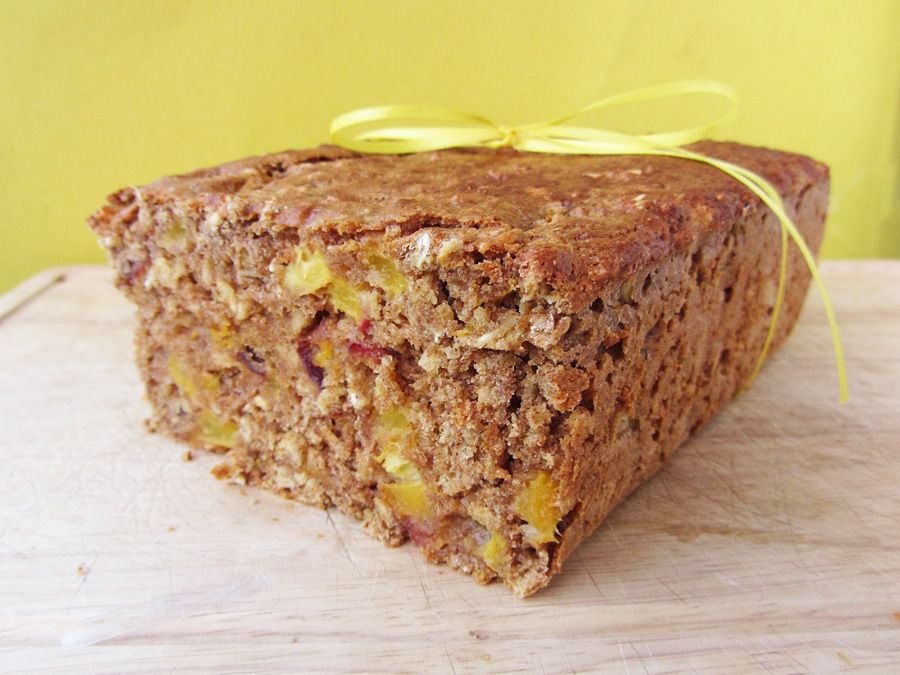
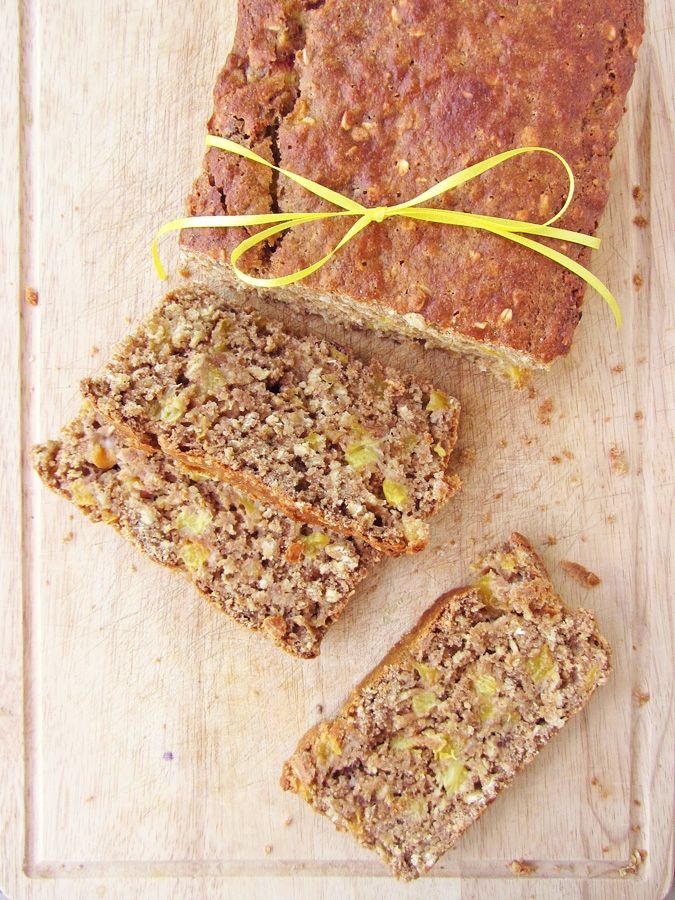
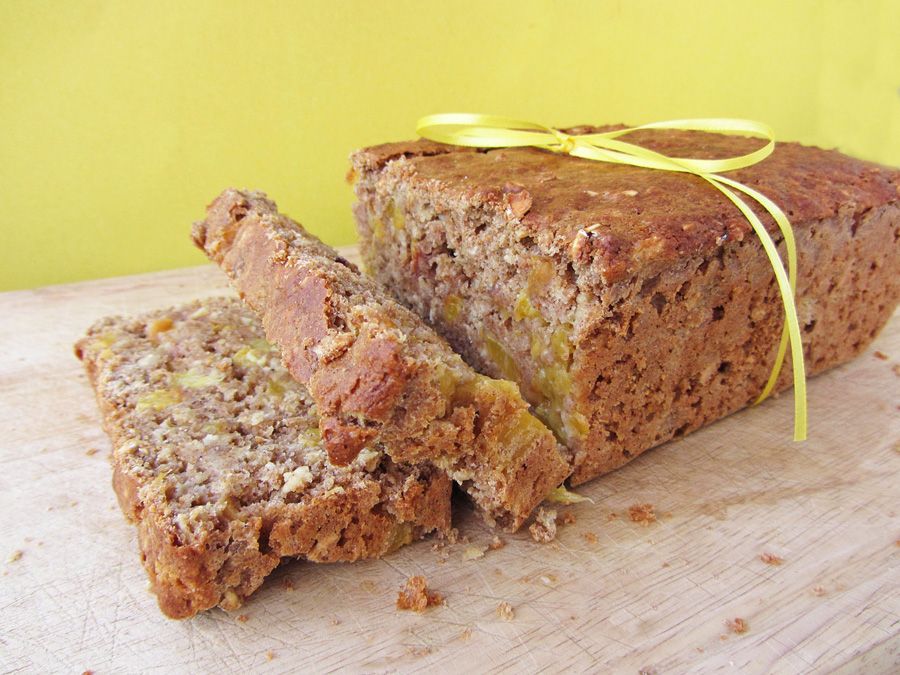
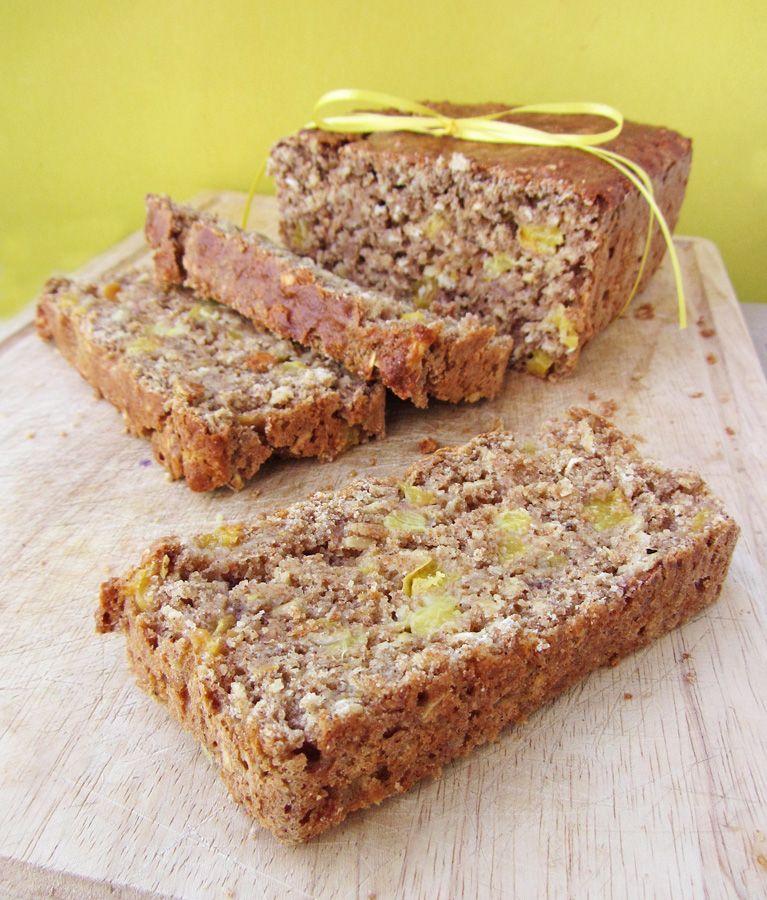
This is a dense, hearty bread with bursts of sweet peaches and hints of warm spices throughout, so it’s perfect for this transition period from summer to fall.  It’s also pretty healthy, made with whole wheat flour and oats, non-fat yogurt, and only 2 tablespoons of oil.  I’ve been loving eating it for a snack every day this week just on its own, but I think it would be amazing toasted with fresh peach jam too!

Whole Wheat Peach Oatmeal Bread


Whole Wheat Peach Oatmeal Bread

Adapted from King Arthur Flour Whole Grain Baking, via Slow Like Honey

Makes one 9x5 inch loaf

Ingredients:

2-1/2 cups whole wheat pastry flour
1/4 cup sugar
1/2 cup packed brown sugar
1 tablespoon baking powder
1/2 teaspoon baking soda
1/2 teaspoon kosher salt
1 teaspoon cinnamon
1/4 teaspoon nutmeg
1 cup old fashioned rolled oats
2 cups diced ripe peaches (from about 3 peaches)
2 large eggs (I used Omega 3 eggs)
1 cup plain non-fat yogurt
2 tablespoons vegetable oil
1 teaspoon pure vanilla extract

Directions:

Preheat oven to 350°F.  Line a 9 x 5 inch loaf pan with parchment paper and spray with cooking spray.

Whisk together the dry ingredients (flour through oats) in a large bowl.  Add the diced peaches and stir to coat the peaches.  In a separate bowl, whisk the eggs, yogurt, oil, and vanilla extract.  Add the wet ingredients to the dry ingredients, stirring until just evenly moistened.

Pour the batter into the prepared pan and bake for 50-60 minutes, until a toothpick inserted in the center comes out clean.  Let cool in the pan for 10 to 15 minutes, then remove and let cool completely on a wire rack before slicing.

Ingredient Index

Related Posts Plugin for WordPress, Blogger...