Showing posts with label cheese - Mexican shredded. Show all posts

October 28, 2014

Southwestern Quinoa Stuffed Pepper Jack O' Lanterns

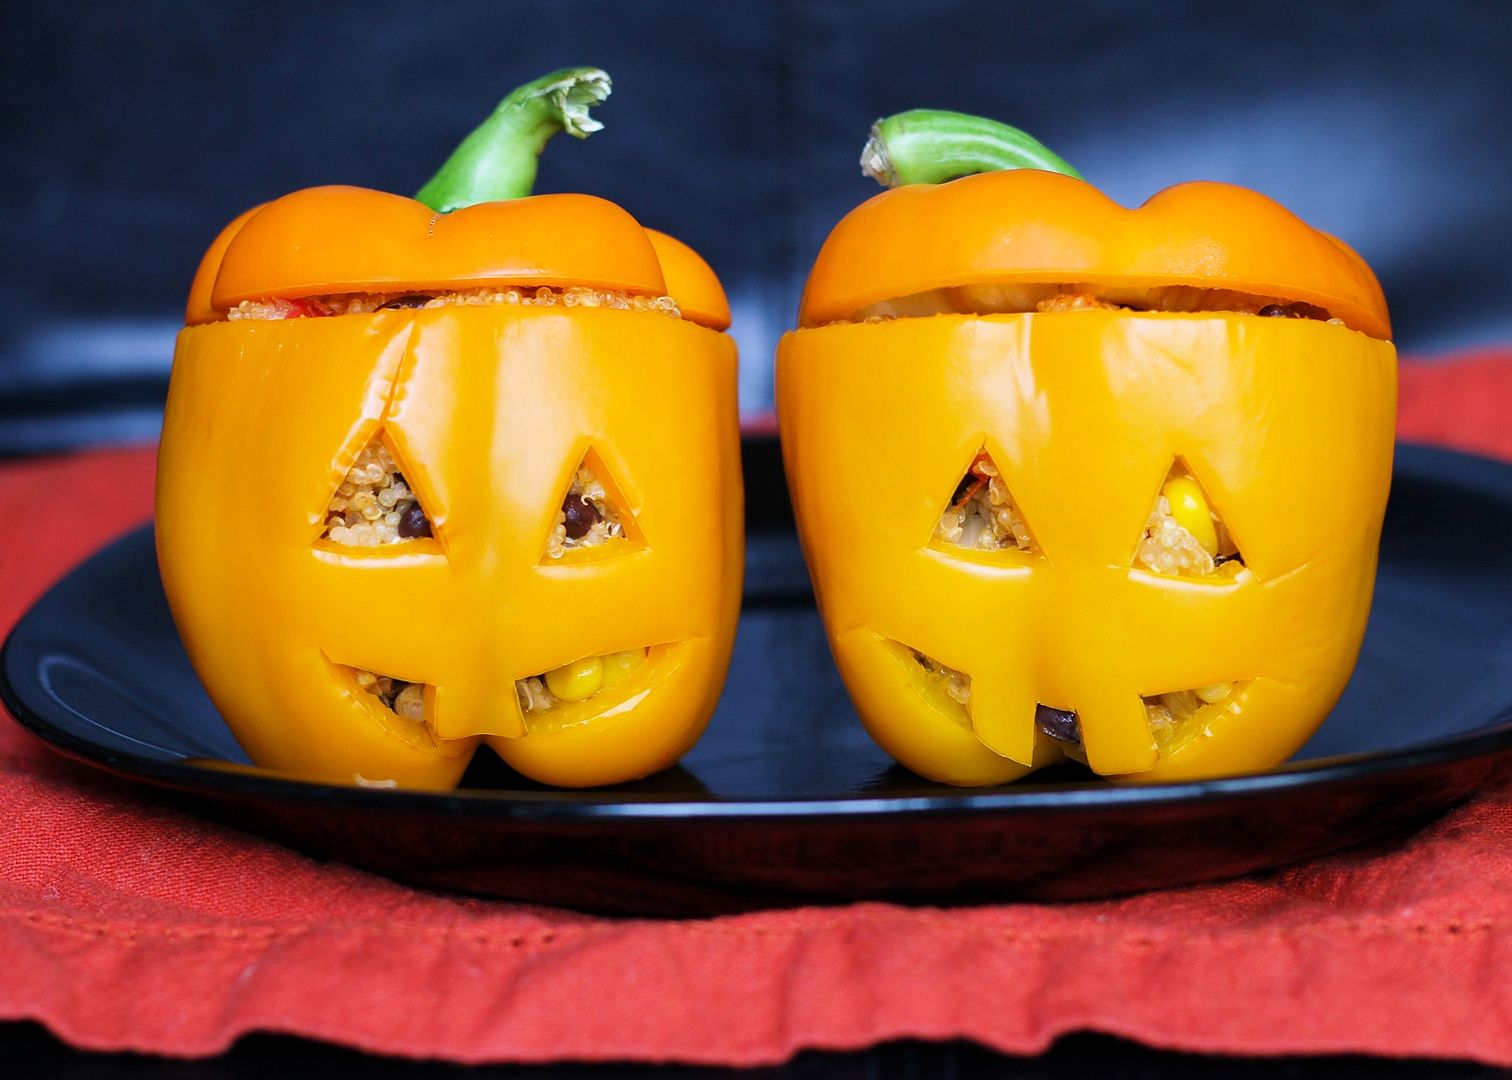
Southwestern Quinoa Stuffed Pepper Jack O' Lanterns - easy and fun dinner idea for Halloween!

I love making cute Halloween themed treats, and dinner ideas are even better since there are already so many sweets around this time of year.  I've seen the idea of carving stuffed peppers like jack o' lanterns on several blogs before and wanted to try it for myself this year.  Even though I'm certainly not the first to try these, they turned out so cute and tasty that I had to share them with you guys!
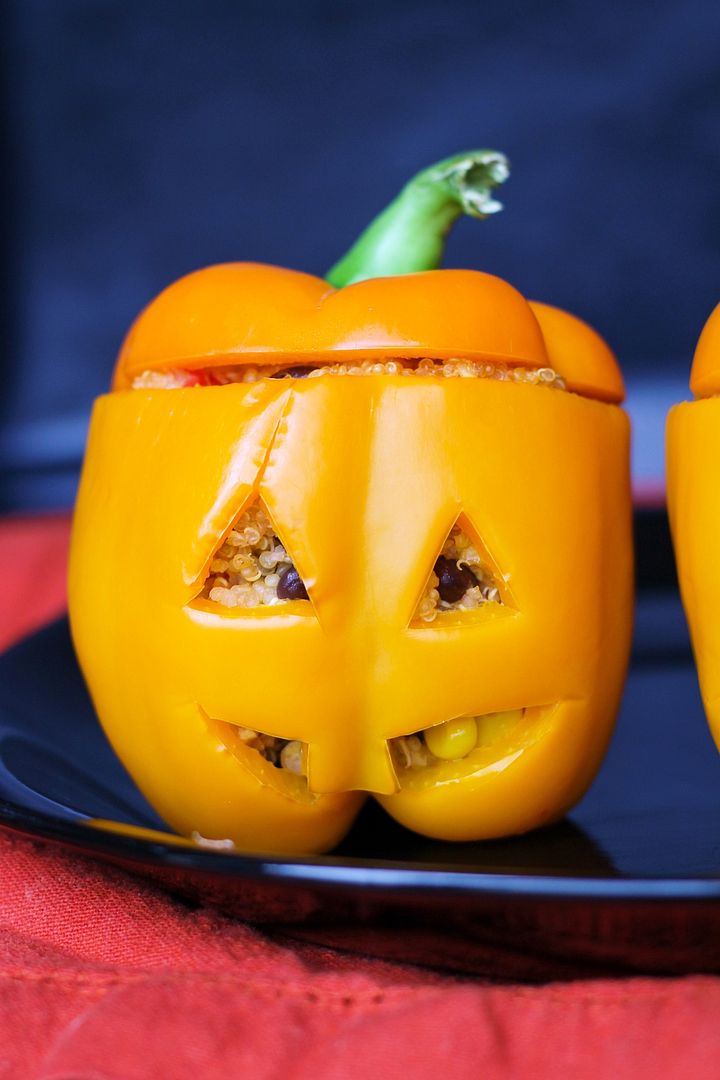
Southwestern Quinoa Stuffed Pepper Jack O' Lanterns - easy and fun dinner idea for Halloween!

These are also really easy to make and completely customizable!  Just find some orange peppers, cut the tops off and scrape out any seeds or ribs inside, then carve your jack o lantern face with a small knife.  You don't want to cut out too big of holes so that the filling could escape, but even though these are a lot smaller to work with than pumpkins, I found them much easier to "carve"!

After prepping your little pumpkin lookalikes, you make your filling, stuff the insides of the peppers, and bake them to soften the peppers.  I also like to parboil the peppers first to reduce the amount of time needed to soften the peppers in the oven later, which will also help save time if you're trying to make these on Halloween evening before trick or treating starts!
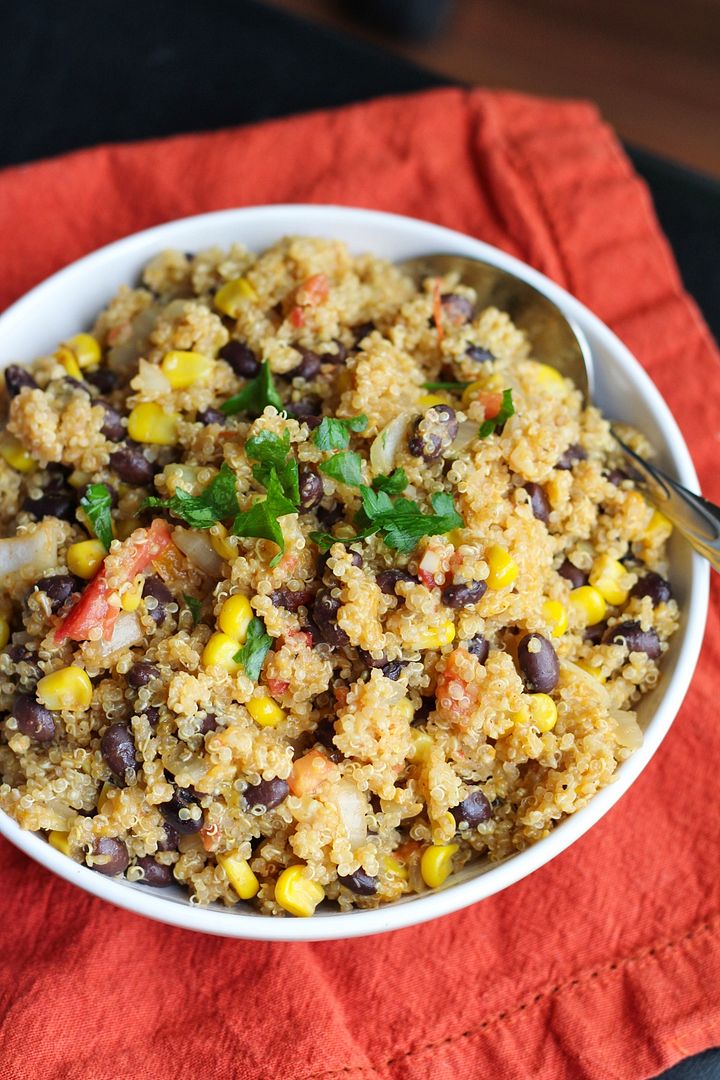
southwestern quinoa

I filled mine with one of my favourite southwestern-flavoured quinoa mixtures, which is vegetarian and pretty healthy too.  I cook the quinoa in vegetable broth which is important for giving it more flavour, then mix in some sauteed onion and garlic, tomatoes, black beans, corn, spices, and cheese.  You could add in more vegetables like spinach or mushrooms if you like, or leave out the spices if your kids won't like them.

I'm going to a Halloween potluck tomorrow and plan on making some scary cookies so if those turn out well I'll have another treat to share later this week!  Happy week of Halloween!
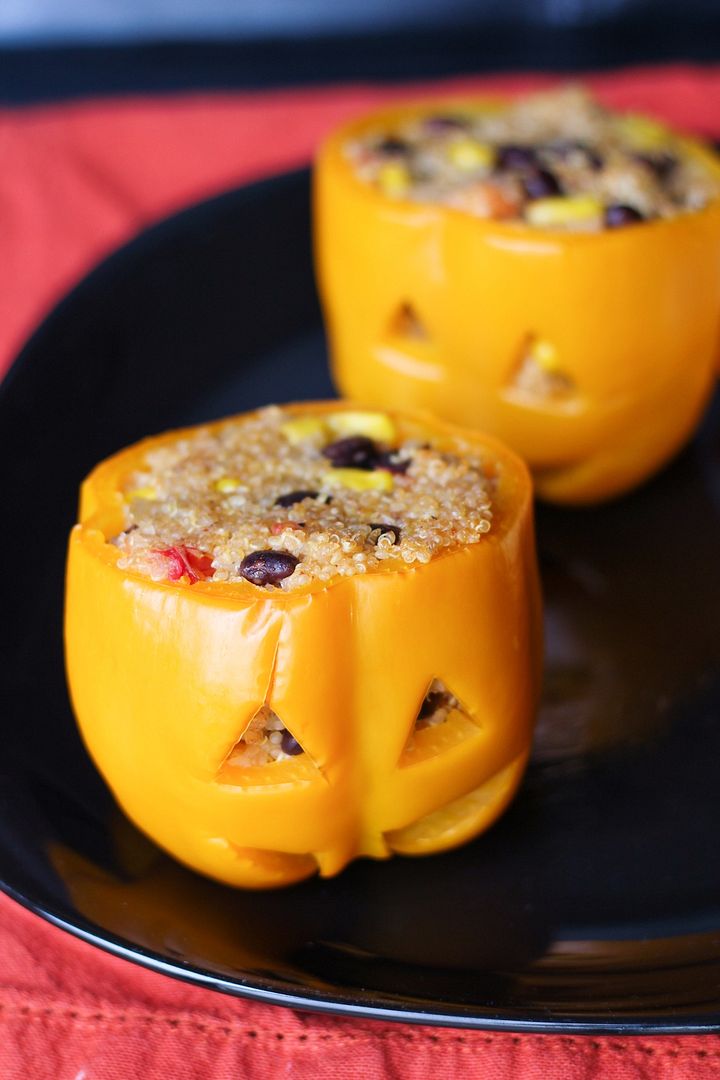
Southwestern Quinoa Stuffed Pepper Jack O' Lanterns - easy and fun dinner idea for Halloween!

Southwestern Quinoa Stuffed Pepper Jack O’ Lanterns

Serves 4-6

Ingredients:

2 cups vegetable broth
1 cup dry quinoa
4-6 orange bell peppers
1 teaspoon olive oil
1 yellow onion, diced
1 clove garlic, minced
2 small tomatoes, diced
1 (540mL) can black beans, drained and rinsed
1 cup corn kernels (thawed if frozen)
1 teaspoon cumin
1/2 teaspoon chili powder
Salt and pepper
1 cup shredded cheddar cheese (or Mexican or taco blend)

Directions:

Bring 2 cups of vegetable broth to a boil in a medium saucepan.  Add quinoa, cover, reduce heat to simmer and let simmer for 15 minutes.  Remove from heat and let sit, covered, for 5 minutes.  Remove lid and fluff with a fork.

Meanwhile, cut the tops off the bell peppers and use a knife to scrape out the remaining seeds and ribs of the pepper, leaving the pepper in tact (as seen in pictures).  Leave the tops aside if you wish to include them for presentation later.  Bring a large pot of water to a boil, with enough water to cover the peppers.  Add peppers and let simmer for about 4 minutes, until slightly softened.  Carefully remove and set aside.

Preheat oven to 350°F.

In a medium pan, heat oil over medium-high heat.  Add onion and saute for about 5 minutes, stirring often, until softened.  Add garlic and saute for 30 seconds, stirring. Add tomatoes, black beans, corn, cumin, and chili powder, and season with salt and pepper.  Stir and saute for a few minutes.  Remove from heat, stir in quinoa and cheddar cheese and mix until incorporated.

Spoon quinoa mixture into the peppers.  There should be enough to fill 6 peppers or you can really fill 4 peppers quite full, and might still have some quinoa leftover.  You could also just stop now and eat the quinoa on its own!  Leave tops off the peppers, spray a 9x13 glass baking dish with non-stick cooking spray, and place filled peppers standing up in the dish.  Cover with aluminum foil and bake in preheated oven for 25-35 minutes, until peppers are softened to your liking (I did 25 minutes as I was impatient but would have preferred 30).  Remove and serve with tops on the peppers if desired.  Eat by slicing everything up with a knife and fork and eating the quinoa and pepper together.


--------------------------------------------------------------------------------------------------
For more Halloween dinner ideas, try these:

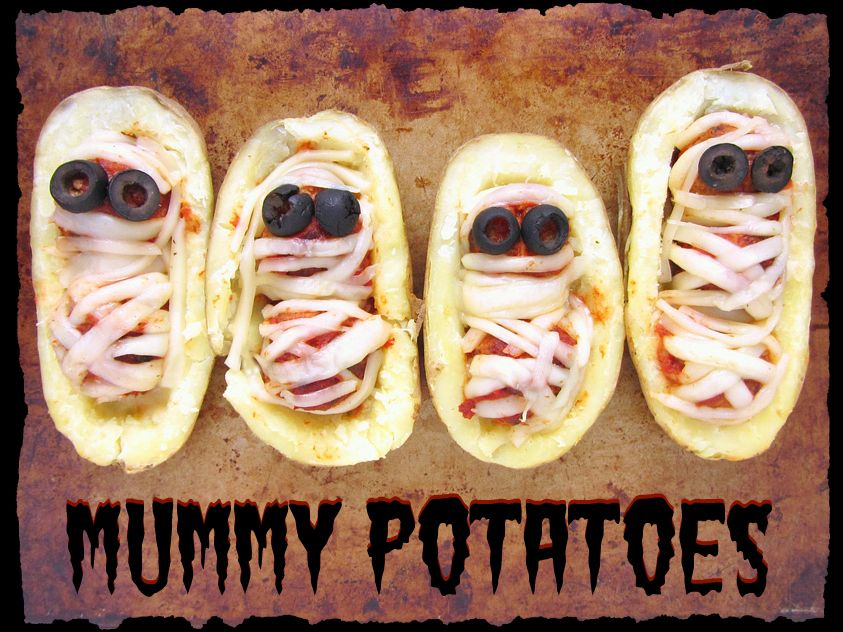
Halloween mummy potatoes with turkey meatballs

Halloween Mummy Potatoes with Meatballs

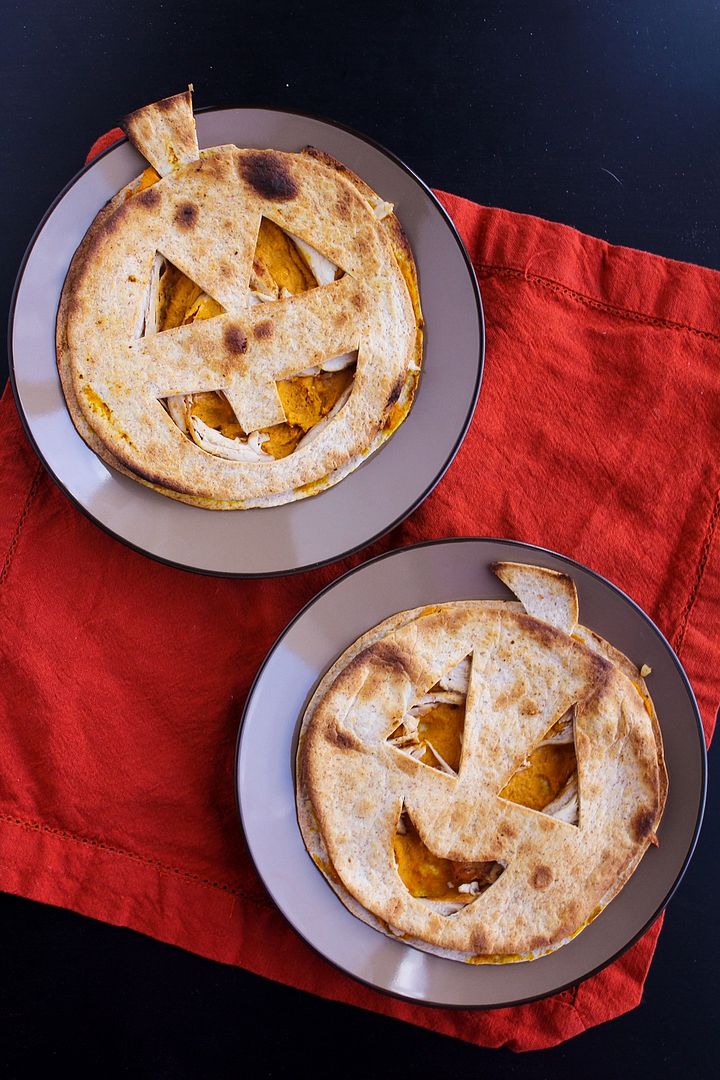
Pumpkin, chicken, & goat cheese quesadillas

Pumpkin, Chicken, & Goat Cheese Quesadillas(for Halloween!)

September 19, 2014

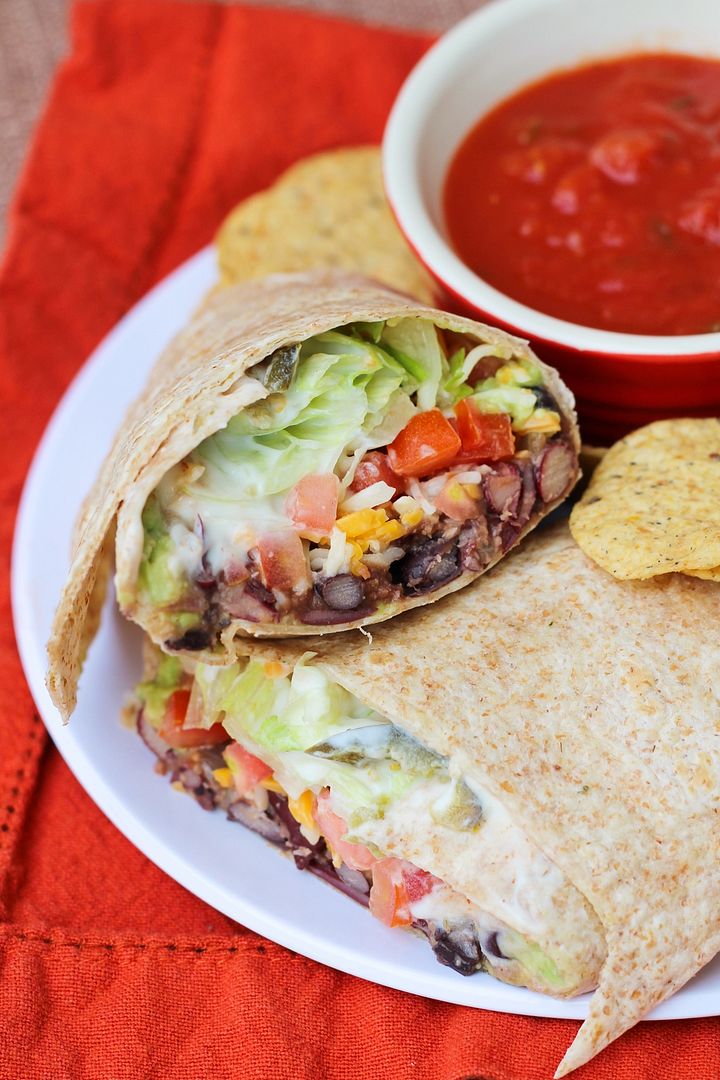
Chipotle Bean Burritos

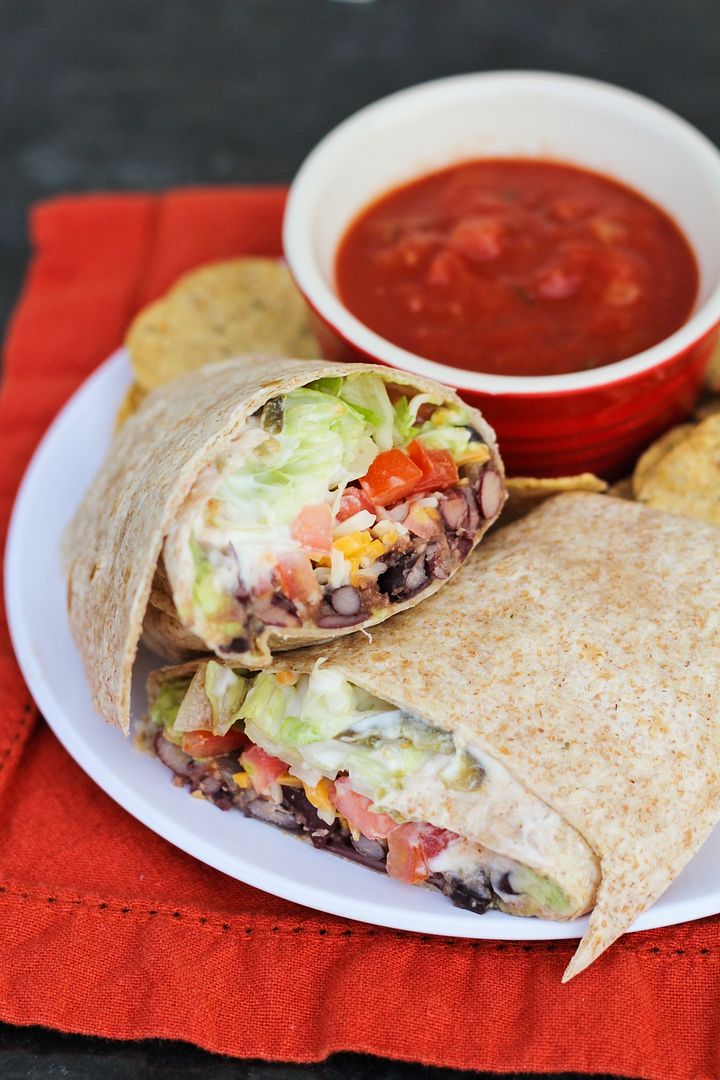
Chipotle Bean Burritos

As much as I love cooking, I don’t like having to coordinate a bunch of dishes at once or cook multiple nights in a row, so meals that consist of one dish and make lots of leftovers are a favourite around here. And these burritos fit the bill perfectly!

I consider these a fairly healthy version of a burrito with beans instead of meat, some veggies, low-fat sour cream, not too much cheese, and whole wheat tortillas (which taste just as good as regular tortillas in my opinion!).

Chipotle Bean Burritos

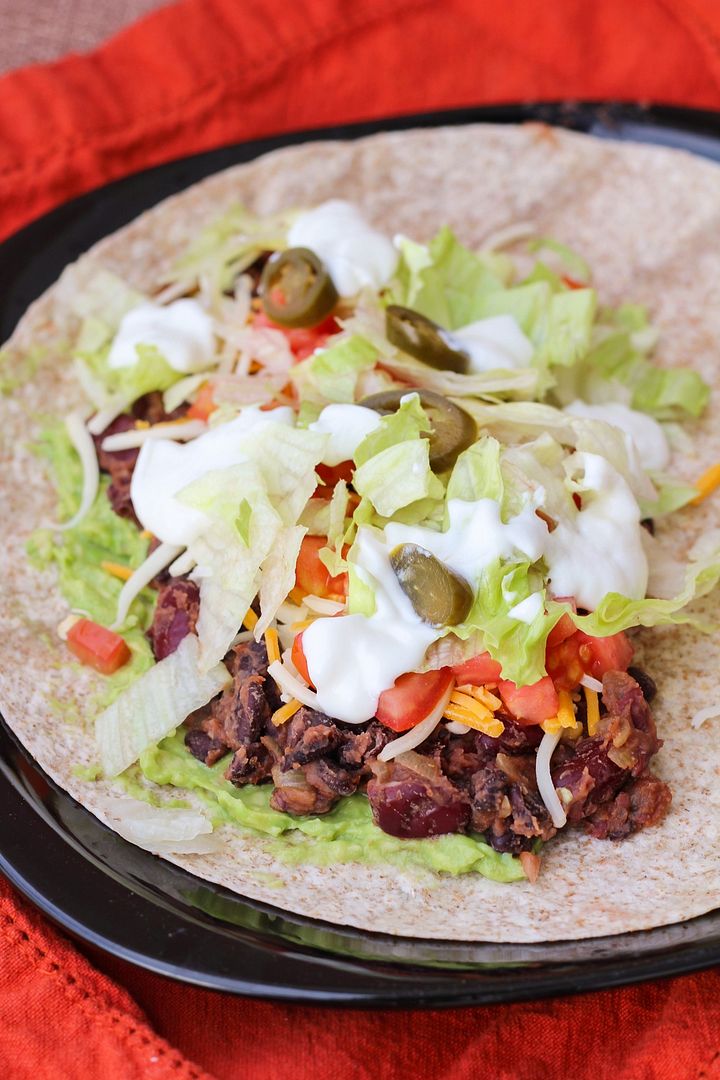
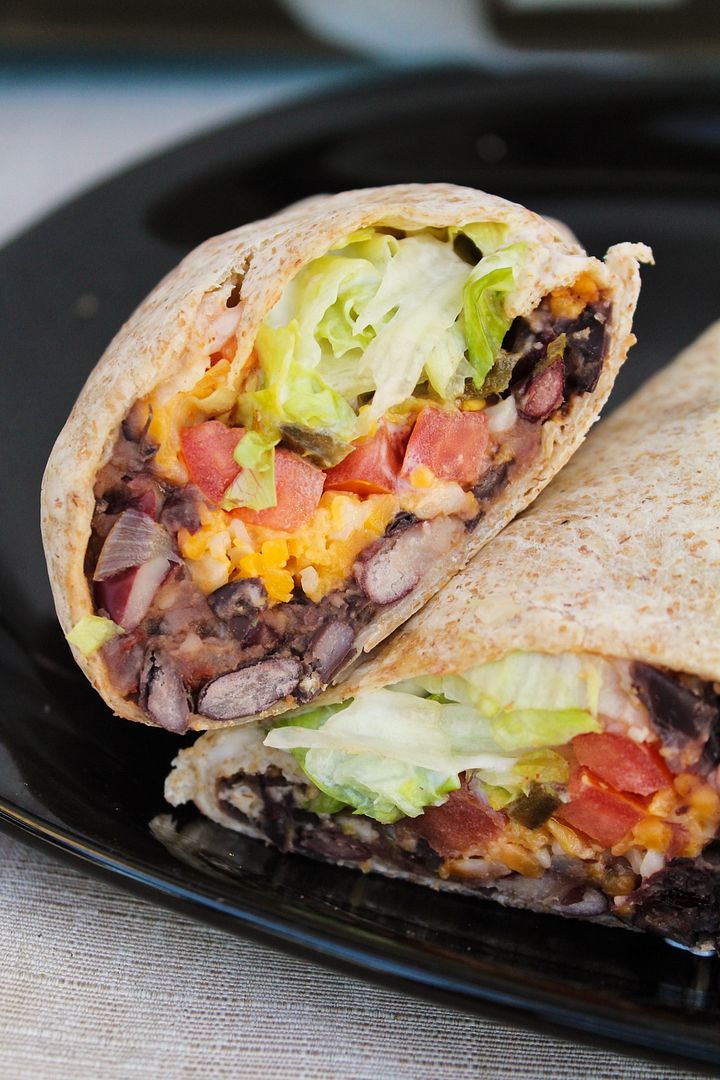
These also involve fairly minimal effort to make, and make six servings, which meant lots of leftovers for us!  To prepare them, a mixture of black beans and kidney beans gets cooked with some onion, garlic, vegetable broth, spices, chipotle sauce, and salsa to give it lots of flavour. It’s then rolled up with lettuce, tomatoes, mashed avocado, cheese, sour cream, a few pickled jalapenos, and some chipotle hot sauce for a packed and flavour-filled meal-in-one.

Chipotle Bean Burritos

We ate these three nights in a row this week and liked them more each time. That may have to do with my getting much better at rolling them with more practice (the last picture was the third night’s burrito which I thought looked much better than the first!)

Ryan commented on how good these are each time too and said they’re way better than beef burritos, and I’d have to agree! (though I don’t like beef anyway, so I’m a little biased)

Chipotle Bean Burritos


Chipotle Bean Burritos

Adapted from Cooking Light

Serves 6

Ingredients:

For the bean mixture:
1 teaspoon canola or olive oil
2 cloves of garlic, minced
1 small yellow onion, diced
1/2 teaspoon chipotle chile powder*
1/4 teaspoon salt
1/2 cup vegetable broth
1 (540mL) can black beans, drained and rinsed
1 (540mL) can kidney beans, drained and rinsed
1/2 cup chunky salsa – Mild or medium depending on your preference.  You could also use a chipotle salsa for more chipotle flavour!
2 teaspoons chipotle chile in adobo

Remaining burrito ingredients:
6 large (10-inch) whole wheat tortillas
2 large or 3 small ripe avocados
~1 cup shredded cheddar or monterey jack cheese (or a blend of cheese)
3 plum tomatoes, diced
1-1/2 to 2 cups shredded iceberg lettuce
~1/4 cup pickled jalapenos, optional
~6 tablespoons low-fat sour cream
Chipotle or regular hot sauce, optional

*I get chipotle chile powder at the bulk store.  If you can't find it, you can use a combination of regular chile powder and some cumin for spice.

Directions:

Heat oil in a large non-stick saucepan over medium heat.  Add onion and saute about 5 minutes, stirring often, until translucent and starting to turn golden brown.  Add garlic and saute for 30 seconds.  Add chile powder and salt and stir to coat for another 30 seconds.  Stir in vegetable broth and beans and bring to a boil.  Let simmer about 7-10 minutes, or until no liquid remains. Remove from heat and stir in salsa and chipotle sauce.  Partially mash mixture.

Warm tortillas up for about 30 seconds in the microwave, wrapped in damp paper towel, so they are easier to roll.  To form burritos, spread 1/6 of the bean mixture (so it divides evenly among 6 burritos) onto one half of the tortilla, leaving about a 1-inch border.  Top with avocado, cheese, tomatoes, lettuce, pickled jalapenos, sour cream, and hot sauce (again dividing evenly among 6 burritos).  Roll up the side closest to the filling, then fold in each end, and roll the burrito toward the empty side of the tortilla, wrapping the filling completely.  Others prefer to fold in the sides of the burrito first, then roll up from the bottom.  I've also seen starting with the filling in the middle.  Use whatever method works for you but make sure to roll tightly and keep the filling in!

Serve while filling is still slightly warm.  I like to warm my completed burrito up in the toaster oven for a couple minutes before eating to make sure it's warm throughout.

If you have leftovers, keep everything separate.  Warm bean mixture up in the microwave and then prepare burrito as before.

May 03, 2012

Barbeque Chicken Baked Potato

Barbeque Chicken Baked Potato


Sorry for the lack of posts this week, but I'm currently on vacation in Cuba! I won’t have internet access while I’m here, which means I won’t be able to keep up with reading all my usual blogs or replying to comments.  I still wanted to share at least one recipe this week though, so I chose a super easy weeknight dinner recipe that I actually made quite a while ago but was saving to post for just an occasion like this!  

I actually planned on writing this post at the airport before I left and scheduling it to appear while I was away, but after a last-minute minor disaster involving the new Blogger not working on an iPad, my helpful sister Genevieve fortunately stepped in to save the day and help post this for me!

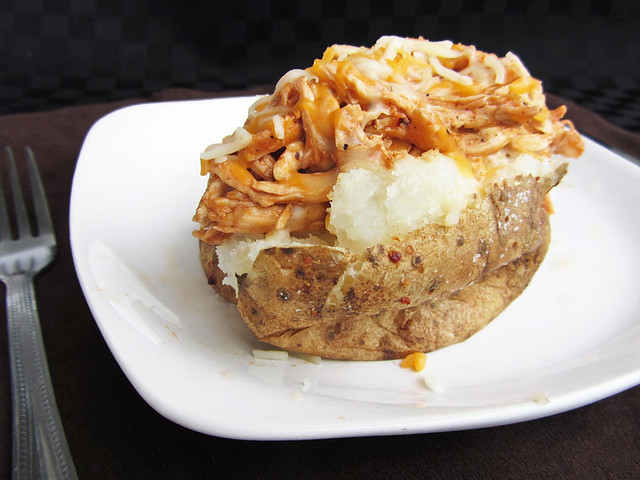
There's not much to say about this barbeque chicken baked potato except that it's easy, delicious comfort food.  Though the baked potato does take a while to cook, the rest is easy peasy, and if you're really short on time you could even microwave the potato, though it won't taste quite as good!  

I can't immediately think of a good vegetarian protein you could use in place of the chicken, but if you have any ideas, let me know, or if you have any other good ideas for baked potato toppings, feel free to suggest some in the comments as well!  I'm thinking a buffalo chicken version of this would be great to try next!

Looking forward to catching up with you again next week!

BBQ Chicken Baked Potato

Serves 2 as a light meal served with a salad or side - you may wish to increase the amount of chicken for something more filling

Ingredients:

2 russet potatoes
1 chicken breast
Barbeque sauce
Shredded cheese (e.g. Mexican blend, cheddar, pepper jack)
Salt & pepper

Directions:

Preheat oven to 375°F.  Scrub potatoes and pierce skin several times with a fork.  Rub skin with a bit of olive oil and salt.  Place potatoes in the preheated oven, directly on the oven rack (with a pan underneath to catch any drippings).  Bake for 1 to 1 ½ hours, or until slightly soft and golden brown.

Meanwhile, cook chicken breast (about 4-5 minutes per side over medium-high heat).  Shred with two forks, season with salt and pepper, and coat with barbeque sauce.  Keep warm and reheat if necessary when potatoes are done.

When potatoes are done, prick each potato with a fork in a line lengthwise across the top, then smack the two ends of each potato together so that it bursts open.  It should be nice and fluffy inside.  Top each potato with half the shredded chicken and desired amount of shredded cheese.  Add more barbeque sauce, salt, and pepper if desired.  Serve warm.

UPDATE: I received an anonymous comment from a reader which unfortunately can't show up on my commenting system because it was entered on a mobile device. The reader noted that my potato looked dry and needs more sauce and cheese, which reminded me that I should have mentioned that I did indeed add more bbq sauce and a bit more cheese after I sliced the potato open into pieces, which you can certainly do as well, I just didn't take a photo of that stage.  The reader also noted that what was missing was "butter, sour cream, and scallions".  You can certainly add your own ingredients to the potato - I don't like scallions and I don't normally eat my potatoes with butter and sour cream as I try to keep them healthier, but of course it should go without saying that you can easily adapt this recipe to your own tastes, this is just what worked for me!

January 19, 2012

Easy Cheesy Black Bean & Corn Quesadillas

I've mentioned before that I'm trying to include more easy weeknight dinner recipes on my blog, for all those busy working people who don't have time to make things like ravioli or lasagna for their hungry families. These black bean and corn quesadillas are almost too simple to share a recipe for, but because I've made them at least four times in the last few months (and I very rarely repeat recipes that close together), I thought they were worth sharing!

This is the kind of meal you make when you're at the grocery store and realize you have nothing to eat for dinner, but don't have a recipe to consult for ingredients to buy. For this meal, all you have to remember to buy are tortillas, black beans, corn, salsa, and cheese (and chances are you have most of those things at home anyway). And if you're cooking for only 1 or 2 like I usually am, then you won't have to worry about what to buy or eat for the next few days because you'll have a ton of leftovers!

The quesadillas are made by heating a can of black beans with some corn and salsa, then spooning that onto tortillas, topping it with some shredded cheese, and heating them until the tortillas are crisp and the cheese melts to hold everything together. If you want to be a bit fancier, you could add in some cilantro, onions, garlic, or any other ingredients you like, but I find simple is best here. You can also adjust the heat depending on what type of salsa you use - I usually stick to mild but any kind would work!

The end result is a cheesy, comforting meal that both kids and adults would love. They're also reasonably healthy, so I have no guilt about eating them for multiple meals in a row (they reheat pretty well). They are a little messy to make though, as trying to flip them can sometimes cause the filling to fall out, but I have a tendency to overfill my quesadillas, which may be part of the problem. I have a feeling that baking them in the oven instead of on the stove would be much easier, but I haven't tried that yet - if you do, let me know how it works!

And for another easy and delicious quesadilla idea, try my peach and brie quesadillas! Though peaches aren't in season right now, they could easily be replaced with another fruit (I think apples or pears would work well!)

Easy Cheesy Black Bean & Corn Quesadillas

Makes about 6 quesadillas

Ingredients:

1 can (2 cups) black beans, drained and rinsed
2 cups corn kernels (I use frozen, thawed)
1 cup salsa (I use chunky mild salsa)
12 medium (6-inch) whole wheat flour tortillas
1-2 cups shredded Mexican cheese
Extra salsa and sour cream for serving

Directions:

Heat black beans, corn, and salsa in a large saucepan over medium heat until heated through.
Spray a large non-stick skillet with cooking spray and heat over medium-high heat. Add one tortilla, spoon black bean mixture on top to cover the surface, sprinkle with desired amount of cheese, then top with a second tortilla. Cook 1-2 minutes until golden brown on one side, then flip and cook another minute or two until the other side is golden brown.

Remove from heat and repeat with remaining tortillas, bean mixture, and cheese. Separate cooked quesadillas with foil or parchment paper so they don’t get soggy from laying on top of each other. Slice each quesadilla into four and serve warm with extra salsa and sour cream, if desired.

*Note: All amounts are rough estimates and are adjustable to taste. You may end up using more or less tortillas, depending on the size of the tortillas and how much filling you want in each quesadilla.

October 28, 2011

Mini Party Appetizers - Mac n' Cheese & Pizza Puffs

mini party appetizersWith the weekend upon us and possibly some Halloween parties to go to, I thought I'd share some fun recipes for cute and tasty mini party appetizers! I made these for a sports night get-together recently. I wasn't actually there but Ryan reported back to me that everyone loved them - and of course, I did plenty of taste testing myself to confirm this before everyone arrived :)

I used my mini muffin pan to create two appetizers - mac n cheese bites and pepperoni pizza puffs. The mac n cheese bites were the exact same cheesy classic everyone loves, just in a small portable form. It's a little weird eating macaroni and cheese with your hands, but once you have one it's impossible not to have another! The pepperoni pizza puffs had all the components and taste of pizza - cheese, herbs, pepperoni, and marinara sauce - but in a puffy, bite-sized form.

Both of these recipes were super easy to make and the perfect size to feed lots of people as a fun appetizer. They're also both highly adaptable to whatever cheese or other ingredients you have in your fridge, so have fun with them!

mini party appetizers
Mini Pepperoni Pizza Puffs

Recipe at Kirbie's Cravings

These are highly adaptable - try using different types of cheese (I used a blend of Mozzarella and Mexican cheeses), different seasonings, different meat, or make them vegetarian by adding in some veggies like onions or peppers. For a slightly healthier version, try these Whole Wheat Pizza Puffs from Cooking With My Kid.

But whatever you do, don't forget the marinara sauce!

Mini Mac n' Cheese Bites


Adapted from Dinners for a Year and Beyond

Makes about 36 bites


Ingredients:

1-1/2 tablespoons unsalted butter
2 tablespoons all-purpose flour
3/4 cup milk
1-1/2 cups packed shredded cheese – I used half Mexican blend cheese and half Pepper Jack, but you could also use sharp cheddar or white cheddar, or your other favourite blend
1/4 cup Parmesan cheese, grated, plus more for sprinkling on top
2 large egg yolks
1/2 teaspoon salt
1/4 teaspoon pepper
1/8 teaspoon nutmeg
1/2 pound elbow macaroni, cooked and drained

Directions:

Preheat oven to 425°F. Spray a nonstick mini muffin pan with cooking spray (you may need multiple pans). Set aside.

In a large saucepan, melt the butter over medium heat. Whisk in the flour and cook for about 1 minute. Whisk in the milk and bring to a boil. Cook, whisking occasionally, for about 2 -3 minutes until thickened. Add all the cheeses and stir together to melt. Remove from heat and stir in the egg yolks, salt, pepper, and nutmeg. Stir in the cooked macaroni.

Spoon the macaroni and cheese into the prepared mini muffin pan(s), filling each cup to the top. Pack each one down gently. Sprinkle with remaining Parmesan cheese.

Bake for about 10 minutes, until golden and sizzling. Let cool for about 10 minutes, then use a butter knife to carefully loosen and pop out the bites from the pan. They should pop out very easily. Transfer the mac and cheese bites to a platter and serve warm.

To make ahead, bake and cool mac and cheese bites then store in the fridge. When ready to serve, place the bites on a baking sheet and heat in a 400
°F oven for 5 minutes until warmed through.

mini party appetizers

Ingredient Index

Related Posts Plugin for WordPress, Blogger...