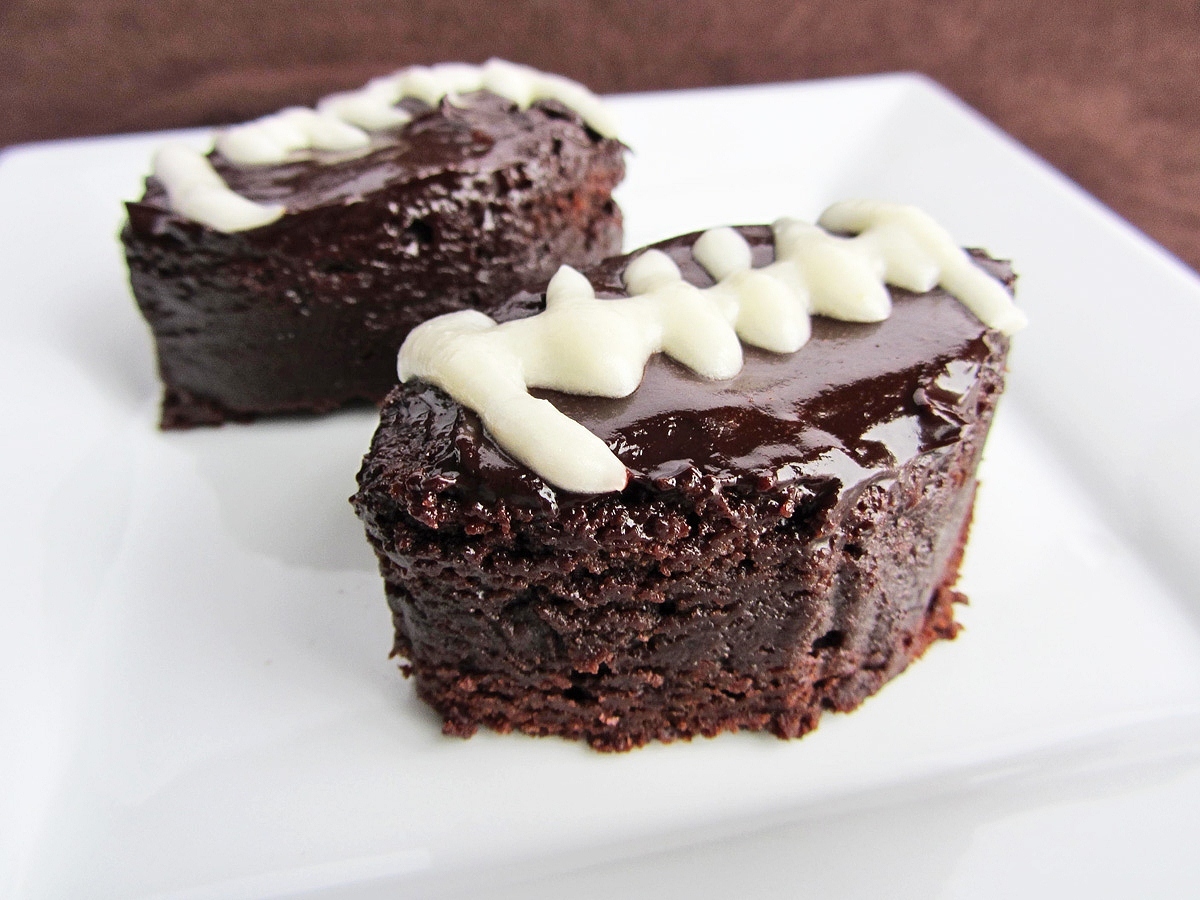
 I usually don't think of desserts when I think about Super Bowl food, but when I saw this recipe for chocolate stout brownies in the Super Bowl section of Bon Appetit's latest magazine, I knew I had to make them. Beer goes well with football and brownies are always a crowd-pleaser, so combining them seemed like a fantastic idea. I even decided to go one step further and cut them into football shapes to make them extra special!
The original recipe called for any stout,
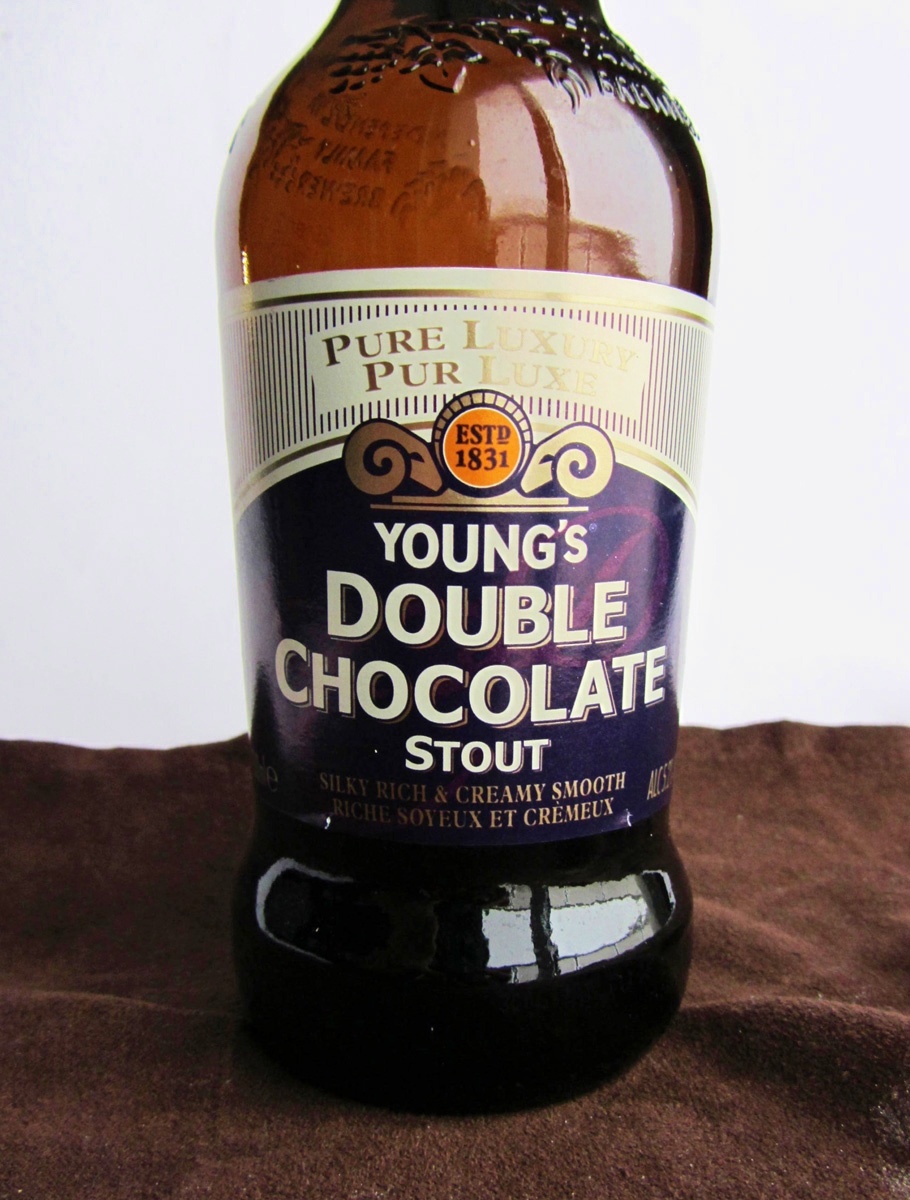
but I used a chocolate stout because that just made sense to me. The brand I
used was Young's Double Chocolate Stout, which is available at the LCBO here in
Ontario, but I'm not sure about its availability elsewhere. There are lots of
kinds of chocolate stouts out there, but if you can't find any, just use a regular
stout like Guinness. You won't need a full bottle for the recipe, so choose a
stout that you like so you can drink the leftovers!
 I often hesitate to make brownies because I always seem to have a problem with underbaking them, but I've learned over the years that fudgy underbaked brownies are usually the best kind anyway! These brownies were definitely on the fudgy side, so if you're a cakey brownie fan, turn away now!
While I loved the soft, gooey texture of these, it unfortunately made my plan of cutting them into football shapes much harder than expected. After cutting out two football brownies, I gave up because it was getting too messy and difficult. The two I cut out did turn out quite cute though, especially after being decorated with a quick white icing.
 With the rest of the pan, I just cut them into regular squares, which worked fine. You can go ahead and try to cut football shapes if you're more patient than I am, but squares will be a lot easier. Or you could do what I did and make two footballs as a center piece for your plate of brownies, then arrange the rest of the squares around them. Whatever shape you choose, just be sure to cut them small, because they're quite rich!
I haven't even told you how these taste yet, so in case you couldn't tell from the pictures, they were amazing! The flavour was so rich, dark, and complex, which I loved so much more than regular old brownies. You wouldn't know from eating one that they contain stout, but I definitely think the stout is what gives these their more "grown-up" feel. Everyone I gave them to loved them, especially Ryan, who hovered over me the whole time I was cutting them, quickly snatching up any piece that fell off!
I think these would be a great addition to your Super Bowl menu! And because I have so many other great Super Bowl recipes bookmarked that I haven't had time to make myself, I'll be back in a few days to do a roundup of other Super Bowl food that I think would be perfect for the big game, so stay tuned!

Chocolate Stout Brownies
Slightly adapted from Bon Appetit
Makes one 9x9 pan of brownies, or about 16-20
brownies
Ingredients:
1 cup chocolate stout
16 ounces semisweet
chocolate, divided (I used two boxes of
Baker’s semisweet chocolate, which contain 8oz each)
1 cup plus 2
tablespoons unsalted butter, softened
1-1/2 cups sugar
3 large eggs
1 teaspoon vanilla
extract
3/4 cup all-purpose
flour
1-1/2 teaspoons salt,
divided
Directions:
Preheat oven to 350°F.
Line a 9 x 9 x 2" square non-stick baking pan with foil, leaving a 2"
overhang that will allow you to lift the brownies out of the pan later. Spray
the foil with non-stick cooking spray.
Bring chocolate stout
to a boil in a medium saucepan and let simmer until reduced to 1/2 cup. This may
take around 10 minutes, but you can easily check by pouring the liquid into a
glass measuring cup then transferring it back to the pot and continuing to
simmer if it hasn’t reduced enough. When done, remove from heat and let cool.
Divide into two 1/4 cup measurements - you will use half in the brownie batter
and half in the glaze.
Chop 12 oz chocolate
and 1 cup butter into pieces and combine in a medium metal bowl. Set the bowl
over a small saucepan of simmering water and stir until melted and smooth. Remove
from heat.
Whisk sugar, eggs, and
vanilla in a large bowl until smooth. Gradually whisk in the melted chocolate
mixture, then 1/4 cup of the reduced stout. Gently fold in flour and 1-1/4
teaspoon salt. Pour batter into the prepared pan.
Bake brownies until
surface begins to crack and a tester or toothpick inserted into the center of
the pan comes out with a few moist crumbs attached, 40-50 minutes. Transfer pan
to a wire rack and let cool at least 20 minutes.
Add remaining 4 oz
chocolate to a medium bowl set over a small saucepan of simmering water, and
stir until melted and smooth. Remove from heat, add remaining 1/4 cup reduced
stout, 2 tablespoons of butter, and 1/4 teaspoon salt. Whisk until well
blended.
Pour warm glaze over
brownies. Let stand at room temperature until glaze is set, at least 40
minutes. Using the foil overhang, lift the brownies out of the pan and cut into
small squares (keep in mind that these are rich so you won’t want big pieces).


