Last Thursday was my (and my twin sister Genevieve's!) birthday and I had a fantastic day being spoiled by my fiance, who took me to my first NHL playoff game that evening, which was really exciting even though the end result of the game didn't turn out quite how we'd hoped!
On the weekend I celebrated with my family, which meant that I got to choose a birthday dinner, but I made my own cake as usual because I look forward to it every year! For dinner, my parents made a somewhat Mexican-themed meal with sangria, chips and guacamole, and caramelized pineapple and chicken quesadillas with a strawberry salsa - it was all amazing!

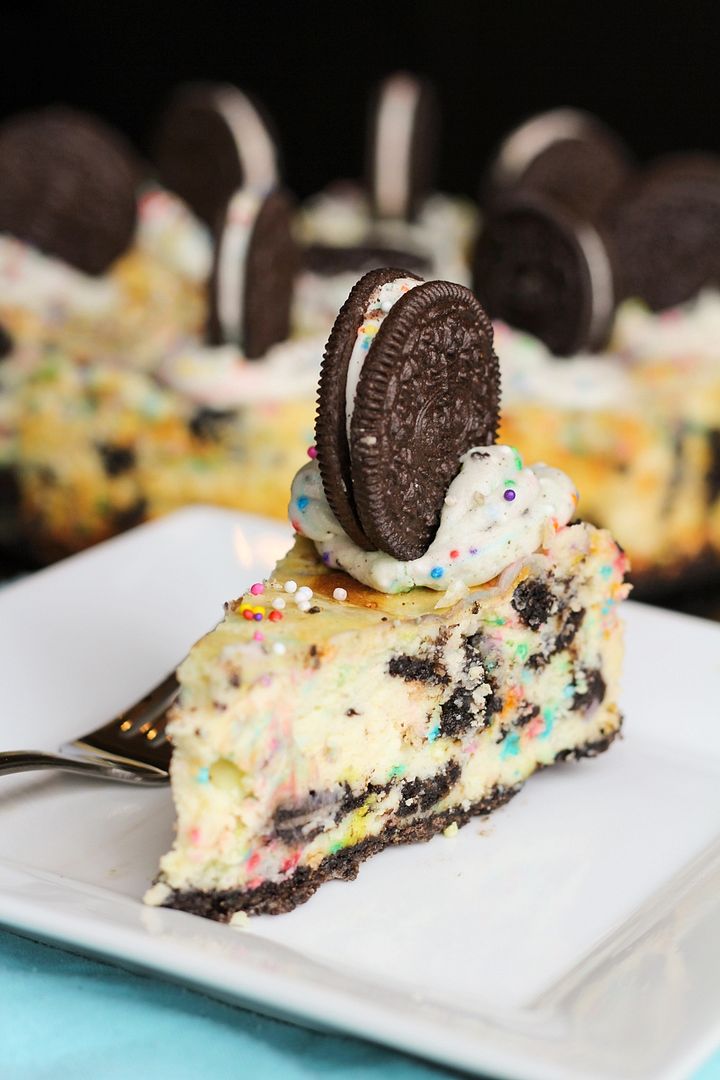
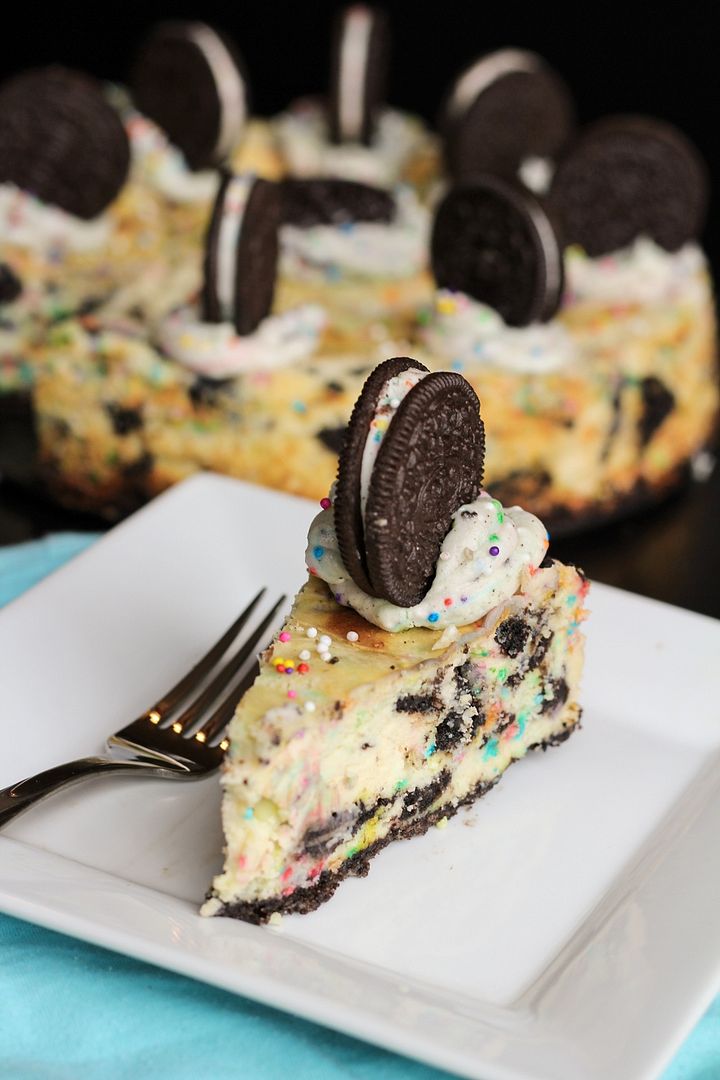
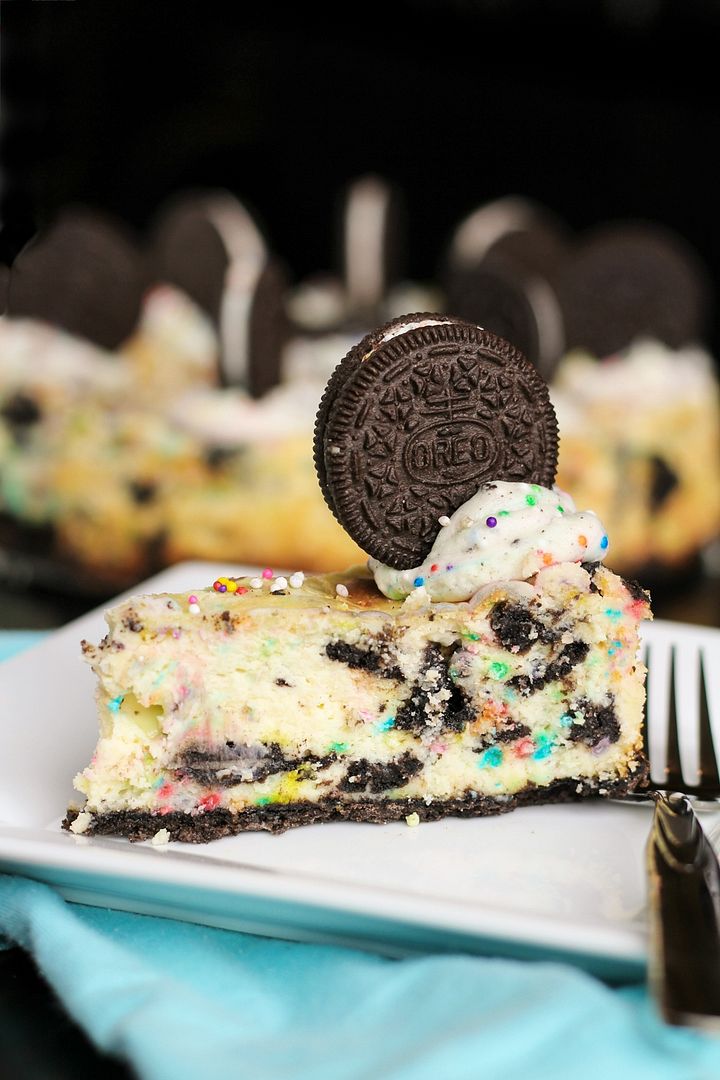
And for dessert, I made this festive birthday cake Oreo white chocolate cheesecake!
As I mentioned in my last post, I'm not a huge fan of the typical white birthday cake with super sweet frosting, but cheesecake is a different story - I love any and every kind of cheesecake!
My older sister had just brought back birthday cake flavoured Oreos for us from her trip to the US, so I decided to incorporate them into a birthday cheesecake! I don't think I've seen these Oreos anywhere in Canada but I could be wrong - if someone knows if they're available, let me know! If you can't find them, you can still make this with regular Oreos, it just won't smell as much like birthday cake :) I didn't have quite enough birthday Oreos to use throughout the cake by the time I got around to grabbing the package, so I just used half regular Oreos which worked fine!
This cheesecake has an Oreo crust, with the birthday cake Oreos chopped up and mixed throughout the cheesecake batter, along with some sprinkles (necessary for anything birthday themed, of course) and melted white chocolate chips to enhance the sweet birthday cake flavour.
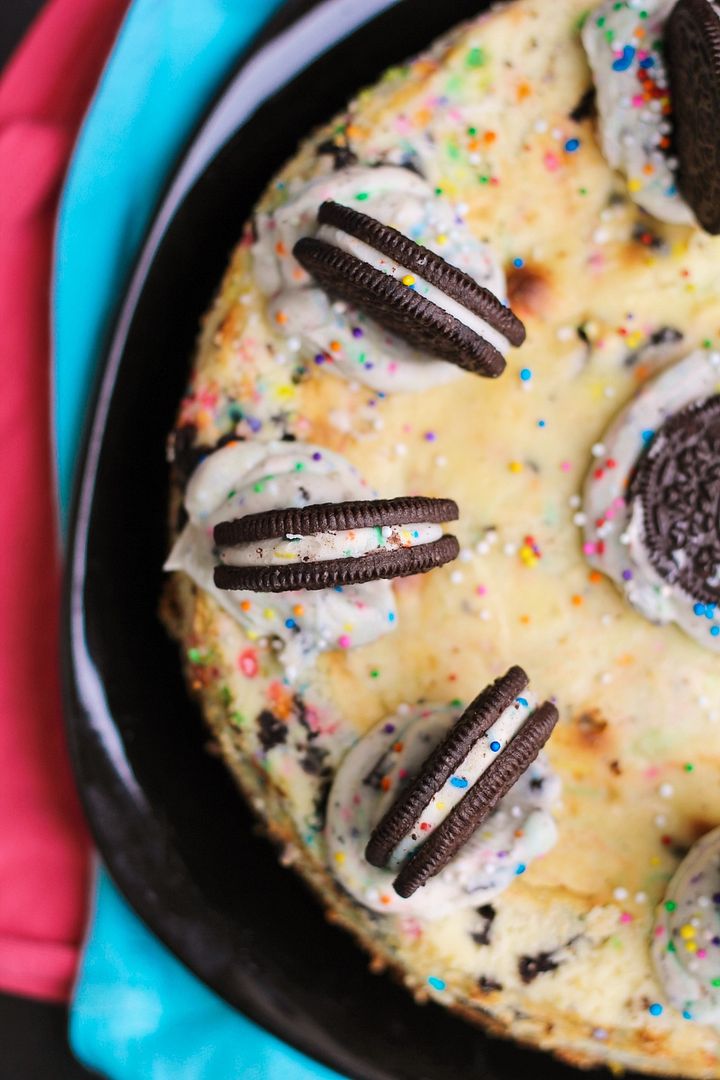
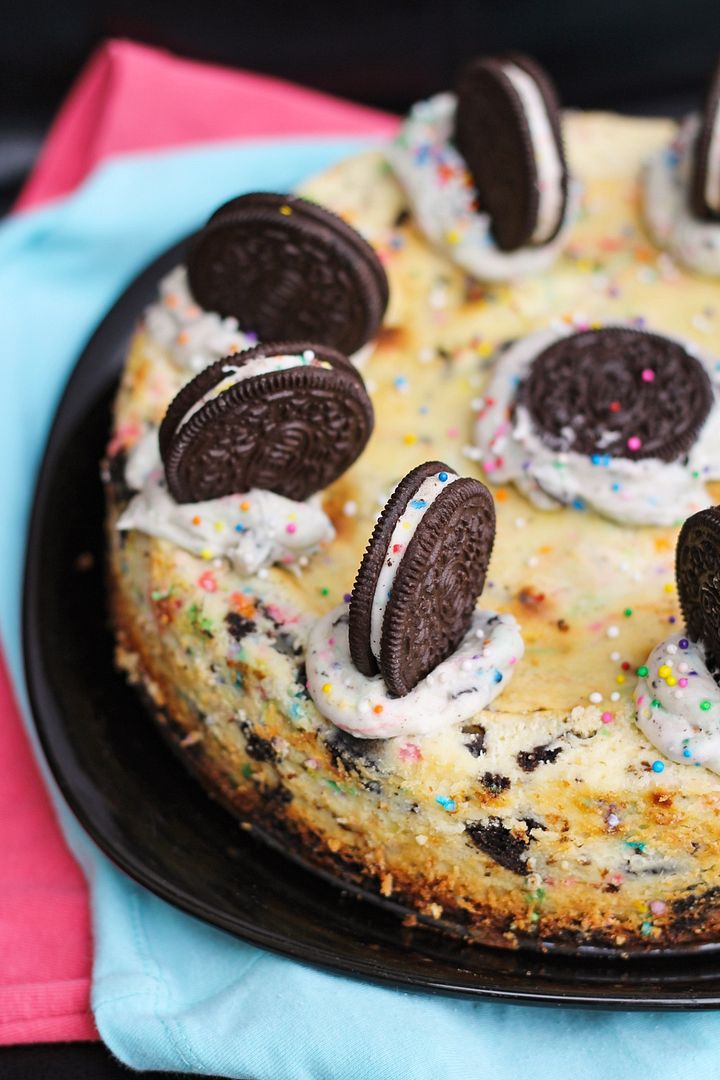
I also made a quick buttercream frosting, which I don't particularly like but in this case I needed it to stick some Oreos on top for decoration. I mixed in some sprinkles and Oreo crumbs to the frosting which ended up turning the frosting into a somewhat unappealing grey colour, so if you want to avoid my mistake just leave the Oreos out of the frosting, there's plenty of Oreos elsewhere in the cake anyway!
I have a tendency to overbake my cheesecakes because I'm always paranoid about them not being cooked all the way through and haven't quite mastered the art of knowing when a cheesecake is done yet, so as you can see mine was a tad overdone, but everyone still loved it!
I loved how festive it looked, and it smelled and tasted just like a birthday cake but with the creamy texture of cheesecake - like a grown-up version of a kid's birthday cake to help make this getting older business a lot easier :)
Birthday Cake Oreo White Chocolate Cheesecake
Note: Recipe adapted from this Philly Oreo cheesecake recipe and this white chocolate raspberry cheesecake recipe
Makes one 9” cheesecake; serves around 12
Ingredients:
For the Crust:
16 Oreos – I used regular Oreos for the crust
3 tablespoons unsalted butter, melted
For the Filling:
2 cups white chocolate chips
1/2 cup half-and-half cream
3 (250g or 8oz) bricks of cream cheese, softened
1/2 cup sugar
3 large eggs
1 teaspoon vanilla extract
14 ‘Birthday Cake’ Oreos, chopped (I chopped each one into about 6 pieces)
2 tablespoons sprinkles
For the Topping (Optional):
1/4 cup unsalted butter, softened
3/4 cup icing sugar
1/4 teaspoon vanilla extract
2 teaspoons milk
6-8 Oreos
Sprinkles
Directions:
Preheat oven to 350°F.
Crush the 16 Oreos for the crust in a food processor or blender until they form crumbs. Stir in melted butter with a fork and mix until combined, then transfer Oreo mixture to a 9” springform pan, and press evenly to cover the bottom in a thin layer.
In a metal bowl placed over a small saucepan of simmering water on the stovetop, melt white chocolate chips and half-and-half, stirring occasionally until melted and smooth. Remove from heat.
In a large bowl or bowl of a stand mixer, beat cream cheese and sugar until smooth, 2-3 minutes. Add eggs 1 at a time, beating just until blended after each addition. Add vanilla extracte and melted white chocolate mixture and beat just until smooth. Gently fold in the chopped Oreos and sprinkles with a flexible spatula. Pour batter over prepared crust and gently tap the pan against the counter a few times to remove any air bubbles.
Bake in preheated oven for 50-55 minutes, until center is almost set. My cheesecake had some butter drip out the bottom of the pan, which is an issue with my pan, but in case you have the same issue, be sure to place a baking sheet on the rack below the cheesecake to catch any drippings. You could also use a water bath if you prefer to bake your cheesecakes that way. Once done, I turn off the oven and let my cheesecake cool in there for about 10-20 minutes or more, then remove transfer it to a wire rack. Run a knife around the edge of the pan to loosen the cake so it doesn’t crack as it cools. Let cool at room temperature for at least an hour, then refrigerate for at least 4 hours or overnight.
If you wish to decorate the cheesecake as I did, you can prepare a simple buttercream frosting to stick Oreos on to the top of the cake. To make buttercream, beat 1/4 cup butter for 2-3 minutes until smooth and creamy. Add 3/4 cup icing sugar slowly and mix on low speed until incorporated. Mix in 1/4 teaspoon vanilla and 1 to 2 teaspoons milk until smooth. If the frosting's too thin you can add more icing sugar; if it’s too thick you can add more milk. I also stirred in 2 teaspoons of sprinkles and 1 crushed Oreo but this can alter the colour of the frosting (mine came out kind of grey) so I might recommend leaving those out and just adding sprinkles on top, or at least just leaving out the Oreos. Pipe buttercream onto spots of the cake where you want to attach Oreos and stick Oreos into the frosting (see pictures). Keep cake refrigerated until ready to serve.