
I’m so excited to
share this cheesecake with you guys because it’s not only my favourite
cheesecake, but also my favourite holiday recipe! I first made it last December
and was told by multiple people that it was their favourite thing I’d ever
made, so there was no question that I was making it again this year (and you should
too)!
I think the secret to
this cheesecake’s success is the melted white chocolate in the batter. While
others might not detect it, it gives the filling a rich taste and creamy
texture, and also pairs perfectly with the peppermint. I mixed crushed candy
canes into the batter instead of using peppermint extract because the red and
green sparkles gave the cake more of a festive look, but if you want to make
sure that enough peppermint flavour comes through, you can add some extract
too.
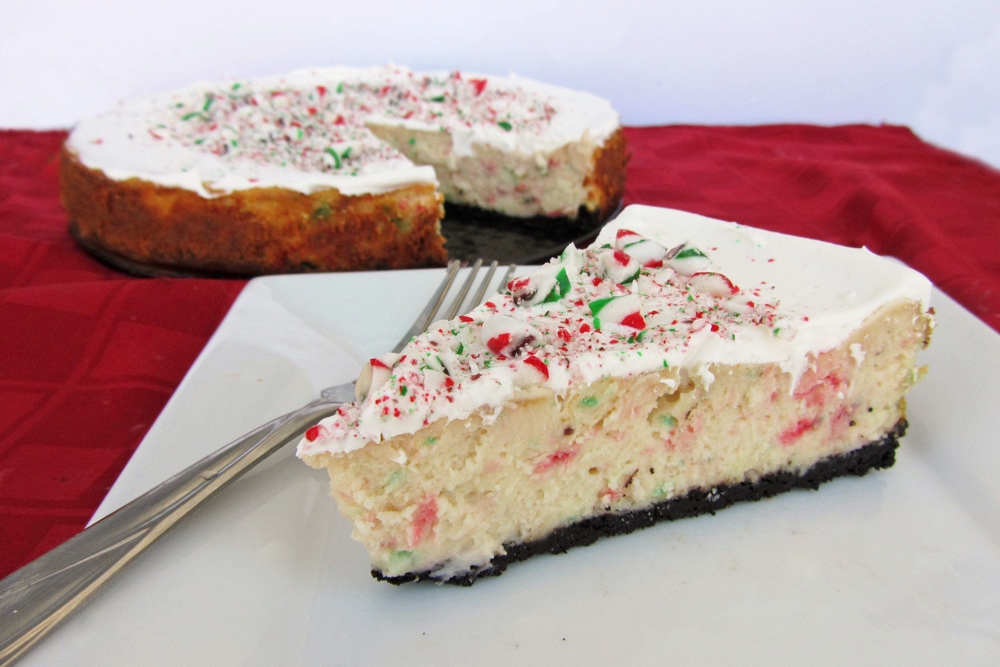
The original recipe
calls for a graham cracker crust but I think Oreo is the perfect match here.
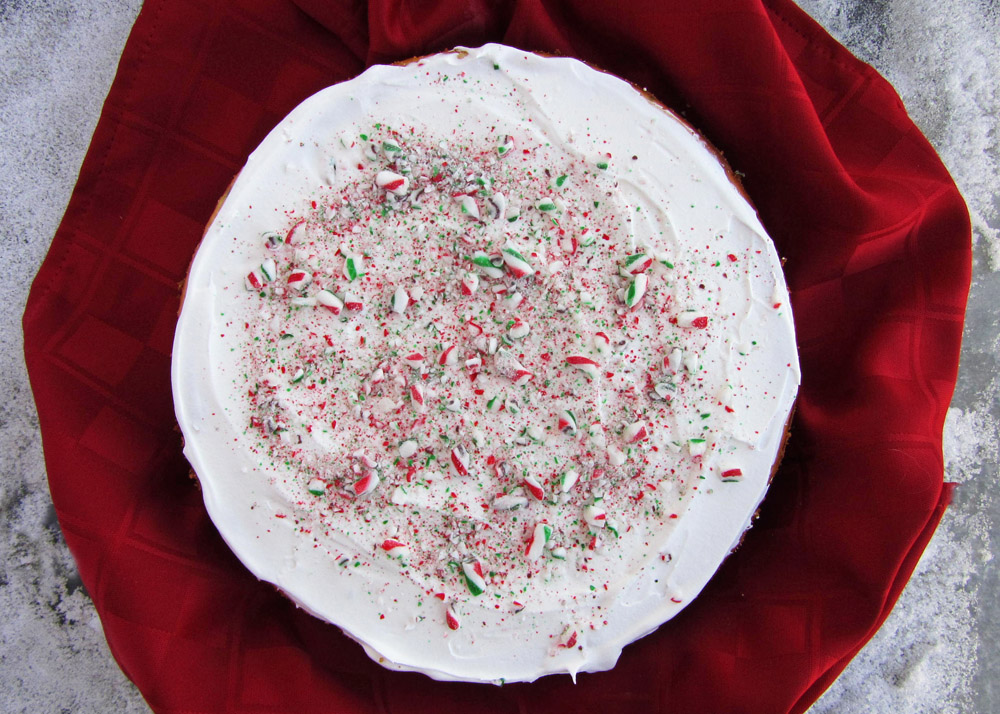
And my favourite part of the cake is the Cool Whip topping – not just because
it adds to the festive, snowy look of the cake but also because it covers up
any cracks or mistakes it may have (not that my cheesecakes ever end up with
Grand Canyon-sized cracks, of course, not at all…)
I had to give this
cake away immediately so that I didn’t end up eating the whole thing myself,
but I soon regretted that decision – after all, the holidays are meant for
indulgence, right?

White Chocolate Candy Cane Cheesecake
Adapted from Kraft
Ingredients:
1 cup Oreo cookie
crumbs
3/4 cup plus 2
tablespoons sugar, divided
3 tablespoons unsalted
butter, melted
3 bricks (8 oz. each)
cream cheese, softened
3 large eggs
4 squares Baker’s
White Chocolate (or 4 oz white chocolate), melted
1/4 teaspoon
peppermint extract (optional for a
stronger peppermint flavour)
1-2 cups thawed Cool
Whip frozen whipped topping
1/2 cup chopped candy
canes, divided
Directions:
Preheat oven to 325°F.
Mix Oreo cookie crumbs
with 2 tablespoons of sugar and the melted butter. Press into the bottom of a
9-inch springform pan and bake in the preheated oven for 10 minutes.
Beat cream cheese and
remaining 3/4 cup sugar with an electric mixer until well blended. Add the eggs
one at a time, mixing on low speed after each addition until just blended. Stir
in the melted chocolate and peppermint extract, if using. Gently stir in 1/4 cup
finely crushed candy canes. Pour batter over the pre-baked crust.
Bake cheesecake for 45
to 50 minutes, or until center is almost set. Run a knife around the rim of the
pan to loosen the cake so that it doesn’t crack as it cools. Let cool at room
temperature, then refrigerate for at least 4 hours.
Immediately before
serving, spread Cool Whip over the top of the cheesecake and sprinkle remaining
chopped candy canes on top. This should be done before serving as the candy
canes start to bleed their colour into the cool whip if left to sit for a
while.


