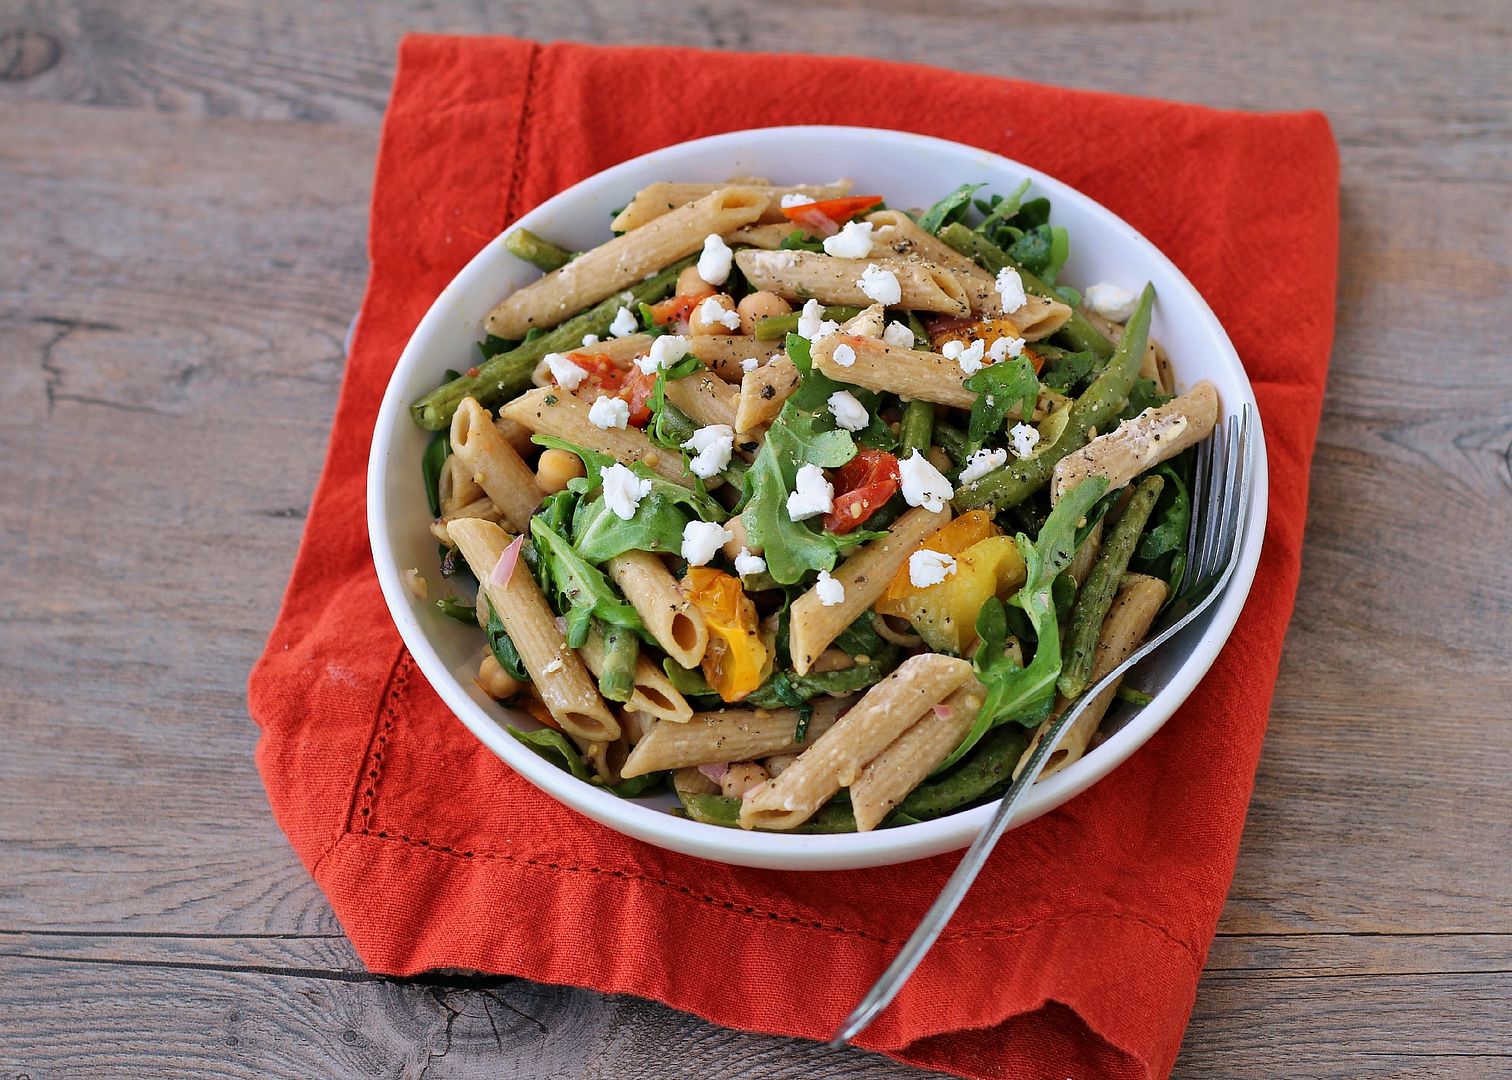
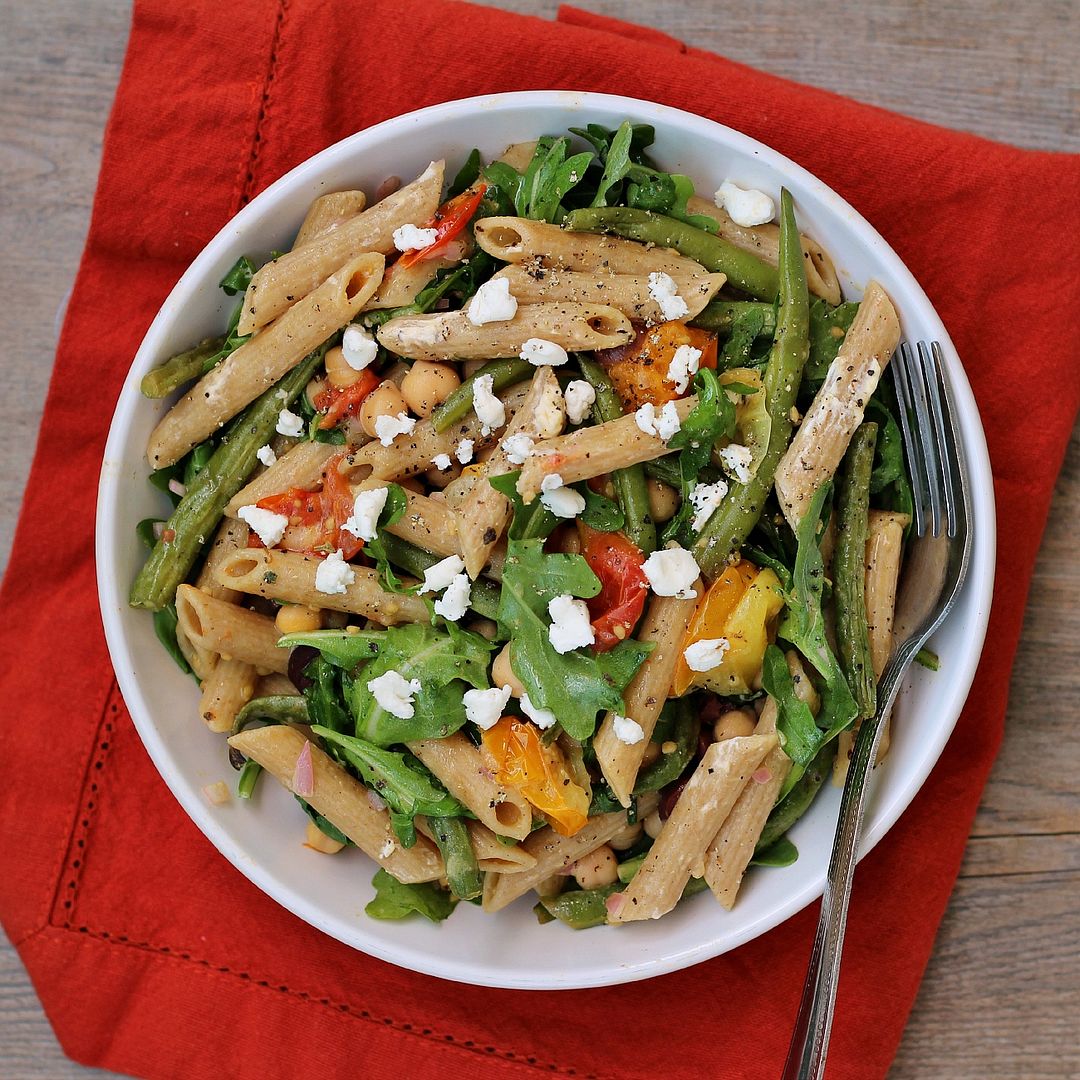
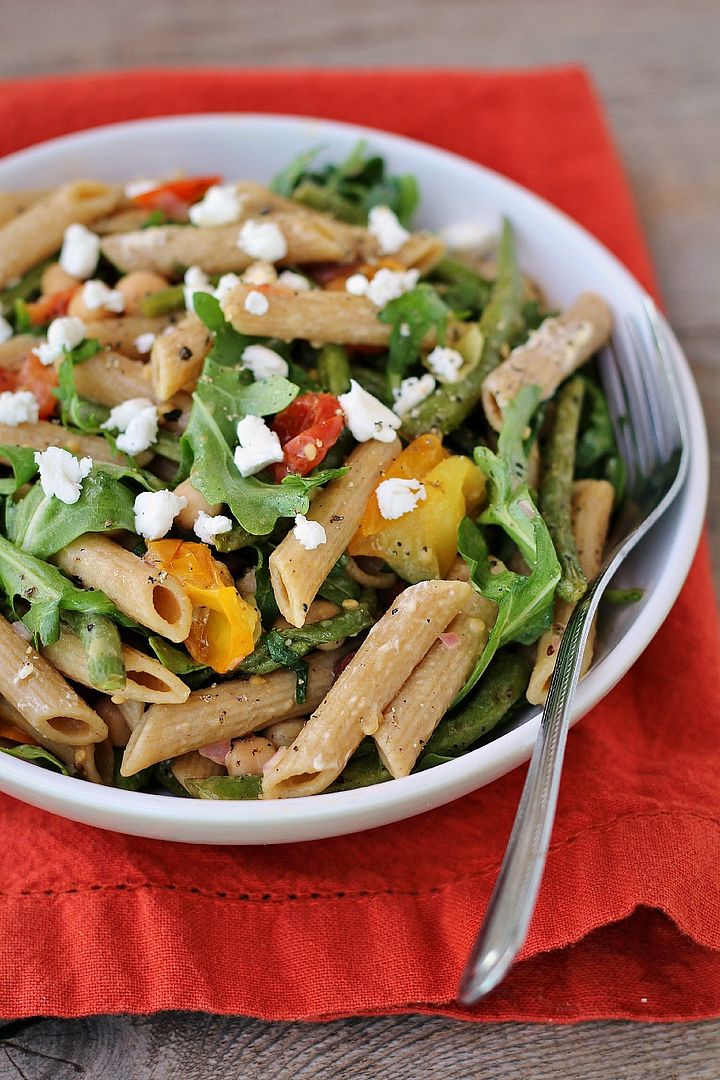
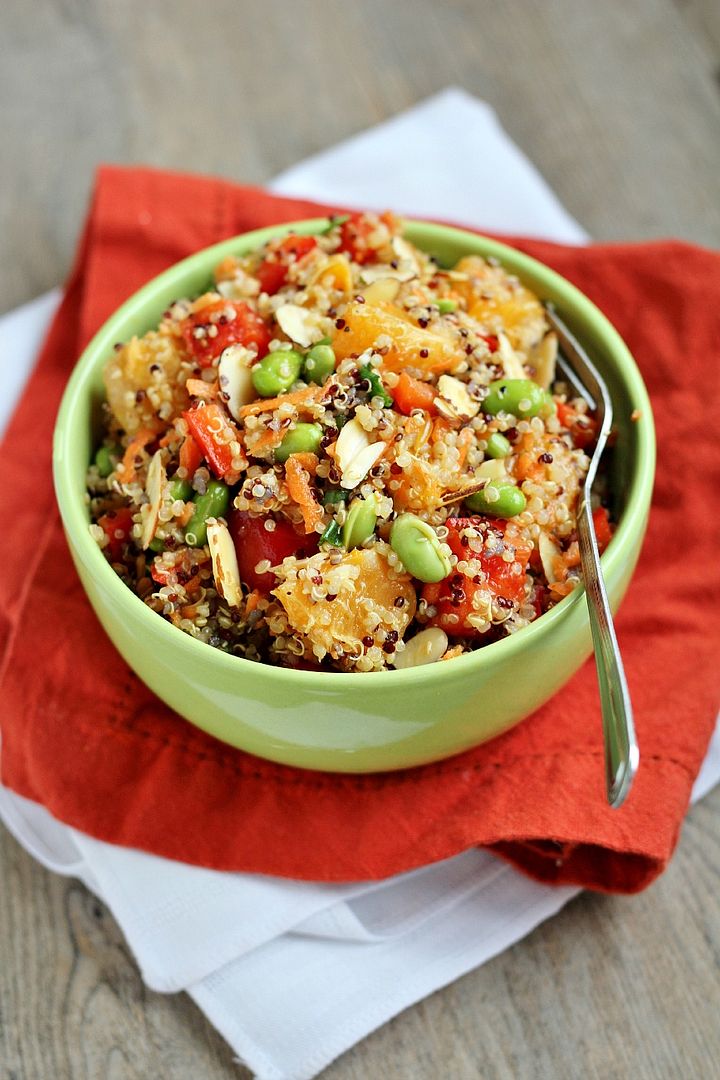
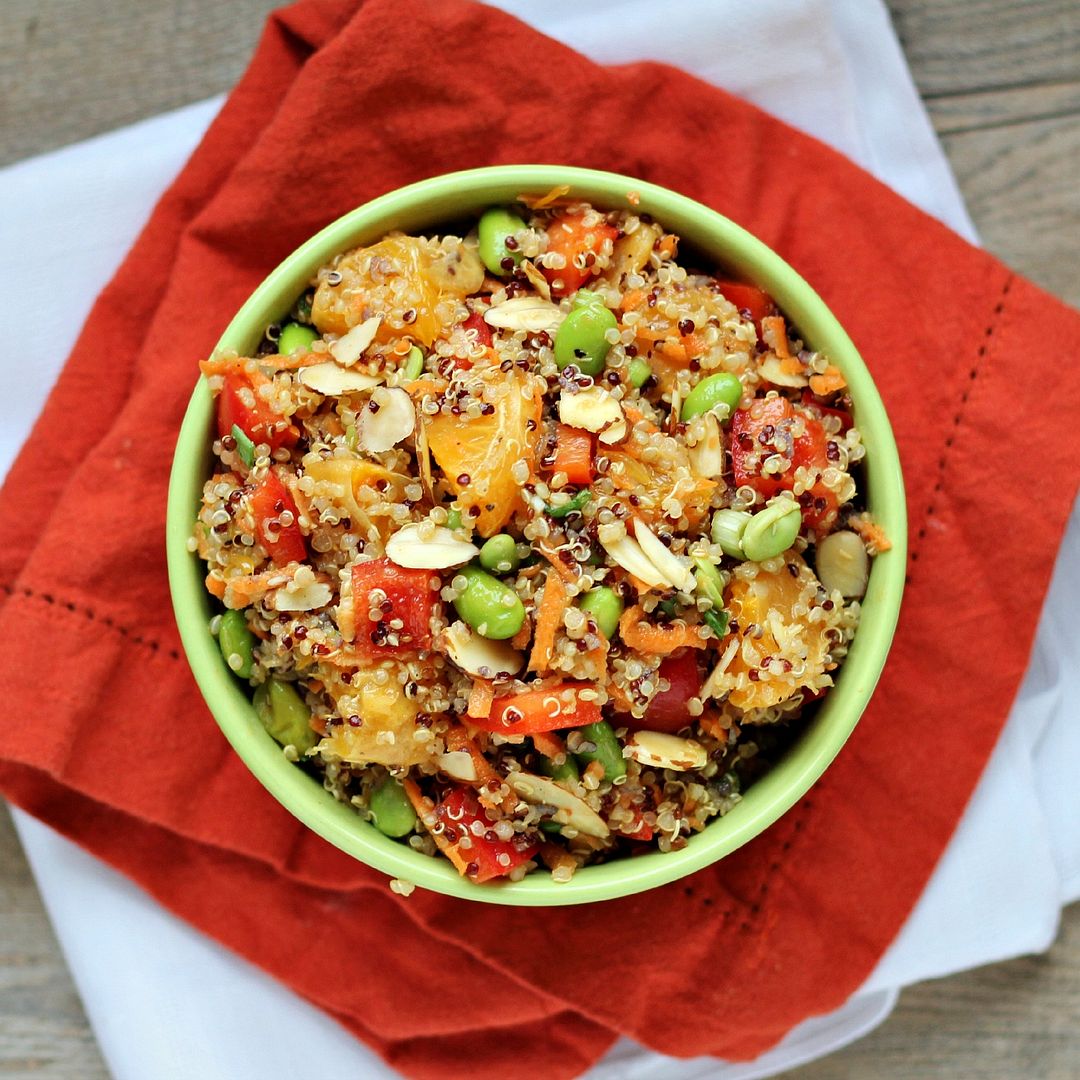
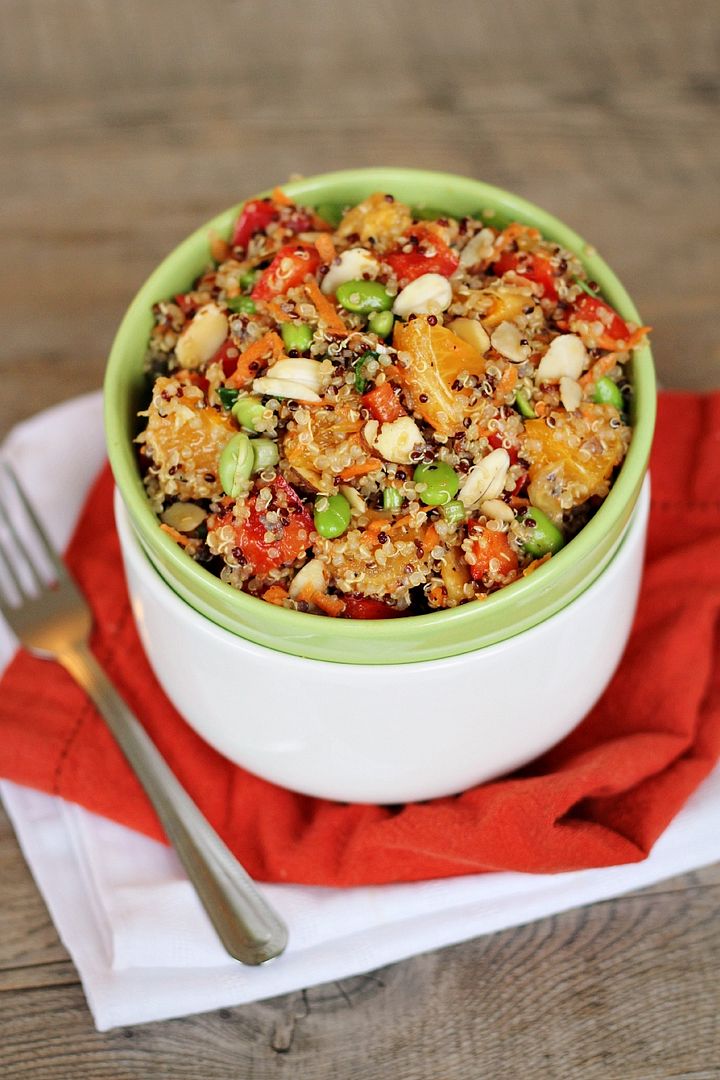
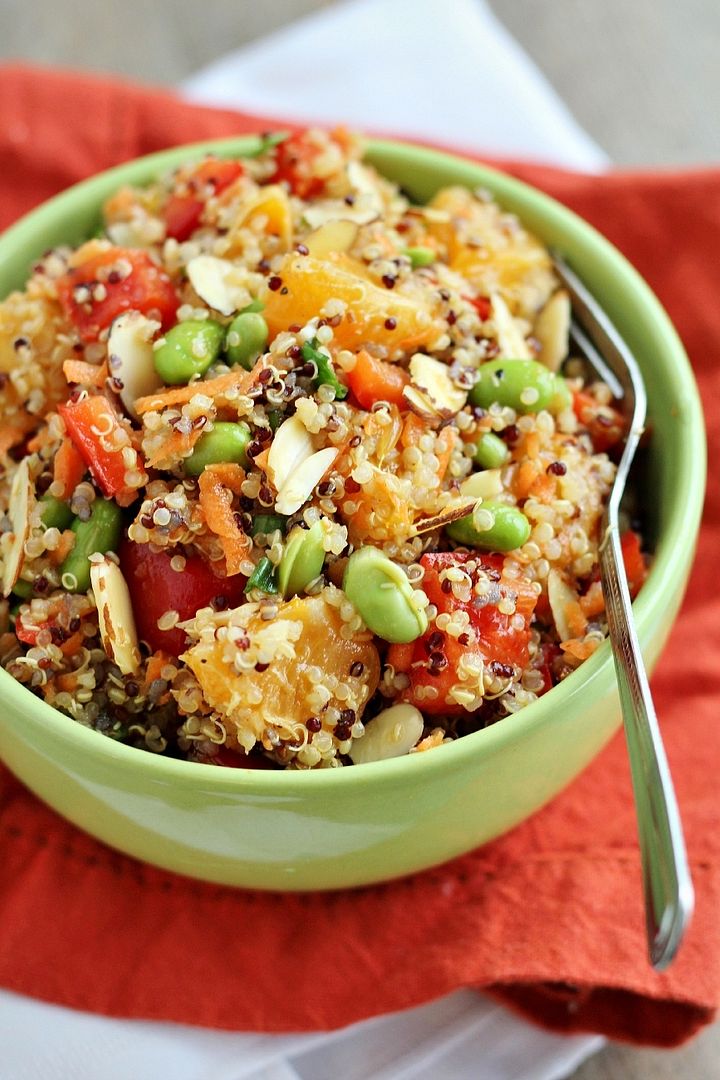
Now that it's officially summer, I've been craving salads for dinner a lot more, but my salads have to be interesting to keep me interested, with plenty of different textures and flavours and a good source of protein - usually either beans, quinoa, edamame, or lentils.
I saw the combo of grapes and blue cheese somewhere a while ago and have been thinking about how to use them together since. Because lentils have a pretty earthy flavour that need brightening up from other ingredients, I figured they would make the perfect base for a salad with grapes for sweetness and the sharp flavour of blue cheese that I can't even describe because it tastes like nothing else (in a good way!)
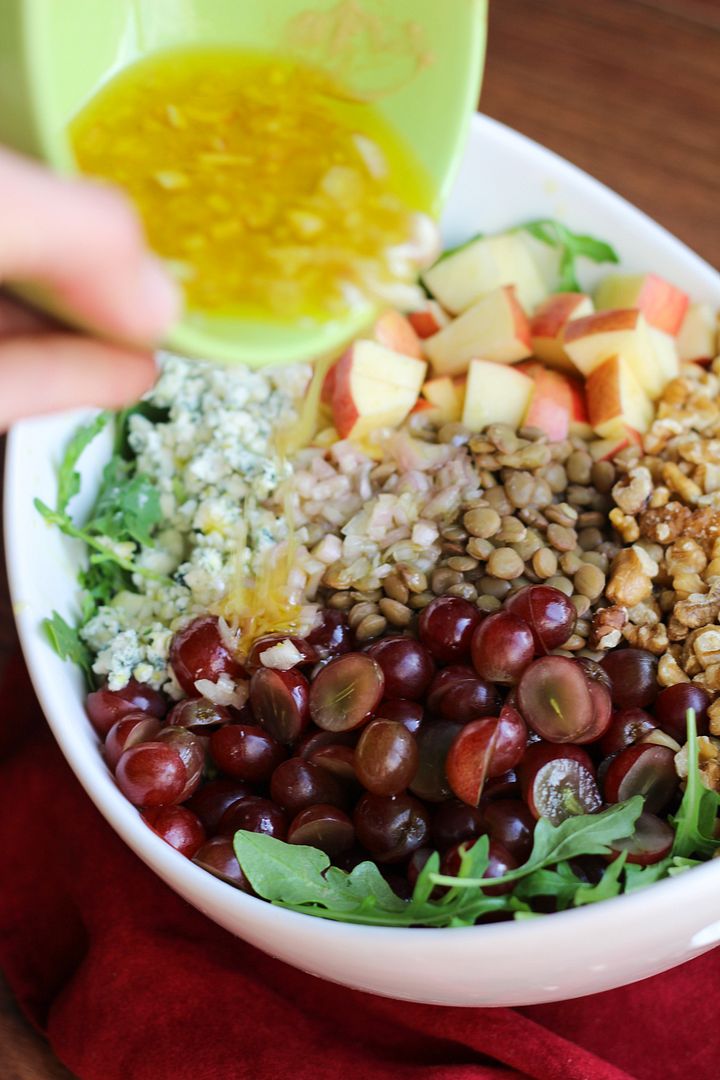
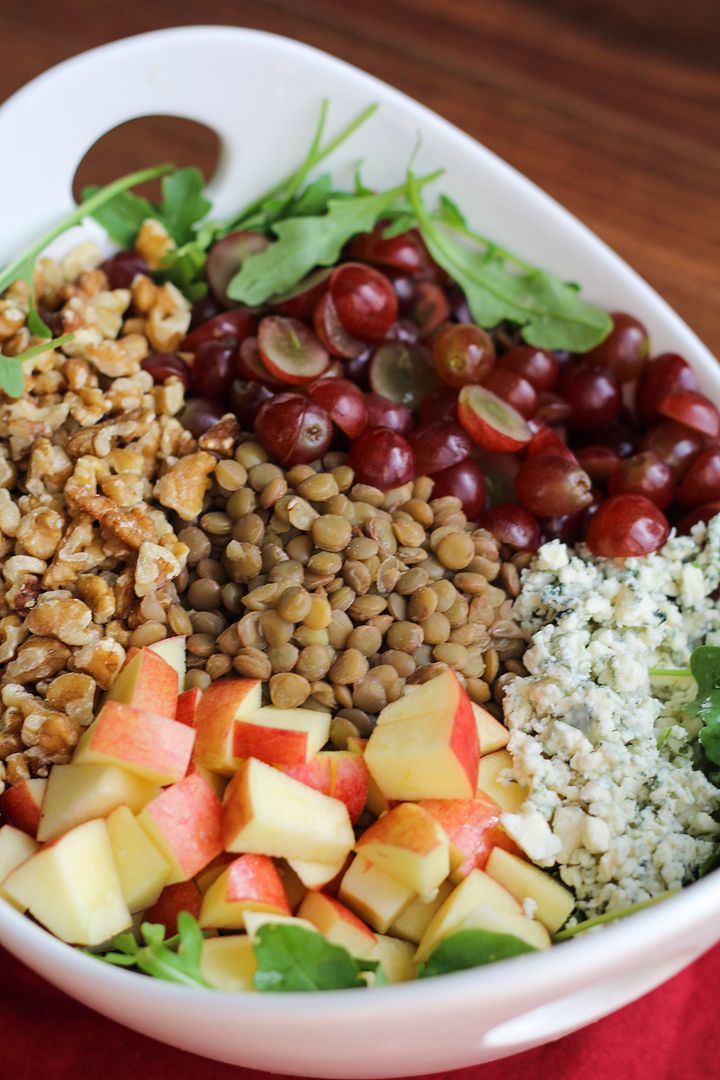
After doing a bit of searching I found out that lentils.ca, one of my favourite resources for lentil information and recipes, had a recipe along the lines of what I was looking for, with lentils, arugula, grapes, blue cheese, and walnuts. I followed their lead, adding apples for crunch (a necessary addition, in my opinion), using a slightly different dressing, and leaving the walnuts raw instead of candying them (though that would probably be good too; I was just lazy).
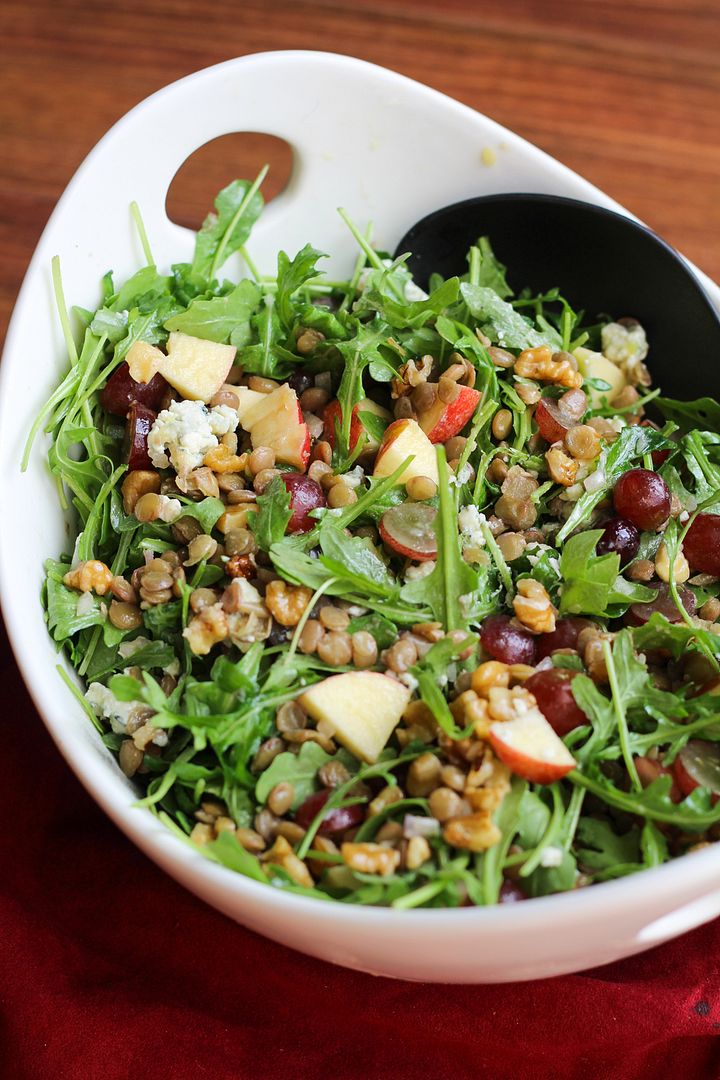
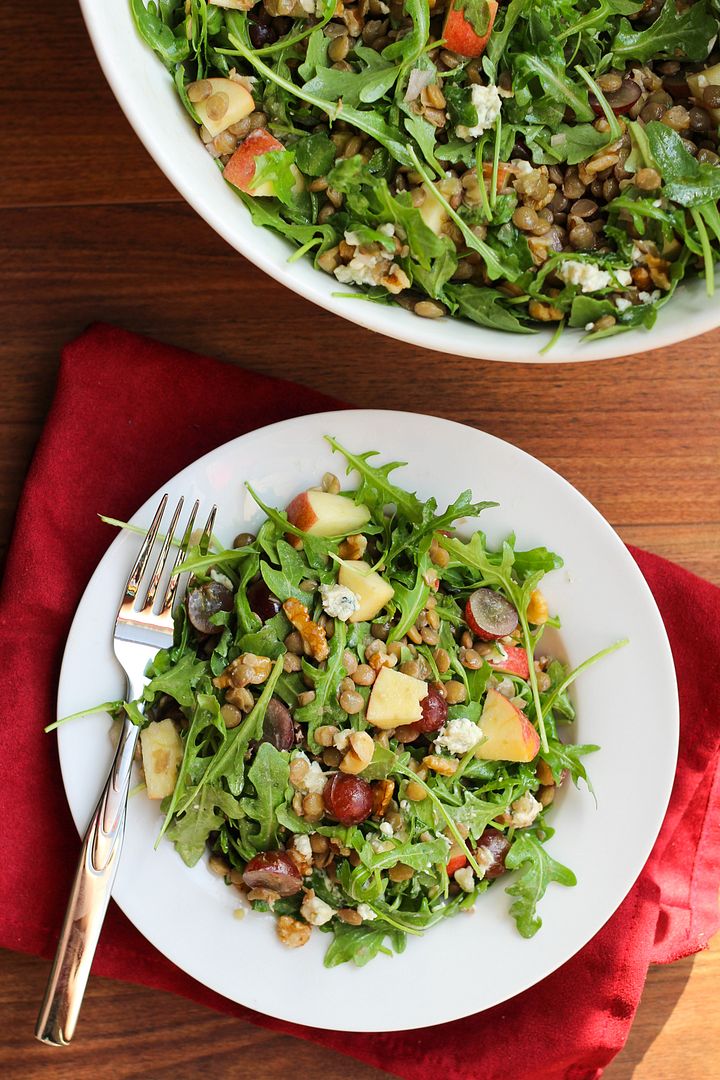
Not only did this make for a healthful meal with plenty of fiber, protein, and vitamins, but it had such a great combination of flavours and textures. I loved how the bursts of sweet grapes and crunchy apples balanced out the sharp arugula and blue cheese along with the nutty, earthier flavours in the lentils and walnuts.
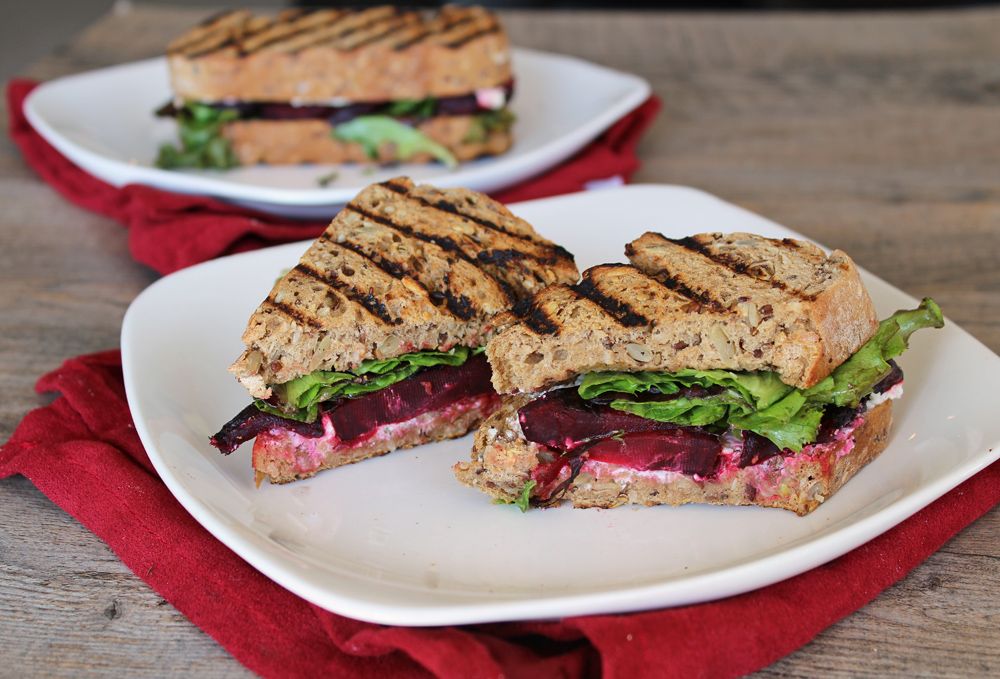
You could eat this as a main course on its own or as a side dish. We ate some of our leftovers piled on top of whole wheat naan bread as a sort of knife-and-fork salad, which we really enjoyed. Ryan thought this dish would have been better covered in buffalo sauce, which I strictly forbade, but considering he was willing to eat it for three meals in a row (and it was pretty inexpensive for the amount of food we got), I'd say it won him over!
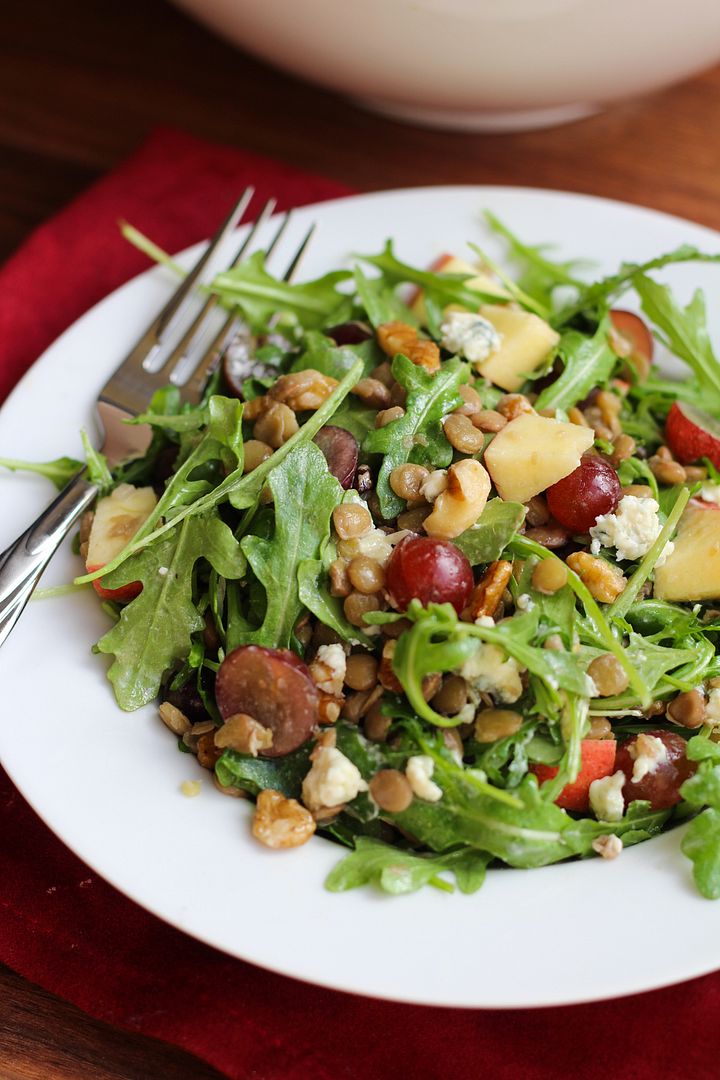
Lentil, Grape, & Blue Cheese Arugula Salad
Recipe inspired by Lentils.ca
Serves 4-6
Ingredients:
Lentils:
4 cups water
1 cup (dry) green or brown lentils
1/2 teaspoon salt
Dressing:
3 tablespoons extra-virgin olive oil
2 tablespoons red wine vinegar
2 teaspoons honey
1 teaspoon Dijon mustard
1 shallot, minced
1/4 teaspoon each salt and pepper
Salad:
1-1/2 cups red seedless grapes, halved
1 apple, diced (I used a gala)
3/4 cup chopped walnuts, lightly toasted if desired
1/2 cup crumbled blue cheese (you could use up to 3/4 cup for a stronger blue cheese flavour)
5oz baby arugula
Directions:
Rinse lentils. Bring water, salt, and lentils to a boil in a medium saucepan. Reduce heat to a simmer and cook until lentils reach desired texture, about 15 minutes. Drain excess water and let lentils cool to room temperature.
Meanwhile, prepare dressing by whisking together the olive oil, vinegar, honey, shallot, salt, and pepper in a small bowl. Set aside.
Add cooled lentils, grapes, apple, walnuts, and blue cheese to the arugula. Add dressing and toss to combine. Season with additional salt and pepper if desired. Eat on its own as a main course or as side courses. It’s also good on top of naan bread!