Showing posts with label jam - strawberry. Show all posts

April 04, 2014

Peanut Butter & Jelly Baked Oatmeal

Peanut Butter & Jelly Baked Oatmeal

As a kid I used to love all the flavours of those little instant oatmeal packets that I'm sure are full of sugar and everything kids love.  Now the only instant oatmeal I'll occasionally buy comes from the organic aisle, but I need to eat at least two packages to sustain me for breakfast and even then I'll still be hungry a couple hours later.  I love making my own oatmeal on the stovetop, especially versions that are full of ooey gooey delicious things like bananas, peanut butter, or pumpkin.  Unfortunately, I don't do this often as I'm usually in too much of a hurry or too lazy in the mornings to make anything that requires effort.

Which is why I've become obsessed with baked oatmeal lately.  Sure it requires some effort to make, but you end up with a lot of leftovers that can be stored as individual servings in the fridge so all you have to do later on is reheat.  Perfect for busy mornings, and also for people who don't like the mushy texture of a bowl of stovetop oatmeal, as the baked version is a lot firmer.

Peanut Butter & Jelly Baked Oatmeal

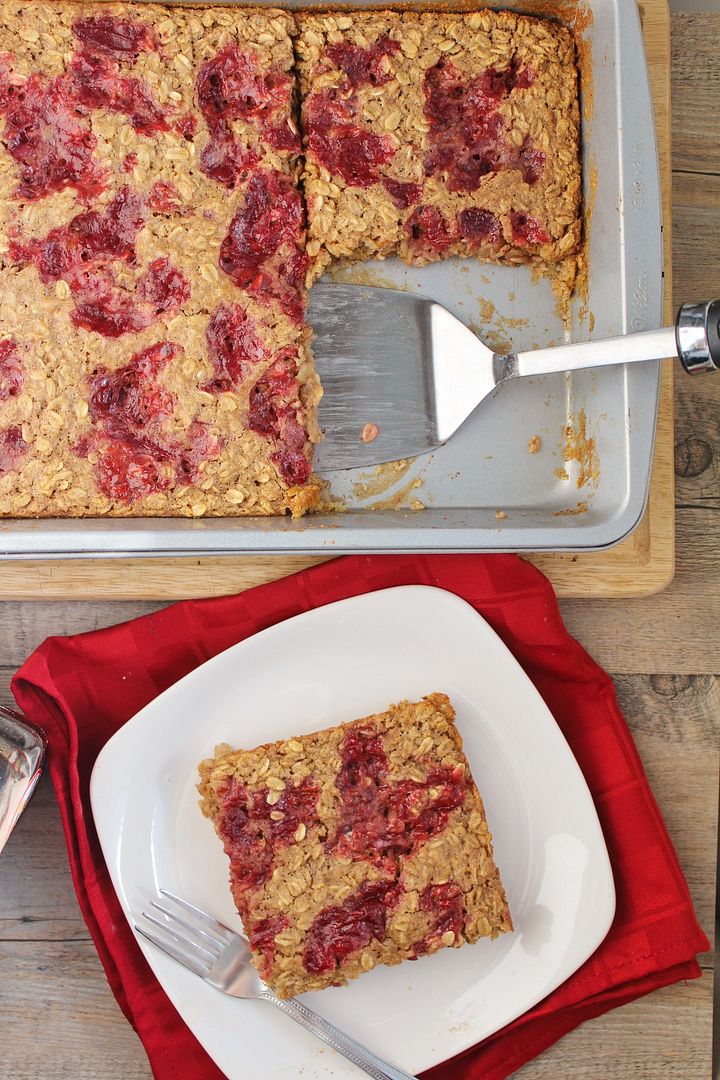
This peanut butter and jelly version of baked oatmeal is Ryan and my current favourite.  It has a strong peanut butter flavour with the perfect amount of jam to sweeten it up, and it's nice and filling.  It's pretty easy to throw together too - just add your wet ingredients (egg, milk, vanilla, peanut butter) to your dry ingredients (oats, a tiny bit of brown sugar, baking powder, cinnamon, and salt), drop some jam on top, and throw it in the oven.  The hardest part is waiting for it to be ready! 

I've made this with both grape and strawberry jam before and we love it both ways; I always try to choose a low sugar jam as I usually find regular jam way too sweet.  I consider this a reasonably healthy breakfast so I don't mind eating it for several breakfasts in a row or that Ryan now asks for it all the time!

Peanut Butter & Jelly Baked Oatmeal


Peanut Butter and Jelly Baked Oatmeal

Makes 6 servings

Ingredients:

2-1/2 cups large flake rolled oats
2 tablespoons light brown sugar
1-1/2 teaspoon baking powder
1/2 teaspoon salt
1-1/2 teaspoons cinnamon
1 large egg, lightly beaten
2 cups skim milk or almond milk
1 teaspoon vanilla extract
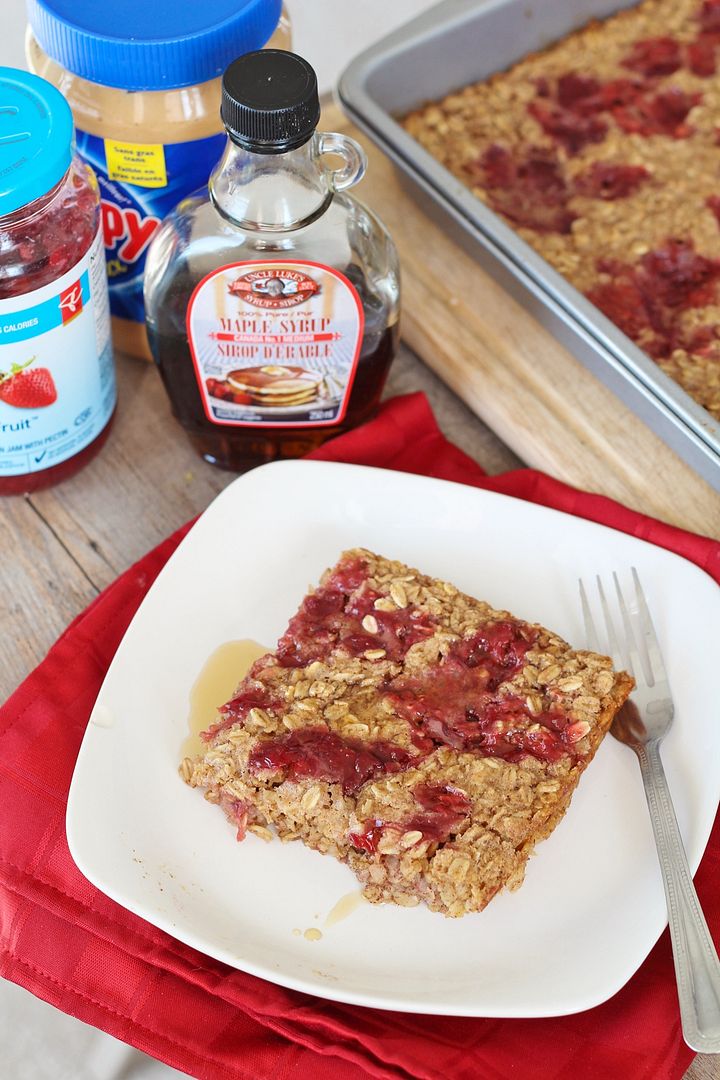
1/2 cup peanut butter - I usually use regular smooth peanut butter but natural would work too if you want slightly less sugar and salt
1/2 to 3/4 cup low-sugar jam – strawberry, grape, or mixed berry all work

Directions:

Preheat oven to 350°F.  Spray a 9x13 baking pan with non-stick cooking spray.

In a large bowl, whisk together the oats, brown sugar, baking powder, salt, and cinnamon.  In a separate bowl, whisk together the egg, milk, vanilla, and peanut butter. You can warm up the peanut butter for about 20-30 seconds in the microwave first to make it more liquid so it will mix in better.  Add the wet ingredients to the dry ingredients and stir just until combined. 

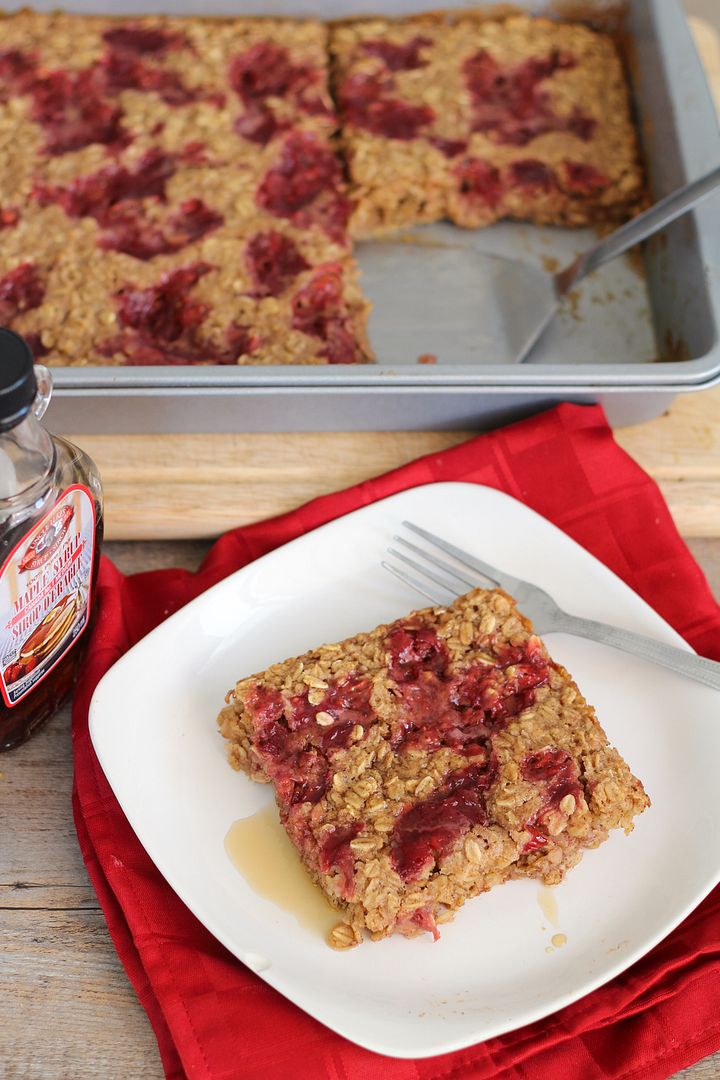
Spread mixture into pan and spread evenly with a spatula.  It will look like oats floating in a lot of liquid – that’s normal; the liquid will all be absorbed during baking.  Drop spoonfuls of jam evenly on top of the oatmeal.  If you like, you can leave the jam in little pockets, or take a butter knife and try to swirl the jam around to cover more surface area (that’s what I like to do).  Bake in preheated oven for 35-40 minutes, until edges are golden brown and middle is cooked through.  Divide into at least 6 servings and serve warm, with maple syrup if desired.

Leftovers can be stored covered in the fridge for a few days and reheated.

June 25, 2013

Canada Day Cheesecake Bars

Canada Day Cheesecake Bars

Canada Day (which will be our country’s 146th birthday this year) is coming up on July 1st – yay long weekend!  I love coming up with recipes for Canada Day because there aren’t really a lot of ideas out there (especially compared to the number of red, white, and blue recipes!) so it’s easy to be creative, plus we’re lucky that our flag is fairly simple to represent using food because it has only two colours - red and white.

Canada Day Cheesecake Bars

One idea I had last year but never had time to try was to make plain white cheesecake bars and top them with strawberry jam to create little Canada flags.  So I decided to give them a try this past weekend for a family get together, where I knew there would be lots of people to help me eat them all!  Plus my cousin is about to leave Canada for a few years, so Canadian flags were very appropriate!  

 I was a little behind in trying to finish and photograph these before I had to leave, so they were done in a bit of a rush, but I was so happy that they turned out just how I’d imagined in my head!

Canada Day Cheesecake Bars

The filling for these bars is plain vanilla cheesecake that’s rich and creamy (and didn’t crack at all, which I was thrilled about!).  Once I sliced it into bars, I just spread strawberry jam on the edges and placed maple leaf quins in the center to resemble the flag.  The quins (like these) are available at Bulk Barn this time of year, but if you can’t find them anywhere, you could just use more jam or another type of red sprinkle arranged in the shape of a leaf.

I got lots of compliments from my family on these bars, and I think they would be the perfect treat to bring to a Canada Day gathering this weekend!

Canada Day Cheesecake Bars

Canada Flag Cheesecake Bars

Flag idea my own; Cheesecake recipe adapted from here, here, and here

Makes one 8x8 pan; cut into 18 bars

Ingredients:

For the Crust:
1-1/2 cups graham cracker crumbs
3 tablespoons light brown sugar
2 tablespoons all-purpose flour
1/8 teaspoon salt
1/4 cup unsalted butter, melted and cooled

For the Cheesecake:
16 oz (2 bricks) cream cheese, softened
2/3 cup sugar
2 large eggs
1/4 cup sour cream
1 teaspoon vanilla

For the Topping:
Seedless strawberry jam (~1/4 cup)
Canada Day maple leaf quins (available at Bulk Barn)

Directions:

Preheat oven to 325°F.

Line an 8-inch square baking pan with aluminum foil, leaving a few inches of foil draping over the sides of the pan (which will help with removal later).

Make the crust: Whisk the graham cracker crumbs, brown sugar, flour, and salt.  Pour the melted butter over the mixture, and stir together with a fork until all crumbs are moistened.  Transfer the mixture into the prepared pan and press evenly to form the crust.  Bake in preheated oven for 12-15 minutes, until crust is beginning to brown.  Transfer to a cooling rack to cool for about 30 minutes.
Meanwhile, prepare cheesecake filling.  In a large bowl or bowl of an electric mixer, beat the cream cheese until smooth, about 3 minutes.  Beat in the sugar until well combined, about 1 minute.  Beat in eggs one at a time, fully incorporating each egg into the mixture. Beat in sour cream and vanilla until fully combined, about 30 seconds.

Pour mixture over cooled crust and return to oven.  Bake for 35-40 minutes, until edges are set but the middle jiggles slightly (as a whole) when you shake the pan.  Transfer to a cooling rack and let cool to room temperature, about 2 hours.  Transfer to a refrigerator (I don’t cover mine because I find the cheesecake ‘sweats’) to cool completely, for at least 3 hours or preferably overnight.

On the day you will serve the cheesecake bars, use the aluminum foil to lift the cheesecake out of the pan, then slice them into 18 small rectangles (6 columns and 3 rows - see picture below).  Stir jam first, then use a small butter knife or spoon to spread strawberry jam on the edges of each rectangle to resemble the Canada flag.  Use enough jam so it shows up well but not too much that it will fall off – you’ll get a feel for what amount to use after a couple tries.  Place three Canada leaf quins in the center to complete the flag (or if you don’t have any, you could use a blob of jam or red sprinkles if you can shape it into something that resembles a maple leaf!).  Keep bars refrigerated until ready to serve.  Don’t decorate them more than a day ahead.

Canada Day Cheesecake Bars

June 29, 2012

Mini Strawberry Vanilla Cupcakes for Canada Day

Mini Strawberry Vanilla Cupcakes for Canada Day

As I promised in my last post, I have another Canada Day recipe to share with you guys before the big day this long weekend (and to my American friends, don't stop reading - this recipe is still really good even without the Canada-themed frosting)!

I love making mini versions of baked goods, especially for parties where other desserts will be present, because they're a lot easier to eat and let people save room in their stomachs to try other treats!  These mini strawberry vanilla cupcakes are a nice little bite-sized treat that won't leave you feeling stuffed and can serve a lot of people, so they're perfect for bringing to a Canada Day party!

Mini Strawberry Vanilla Cupcakes for Canada Day

These are delicate little cupcakes with a light crumb and a nice vanilla flavour with a surprise burst of sweet strawberry jam in the middle.  They're topped with a smooth and spreadable cream cheese frosting that  pairs really well with the strawberry and vanilla flavours and works perfectly for transforming the cupcakes into festive mini Canada flags!

The lighting isn't great in these pictures, but here's a picture of a cupcake in my hand so you can see how little it is - isn't it cute??  I found those little maple leaf quins at Bulk Barn, but if you can't find something similar, you could probably use a toothpick dipped in some red icing to draw your own little maple leaf - it might not look perfect but I'm sure people will get the idea!

Mini Strawberry Vanilla Cupcakes for Canada Day

And here's a picture of the inside of a cupcake so you can see the lovely little swirl of strawberry jam inside.  My cupcakes didn't look quite the same as the original recipe because I used a little less jam in the middle, but they still tasted great!

I hope all my fellow Canadians have a safe and happy long weekend!

Mini Strawberry Vanilla Cupcakes for Canada Day

Mini Strawberry Vanilla Cupcakes with Cream Cheese Frosting

Cupcake recipe adapted from Kitchen Trial & Error; Frosting my own

Makes 24-28 mini cupcakes

Ingredients:

For the Cupcakes:
1-1/2 cups all purpose flour
1/2 teaspoon baking powder
1/4 teaspoon salt
1/2 cup unsalted butter, at room temperature
3/4 cup sugar
2 eggs
1 teaspoon vanilla extract
1/4 cup milk
~1/2 cup seedless strawberry jam

For the Frosting:
4 oz (half a brick) cream cheese
2 tablespoons unsalted butter, at room temperature
1/2 teaspoon vanilla extract
1 cup icing sugar
Red icing colour (I used this)
Canada Day (red maple leaf) quins (can be found at Bulk Barn)

Directions:

Preheat oven to 350°F.  Line a 24-cup mini muffin pan with paper liners and lightly spray with non-stick baking spray.

Whisk together the flour, baking powder, and salt in a large bowl.

In the bowl of an electric mixer, beat the butter and sugar until light and fluffy.  Add the eggs, one at a time, followed by the vanilla, beating until incorporated each time.  Alternate adding the milk and dry ingredients to the butter mixture until fully incorporated.

Spoon a scant tablespoon of batter into each muffin liner.  Drop about 1/2 teaspoon of jam into the middle of each muffin, then top with another scant tablespoon of batter, spreading it with your fingers if necessary to cover the jam. 

Bake for 10-12 minutes, or until a toothpick inserted in the middle comes out clean (except for some jam!)  Cool in the pan until cool enough to handle, then remove and place on a wire rack to finish cooling.

Meanwhile, prepare the cream cheese frosting.  Beat cream cheese and butter in the bowl of an electric mixture until smooth and no lumps remain.  Add vanilla and mix until incorporated.  Add icing sugar and mix on low until smooth.  Taste and add more icing sugar if you prefer a sweeter frosting.

Place 1/3 cup of frosting in a small bowl, and the remaining 2/3 cup in another small bowl.  To the larger portion of frosting, add red icing colour using a toothpick to add a small amount at a time, and stir to completely incorporate the colouring after each addition.  Repeat until you reach desired red colour.  Cool frostings in the refrigerator for about 30 minutes so it’s easier to work with.

To frost cooled cupcakes, place white and red frostings in two separate ziplock bags and snip the corner off each.  Pipe a stripe of white frosting down the middle of each cupcake, then two stripes of red on each side, to resemble the Canadian flag.  Use a small knife or spoon to spread the frostings around to cover the cupcake in three even stripes.  Place a maple leaf quin in the center of the white stripe to complete the design.

Ingredient Index

Related Posts Plugin for WordPress, Blogger...