Showing posts with label mustard powder. Show all posts

January 31, 2014

Healthy 'Cheezy' Roasted Cauliflower

Healthy 'Cheezy' Roasted Cauliflower

Even though my team didn’t quite make it to the Super Bowl this year, I’m still looking forward to this Sunday, not only to watch some very talented players compete in what should be an exciting game, but also to enjoy one of my favourite parts of the big game – the food!

Healthy 'Cheezy' Roasted Cauliflower

This year I’m going to try to keep things a little healthier than normal, though. I’ve been so busy with schoolwork over the past week that I feel like I haven’t been eating nearly as well as I usually do. Case in point: last night’s dinner consisted of peanuts, crackers, and a granola bar. Not the most nutritious meal I've ever had.

Healthy 'Cheezy' Roasted Cauliflower

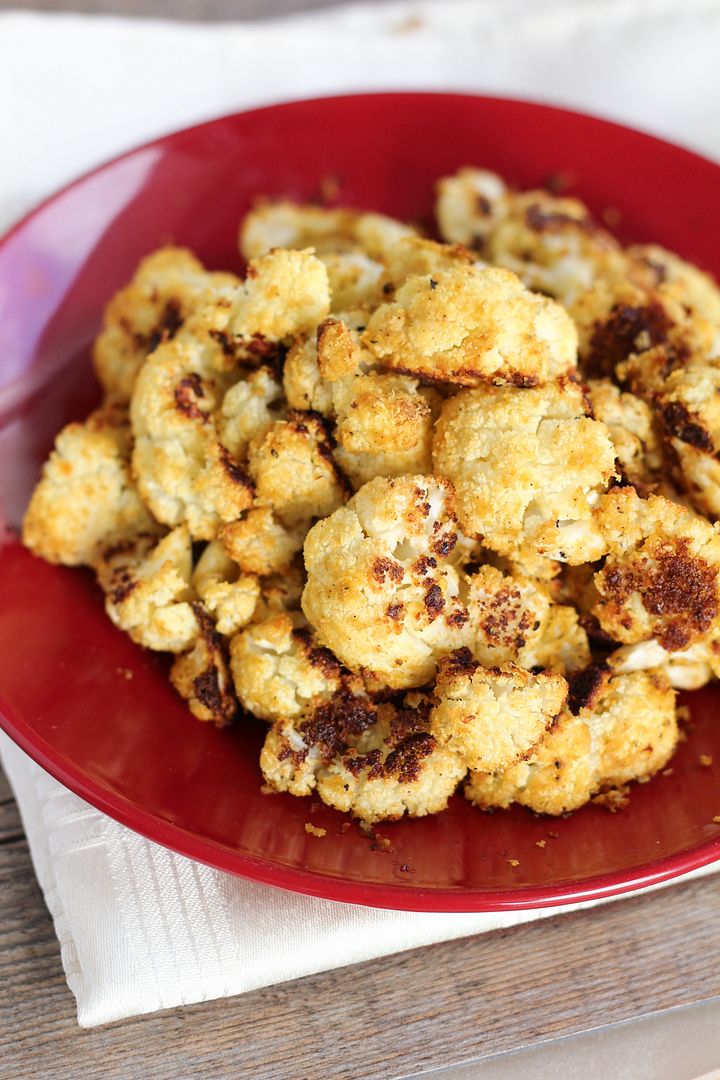
These cheezy cauliflower bites are the perfect healthy snack food to go with the big game, or to enjoy anytime! Throughout the football season we’ve been making roasted cauliflower tossed with buffalo sauce (in fact, this was how I finally got Ryan to admit that cauliflower can taste good), but I changed things up this time by going with a cheezy ranch type flavour. But without the cheese (hence the use of the ‘z’)!

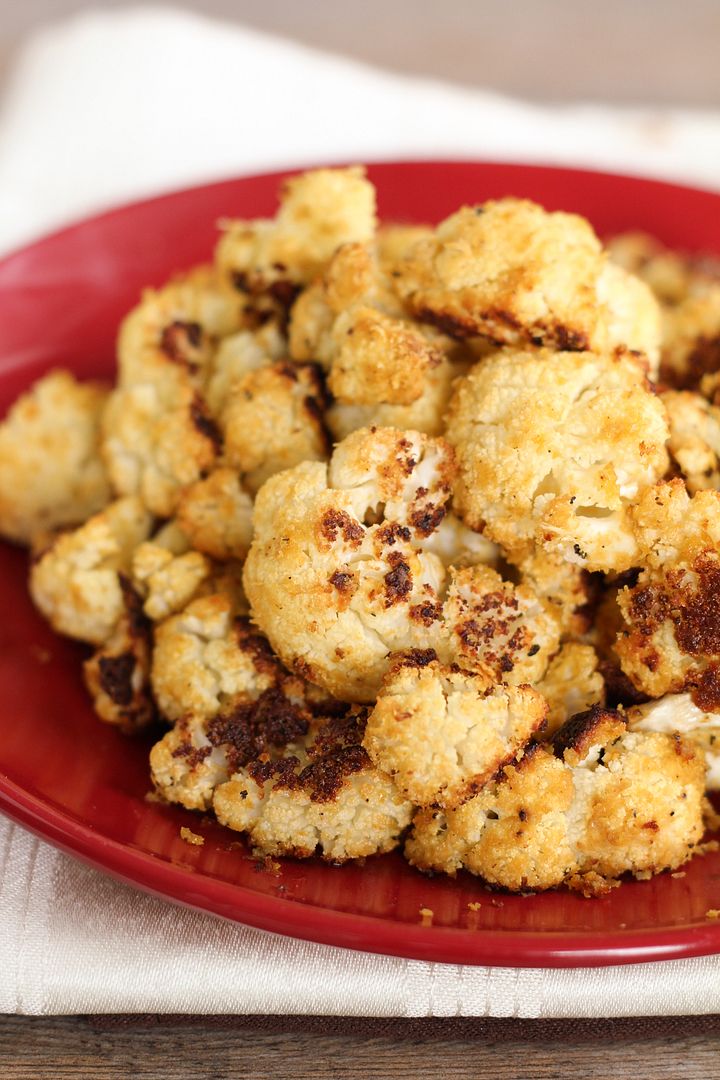
Nutritional yeast (which indeed lives up to its name and is full of nutritional value, but with a cheesy nutty flavour) coats these cauliflower florets along with some mustard, seasoning, and a bit of olive oil, then they get roasted in the oven until they’re slightly crispy and delicious.

Healthy 'Cheezy' Roasted Cauliflower

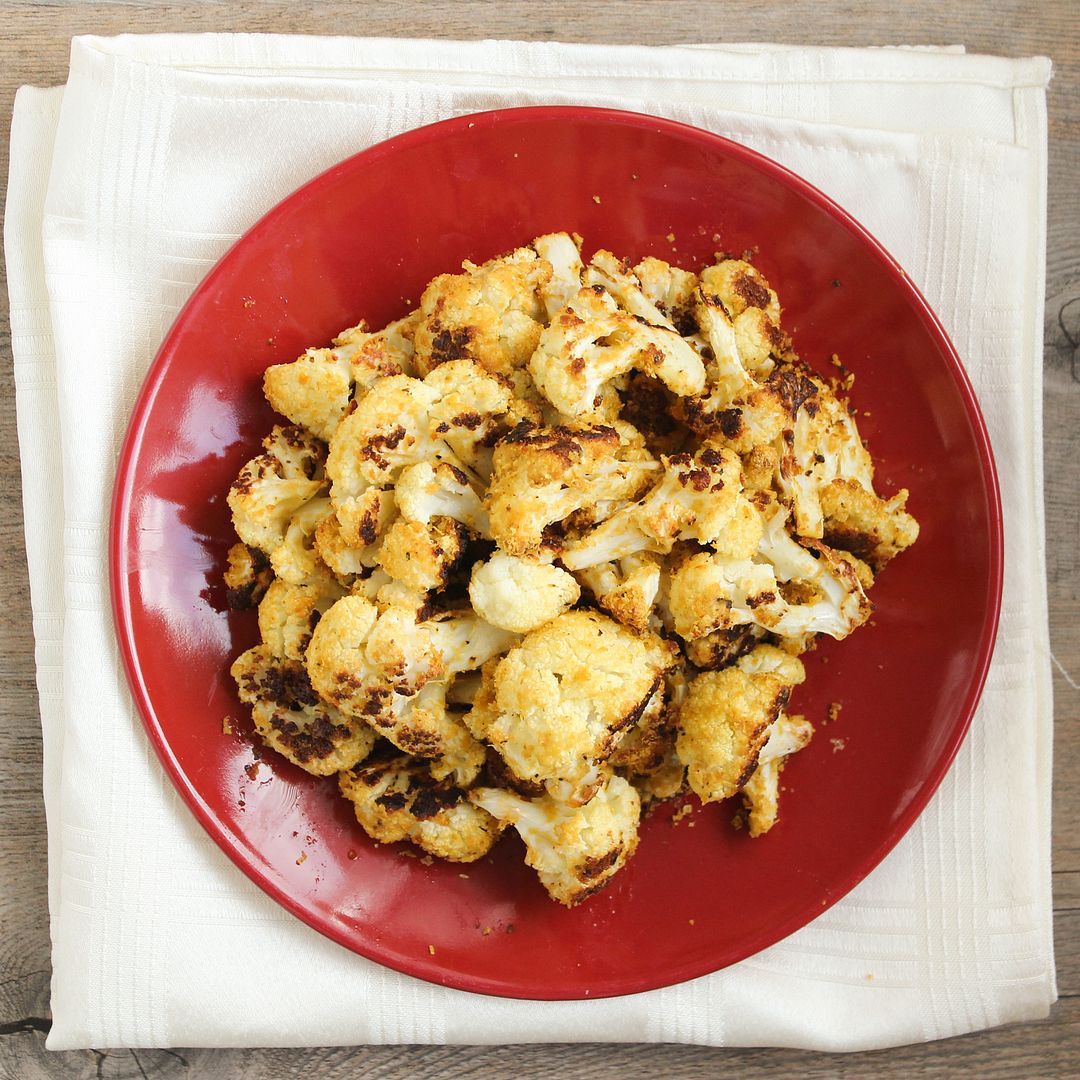
The original recipe is from Clean Eating Magazine, though I made quite a few changes like adding more spices, adding mustard to complement the cheesy flavour and decrease the amount of oil needed to get the spices tso stick, and rather than dipping each cauliflower in oil, I just tossed everything together with some oil to cut the amount needed in half.  You might end up with less of the coating sticking to each piece this way, but I still thought there was plenty.  

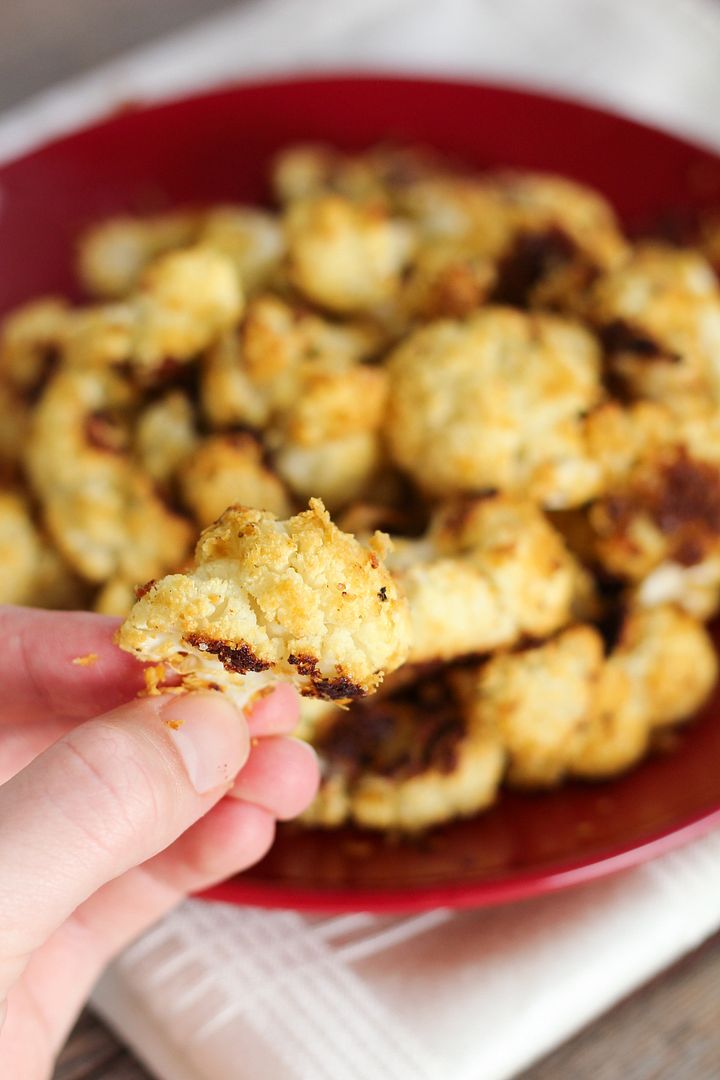
There are other versions of this online that call this type of dish ‘cauliflower popcorn’, which I resisted because this really tastes nothing like popcorn, but it is still so tasty and will disappear quickly, so plan accordingly if making it for the game this weekend!

Healthy 'Cheezy' Roasted Cauliflower

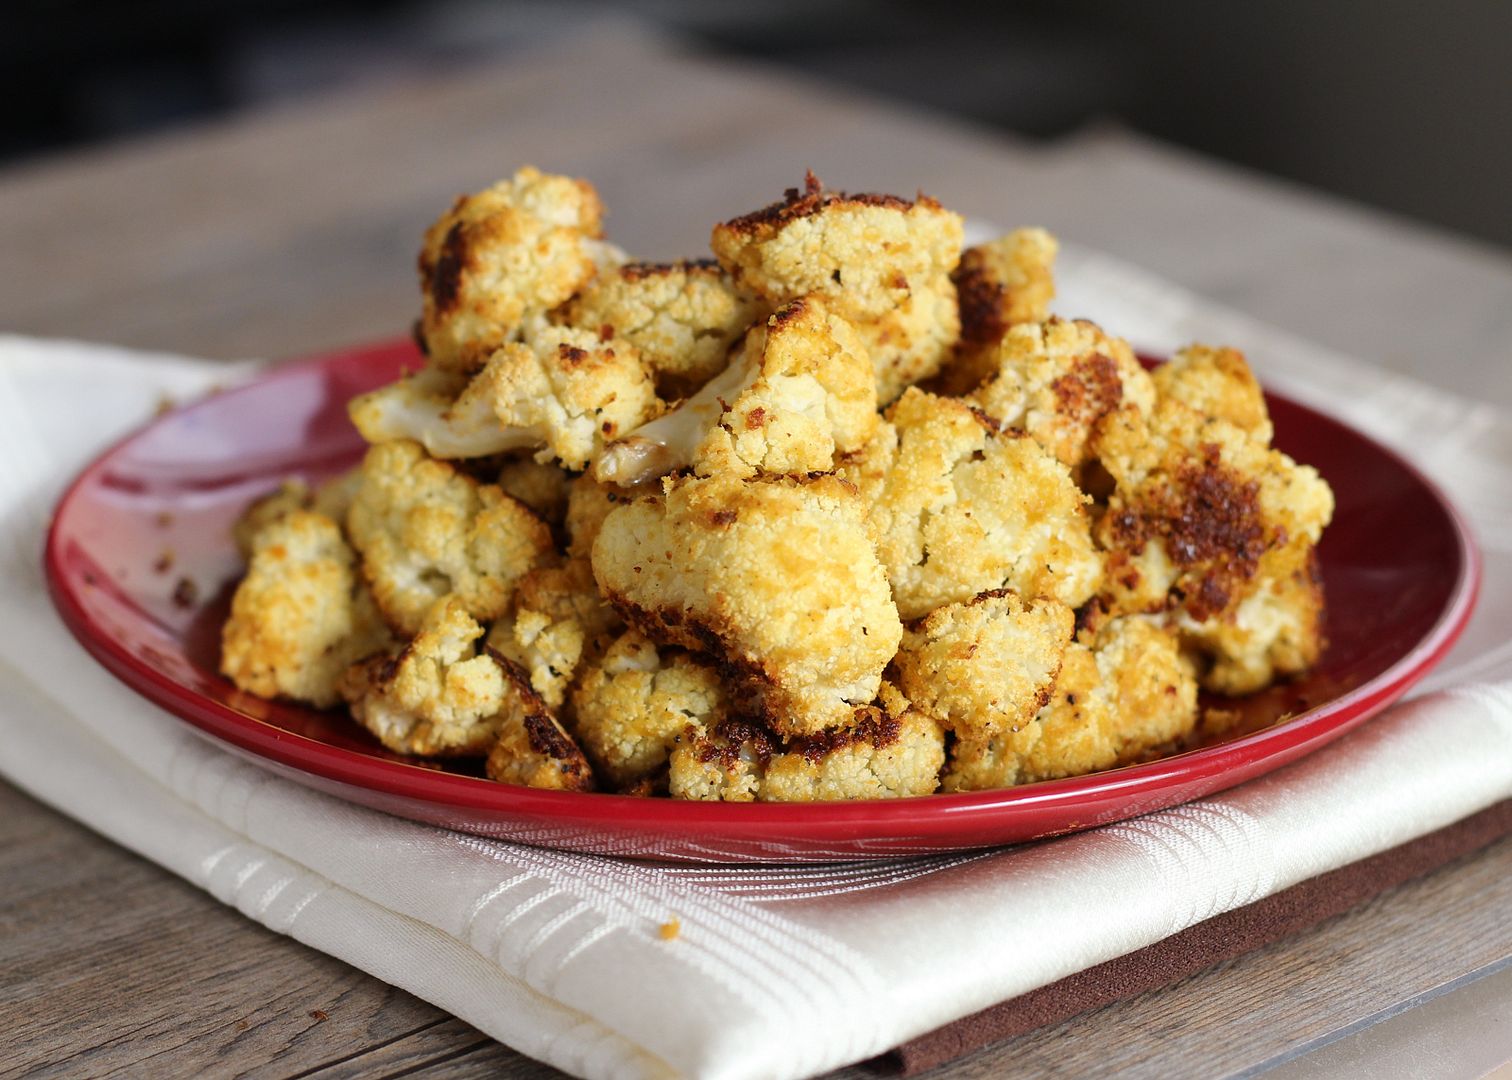
Cheezy Roasted Cauliflower

Adapted from Clean Eating Magazine

Serves 2-4, depending on serving size

Ingredients:

Non-stick cooking spray
1 head cauliflower
2 tablespoons olive oil
2 tablespoons Dijon mustard
1/2 cup nutritional yeast
1/2 teaspoon garlic powder
1/2 teaspoon onion powder
1/4 teaspoon mustard powder
1/2 teaspoon salt
1/4 teaspoon freshly ground pepper

Directions:

Preheat oven to 400°F.  Line a large baking sheet with aluminum foil and spray lightly with non-stick cooking spray. 

Chop cauliflower into bite-sized florets and add to a large bowl.  Pour olive oil and mustard into bowl and toss until cauliflower is thoroughly and evenly coated.  In a small bowl, mix nutritional yeast, garlic powder, onion powder, mustard powder, salt, and pepper.  Pour mixture over the cauliflower and toss until evenly coated.

Spread cauliflower in an even layer on prepared baking sheet.  Sprinkle any leftover seasoning overtop.  Roast  in preheated oven for 20 minutes, remove from oven and turn cauliflower over, then roast for another 20-25 minutes, until browned.  Serve warm.

November 06, 2012

Pumpkin Mac & Cheese with Apples and Caramelized Onions

Pumpkin Mac & Cheese with Apples and Caramelized Onions

Now that I’ve seen my first official snowfall of the season and have broken out my winter hat and gloves, all I can think about are warm and cozy meals, and when it comes to comfort food, it doesn’t get much better than mac and cheese!

But as you’ve probably guessed from the title, this is no ordinary mac and cheese! And even though it might sound a little weird, I promise that it works!

Pumpkin Mac & Cheese with Apples and Caramelized Onions

This mac and cheese has a ton of flavour going on – there’s pumpkin puree, pumpkin beer, sautéed apples, caramelized onions, and smoked applewood cheddar cheese – and it all works together so well!

I can never decide if I prefer stovetop or baked mac and cheese, so I tried this both ways. I stopped after cooking it on the stovetop and dug in to test it out. You'll probably want to do the same thing because it’s so hard to resist at this point, and I certainly wouldn't blame you!

Pumpkin Mac & Cheese with Apples and Caramelized Onions

Or you could keep going; sprinkle some breadcrumbs on top and throw it in the oven so you get a crunchy topping with cheesy goodness underneath - it really just depends on how you like your mac and cheese. I loved it both ways!

Pumpkin Mac & Cheese with Apples and Caramelized Onions

I loved that the dash of maple syrup and addition of apples added a touch of sweetness to cut the richness of the cheese, but there wasn’t an apple in every bite so it was like a fun surprise every time you ate one! I also like the smokiness that the applewood smoked cheddar added, but if you don’t like smoky cheeses (my sister complained about the smell every time I heated it up), you could just use a regular sharp cheddar cheese, or I think gruyere would work well too!

You’re probably wondering why there are strange green things in my pasta, but that’s just because I used this tri-colour vegetable pasta:

vegetable pasta

I realize this isn’t exactly a healthy meal, but with the vegetable pasta instead of regular pasta, the addition of pumpkin, apples, and onions, and using low fat milk, I like to think that it’s at least better for you than a lot of other mac and cheese recipes.

And I certainly had no problem finishing this whole dish by myself (though not all at once, of course!)

Pumpkin Mac & Cheese with Apples and Caramelized Onions

Pumpkin Mac & Cheese with Apples and Caramelized Onions

Adapted from Her Campus, who adapted from Rachel Ray

Serves 4-6

Ingredients:

8oz dry macaroni pasta (I used tri-colour vegetable pasta)
1 tablespoon olive oil
1 large onion, thinly sliced
1 apple, diced (I used Red Delicious)
2 tablespoons unsalted butter
1-1/2 tablespoons all-purpose flour
1/2 cup pumpkin beer
1 tablespoon pure maple syrup
1/2 cup evaporated 2% milk (regular 2% milk would work too)
1/2 teaspoon mustard powder
1/4 teaspoon nutmeg
Salt and pepper
1 cup pumpkin puree
1-1/4 cups grated sharp cheddar cheese (I used applewood smoked cheddar and I used 1-1/2 cups to use it up)
~1/4 cup panko bread crumbs, optional

Directions:

Preheat oven to 350°F.

Cook pasta in a large pot of salted boiling water, according to package directions.  Drain and set aside.
Meanwhile, heat olive oil in a large skillet over medium heat.  Add onions, stir to coat with oil, and let cook, stirring occasionally, about ten minutes.  Season with salt and pepper.  Let cook another 5 minutes or so and then add the chopped apples.  Continue to cook apples and onions, stirring occasionally, for an additional 15 minutes or so, until onions are caramelized and apples are softened and golden brown.  Set aside.

About ten minutes before your onions and apples are done cooking, you can start the roux.  Add butter to a medium saucepan and let melt over medium heat.  Add flour to the melted butter and whisk continuously for about a minute. Raise heat a bit and add the beer.  Reduce until almost evaporated and mixture is quite thick, then whisk in the maple syrup and milk.  Season with mustard powder, nutmeg, and salt and pepper.  Let cook until thick enough to coat the back of a spoon.  Whisk in the pumpkin then whisk in the grated cheese until incorporated.

Stir together the pasta, cheese sauce, onions, and apples.  At this point, you can serve the mac and cheese as is for a stovetop version, or you can bake it.  If you choose to bake it, spread it into an 8x8 glass baking dish and sprinkle breadcrumbs on top.  Bake in preheated oven for about 30 minutes, let cool slightly, then serve.

March 13, 2012

Guinness & Dubliner Cheese Soup

guinness dubliner soup

I wanted to share a savory recipe for St. Patrick's Day along with my mint chocolate cookie bars, not because I think a lot of people cook something festive on March 17th, but because it was an excuse to cook with beer, which I've been learning is great in recipes!

It took me a very long time to like beer, but I've now reached the point where I choose craft beer over most other drinks. I started with pale ales and Belgian beers, then finally learned to appreciate hops, but am still trying to enjoy dark beers and stouts. Guinness is probably one of the last beers I would choose to drink, but one of the first beers I'd choose for cooking! It adds great depth to chocolate desserts, and now I've learned that it's also great in savory recipes like this soup.

While most cheese and beer soups are made with cheddar cheese and a pale ale, I wanted to make mine more Saint Patricksy (yes that's a word) by using Dubliner cheese and Guinness stout. According to Wikipedia, Dubliner cheese "combines the sharpness of mature cheddar, the nuttiness of Swiss cheese, and the bite of Parmesan", and it also melts well, so I thought it would be great in a Guinness cheese soup. If you can't find it though, any sharp cheddar cheese should work well.

The first time I made this, I actually used some Guinness cheddar cheese that I'd found on sale. It definitely gave the soup a strong Guinness flavour that was really complex and interesting, but you'd have to be a big Guinness lover to enjoy the soup! Yesterday I tried it with the Dubliner cheese and it was much milder and the Guinness was much harder to detect, which I liked. The soup is cheesy, thick, and comforting, without actually being too unhealthy compared to other cheese soups because it uses milk instead of cream and I cut the amount of cheese way down since I was using a strong tasting cheese. This was an easy dinner to prepare and Ryan and I both really loved it. Ryan wished there was a bit more of a Guinness flavour, so I suggested that you could probably add a splash of Guinness at the end if you want the stout taste to be stronger, since a lot of it gets cooked down earlier on.

This soup would be perfect for St. Patrick's Day, but I will actually be missing it this year, because as I write this post, I'm at the airport waiting to board a flight to Singapore! I'll be away for a couple weeks, spending most of my time at a research conference in Singapore, then escaping to Thailand for just a few days of real vacation before I head back home. I still hope to find time to post a couple times while I'm away, but if I'm slow to reply to comments or visit other blogs, I apologize in advance!

guinness dubliner soup

Guinness & Dubliner Cheese Soup

Adapted from Rick Tramonto and Williams Sonoma

Serves 2

Ingredients:

1 tablespoon olive oil
1 small yellow onion, chopped
1 rib of celery, diced
1 carrot, peeled and diced
2 cloves garlic, minced
2 tablespoons all-purpose flour
1/2 cup Guinness stout (or more for stronger flavour)
1 cup fat-free, low sodium chicken broth (beef broth would be a good substitute!)
1 cup milk
1-1/2 teaspoons worcestershire sauce
1-1/2 teaspoons mustard powder
1/4 pound (or 1 cup loosely packed shredded) Dubliner cheese (or sharp cheddar cheese if desired)
Salt and pepper

Directions:

Heat olive oil in a large saucepan or dutch oven over medium heat. Add onion, celery, and carrot and cook until softened, stirring often, about 15-20 minutes. If vegetables start to brown too quickly (before they’re softened), add a splash of chicken broth to the pan. Add the garlic and cook for another minute.

Add the flour and cook, stirring occasionally, about 3-4 minutes. Add the beer and cook for another 2-3 minutes, stirring constantly. The mixture will be very thick and sticky at this point. Add the chicken broth, milk, Worcestershire sauce, and mustard powder, and let simmer over medium-low heat for 10 to 15 minutes, stirring occasionally. The soup will thicken and reduce slightly as it simmers.

Remove the pot from the heat and transfer soup mixture to a blender. Make sure the blender is only about 1/3 to 1/2 full and remove the centre piece of the lid to allow steam to escape (but cover with a cloth or towel to avoid splatters). Puree until smooth, then transfer back to the pot.

With the pot over medium-low heat, add the shredded cheese by the handful, stirring constantly until cheese is melted and soup is smooth. Taste, and if a stronger Guinness flavour is desired, add a splash of beer to the soup before serving. Season with salt and pepper if desired and serve immediately.

September 18, 2011

Reduced Fat Broccoli Cheese Soup

broccoli cheese soup
Since the weather has been getting colder, I’ve been craving warm and comforting meals for dinner, and nothing fits that craving better than a steaming hot bowl of homemade soup. Before I learned how to cook, boxed/canned soup was something that appeared frequently in my meals. Fortunately, I have since learned that making your own soup at home is so easy and tastes a thousand times better than the stuff that has been sitting on a shelf for who knows how long.

I’ve always loved broccoli cheese soup, but have never made it for myself. When I tried looking for recipes for it, I was a little shocked to see how much butter and cream went into most versions. I usually try to make my meals as healthy as possible when I’m just cooking for myself, and while broccoli cheese soup itself can never really be 100% healthy because cheese is an essential component, I knew I could at least find a lighter version. Fortunately, that’s where Cooking Light came in to save the day with the perfect recipe!

I still made quite a few changes to their recipe: I used sharp cheddar cheese instead of velveeta (which scares me a bit) and fresh broccoli instead of frozen; I replaced the 2% milk with skim milk, which I was worried wouldn’t work but the soup still came out really thick; and I doubled the garlic and pepper and added some mustard powder for extra flavour. I also processed all of the soup at the end instead of just a third of it as the recipe suggested, because I wanted the soup to be a little smoother.

The result was amazing! This soup was so cheesy, thick and comforting, and was also really easy to make. I was so amazed that a soup that is typically cream-based could still taste just as good when made with skim milk – I couldn’t even tell that it was low fat! I will definitely be making this often during the upcoming months – it’s the perfect thing to warm you up on a cold day!

broccoli cheese soup

This is my submission to Souper Sundays hosted by Deb at Kahakai Kitchen

Reduced-Fat Broccoli Cheese Soup

Adapted from Cooking Light

Serves 2-3

Ingredients:

1 tablespoon olive oil
1/2 cup chopped onion
2 garlic cloves, minced
1 1/2 cups fat-free, less-sodium chicken broth
3 cups chopped broccoli florets
1 1/4 cups skim milk
1/4 cup all-purpose flour
1/2 teaspoon black pepper
1/2 teaspoon mustard powder
1 1/4 cups shredded sharp or extra-sharp cheddar cheese

Directions:

Heat olive oil in a large non-stick saucepan over medium-high heat. Add onion and garlic and sauté 3 minutes or until soft. Add broth and broccoli. Bring mixture to a boil over medium-high heat. Reduce heat to medium and cook for 10 minutes.

In a medium bowl, whisk together the milk and flour until well blended. Add the milk mixture to the broccoli mixture in the saucepan. Cook for 5 minutes, stirring constantly, until mixture is slightly thick. Stir in pepper and mustard powder.

Remove from heat and stir in the cheese until it melts. Place the mixture in a food processor or blender (in batches if necessary) and process briefly, just until the large chunks are broken down so the mixture is smooth but with small chunks (an immersion blender would also work well here if you have one).

Serve immediately, topped with extra pepper and shredded cheese if desired.

Ingredient Index

Related Posts Plugin for WordPress, Blogger...