Showing posts with label nutritional yeast. Show all posts

March 25, 2014

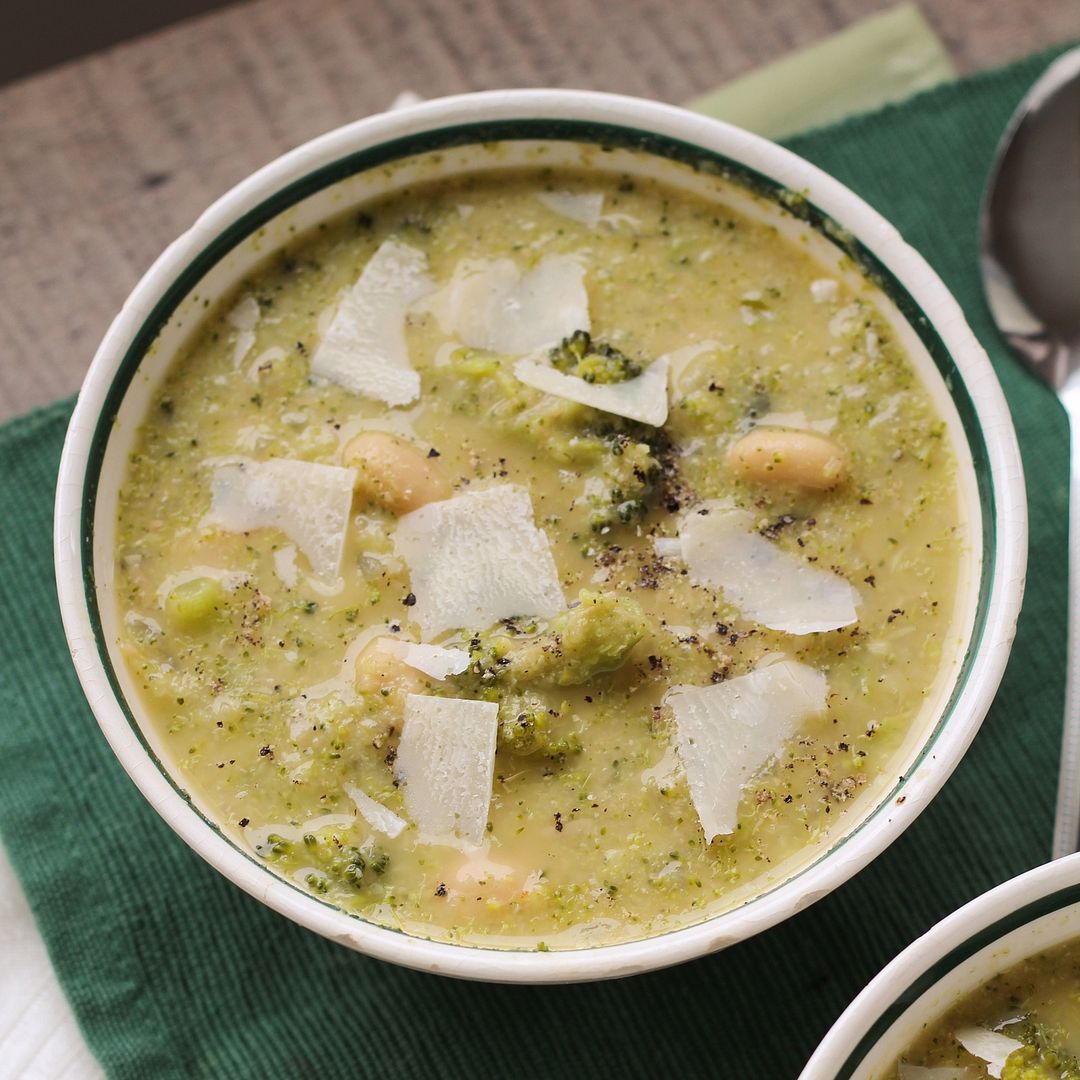
Broccoli White Bean Soup

Broccoli White Bean Soup

Winter is still showing no signs of slowing down here in Ontario, so despite it technically being spring, I'm still eating comfort food like cozy warm soups.  Which I'm not complaining about, as soups (at least the versions I make) are one of the easiest and quickest meals to prepare and they make great leftovers to be welcomed home to after a cold bus ride home after school!

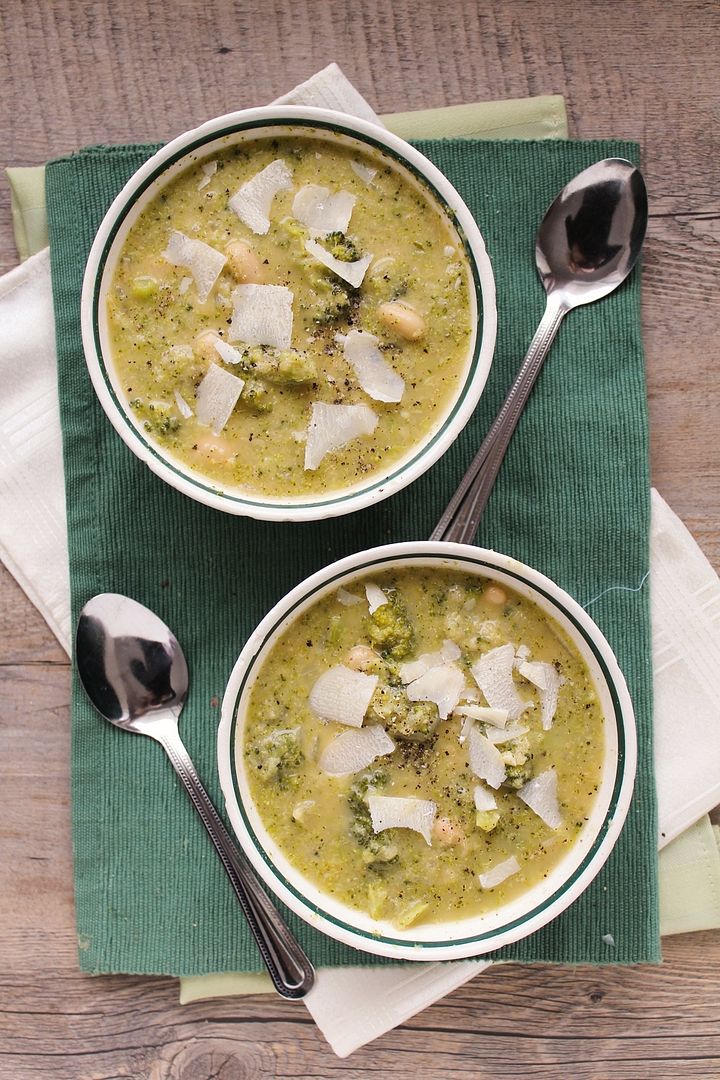
This broccoli white bean soup is not only quick and easy to prepare but is nutritious and filling too.  I've used beans as a soup thickener before (like in this curried chickpea and kale soup or this roasted tomato white bean soup) and though it doesn't give it the same silky smooth texture that full fat cream would, I actually prefer the slightly chunky texture and thickness that beans add, not to mention it's a great way to sneak in protein to a vegetable soup!

Broccoli White Bean Soup

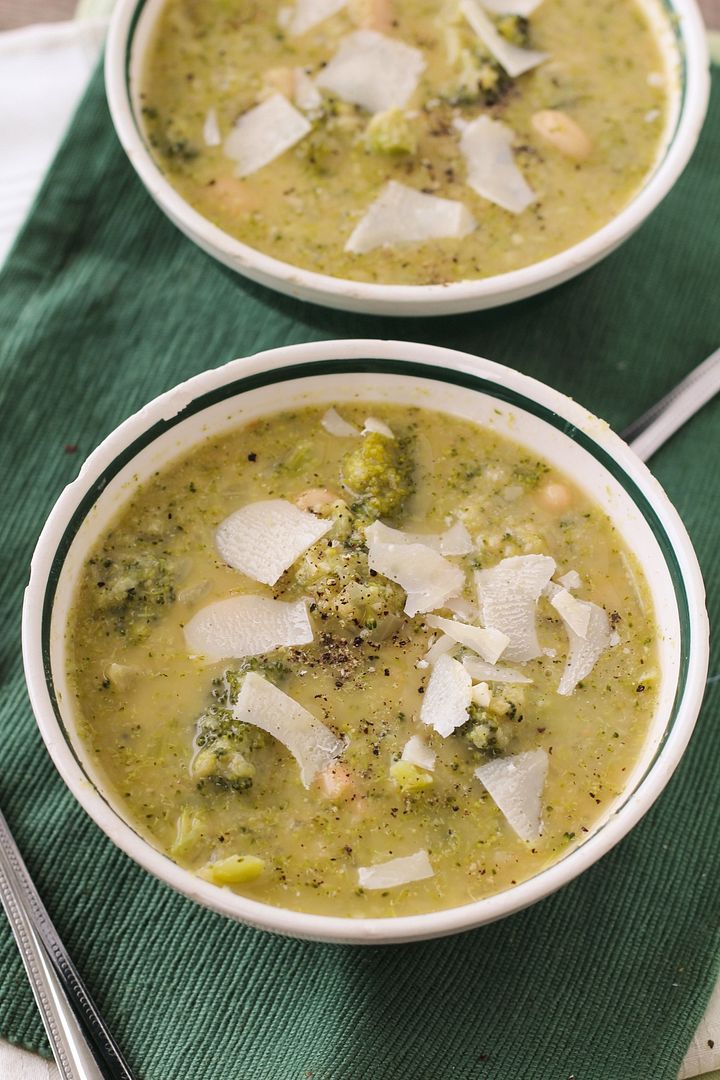
In addition to the white beans, this simple soup mainly just consists of broccoli and vegetable broth along with some basic flavourings like onion, garlic, and lemon juice.  I added nutritional yeast to the soup to give it a bit of cheesy, nutty flavour (and added nutrition) without any cheese, but some shavings of good quality parmesan on top are also critical for flavour.  I decided to only halfway puree my soup to leave some texture in it, but you can definitely puree it all if you prefer a smooth soup.

While you won't trick anyone into thinking this is a traditional butter, cream, and cheese filled broccoli soup, it's a great alternative if you're looking for a more nutritious but still comforting version of broccoli soup!

Broccoli White Bean Soup

Broccoli White Bean Soup

Adapted from Whole Living

Serves around 3-4

Ingredients:

1 head of broccoli, chopped into florets
1 tablespoon olive oil
1 medium to large yellow onion, diced
2-3 cloves garlic, minced
1 (540mL) can of no-salt added white kidney beans or cannellini beans, drained and rinsed
2 1/2 cups low-sodium vegetable broth
1/4 teaspoon red pepper flakes
1/4 cup nutritional yeast (or grated parmesan if desired)
1 teaspoon lemon juice
Salt and pepper (I used around 1/2 teaspoon each)
Shaved parmesan for topping

Directions:

Steam broccoli in a steamer basket, covered over simmering water, for about 3-4 minutes, until bright green and tender.  Set aside.

In a large saucepan, heat oil over medium heat.  Add onion and garlic and sauté until softened and translucent, about 6-7 minutes.  Add the beans and broth and bring to a simmer.  Add broccoli and red pepper flakes and stir.  Remove from heat and puree about half to two-thirds of the soup either by transferring to a blender or using an immersion blender.  I wanted to leave some texture to the soup, but you can puree all of it if you prefer the soup to be smooth.  Return to saucepan and stir.  Stir in the nutritional yeast, lemon juice, and season with salt and pepper to taste.

Serve warm, topped with shaved parmesan.

January 31, 2014

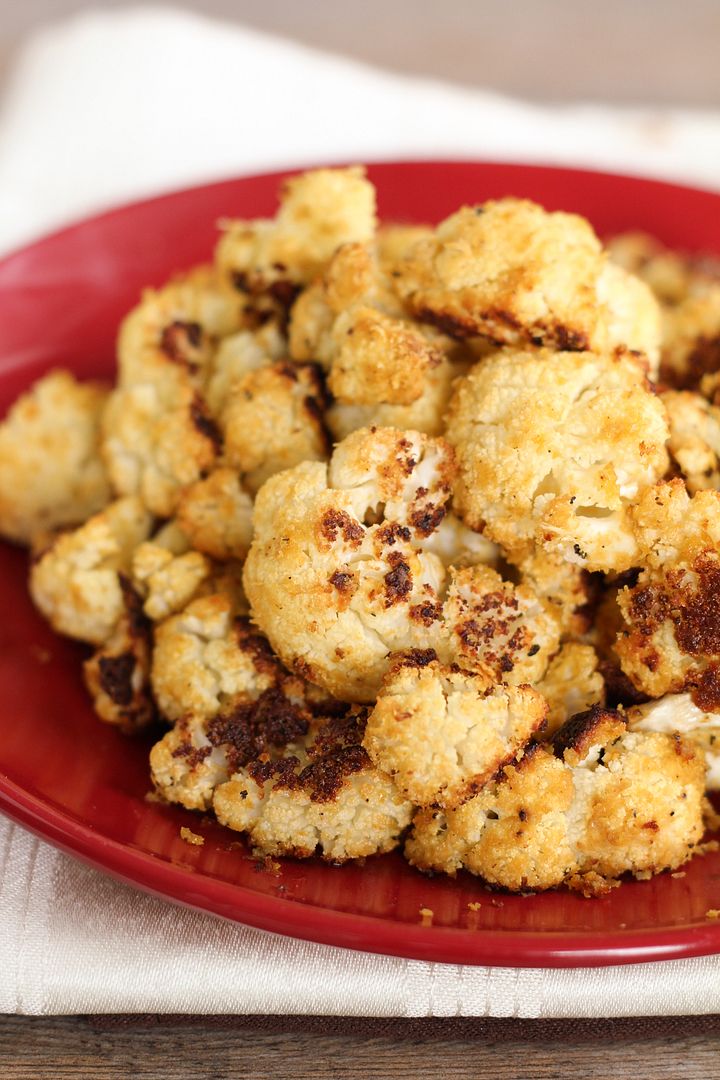
Healthy 'Cheezy' Roasted Cauliflower

Healthy 'Cheezy' Roasted Cauliflower

Even though my team didn’t quite make it to the Super Bowl this year, I’m still looking forward to this Sunday, not only to watch some very talented players compete in what should be an exciting game, but also to enjoy one of my favourite parts of the big game – the food!

Healthy 'Cheezy' Roasted Cauliflower

This year I’m going to try to keep things a little healthier than normal, though. I’ve been so busy with schoolwork over the past week that I feel like I haven’t been eating nearly as well as I usually do. Case in point: last night’s dinner consisted of peanuts, crackers, and a granola bar. Not the most nutritious meal I've ever had.

Healthy 'Cheezy' Roasted Cauliflower

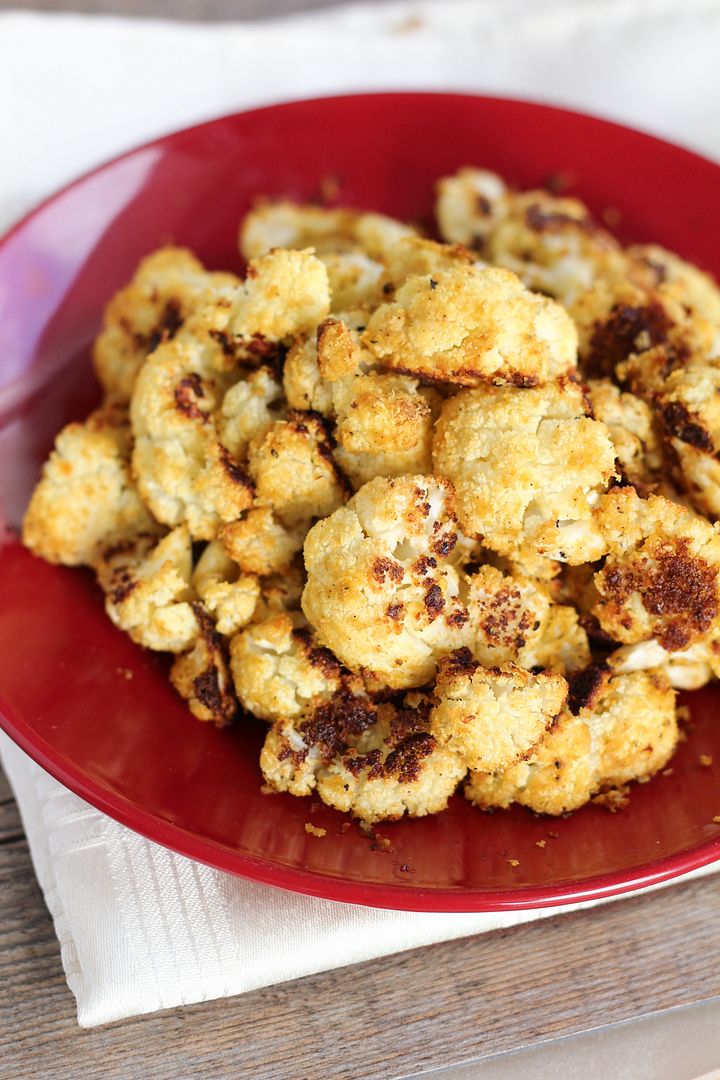
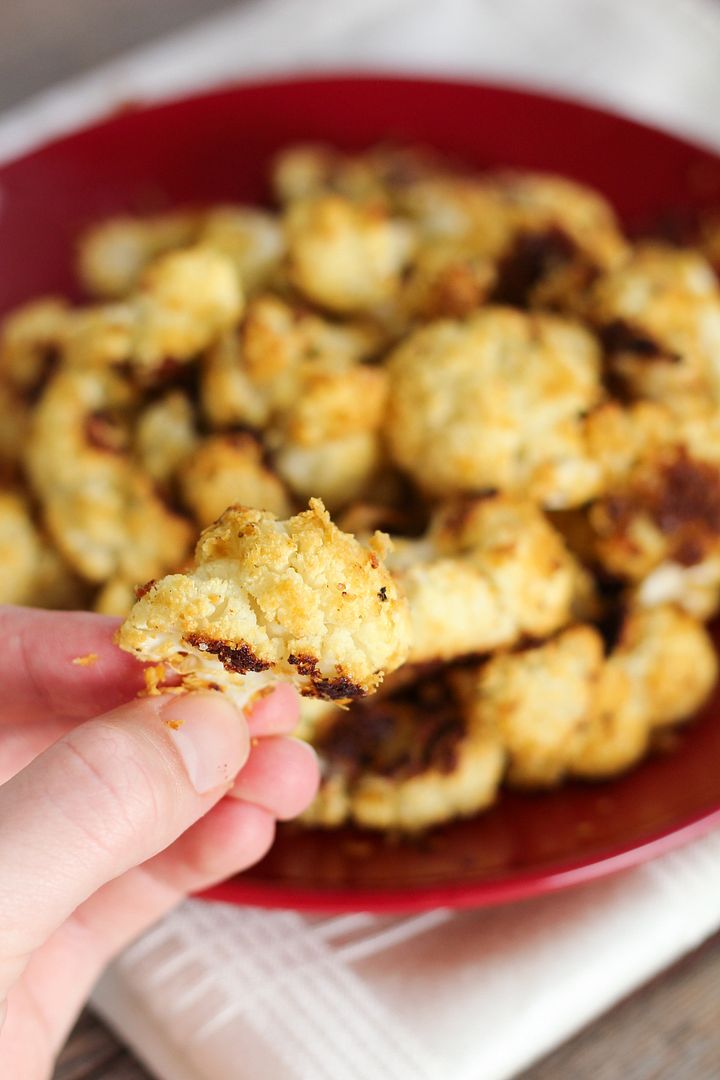
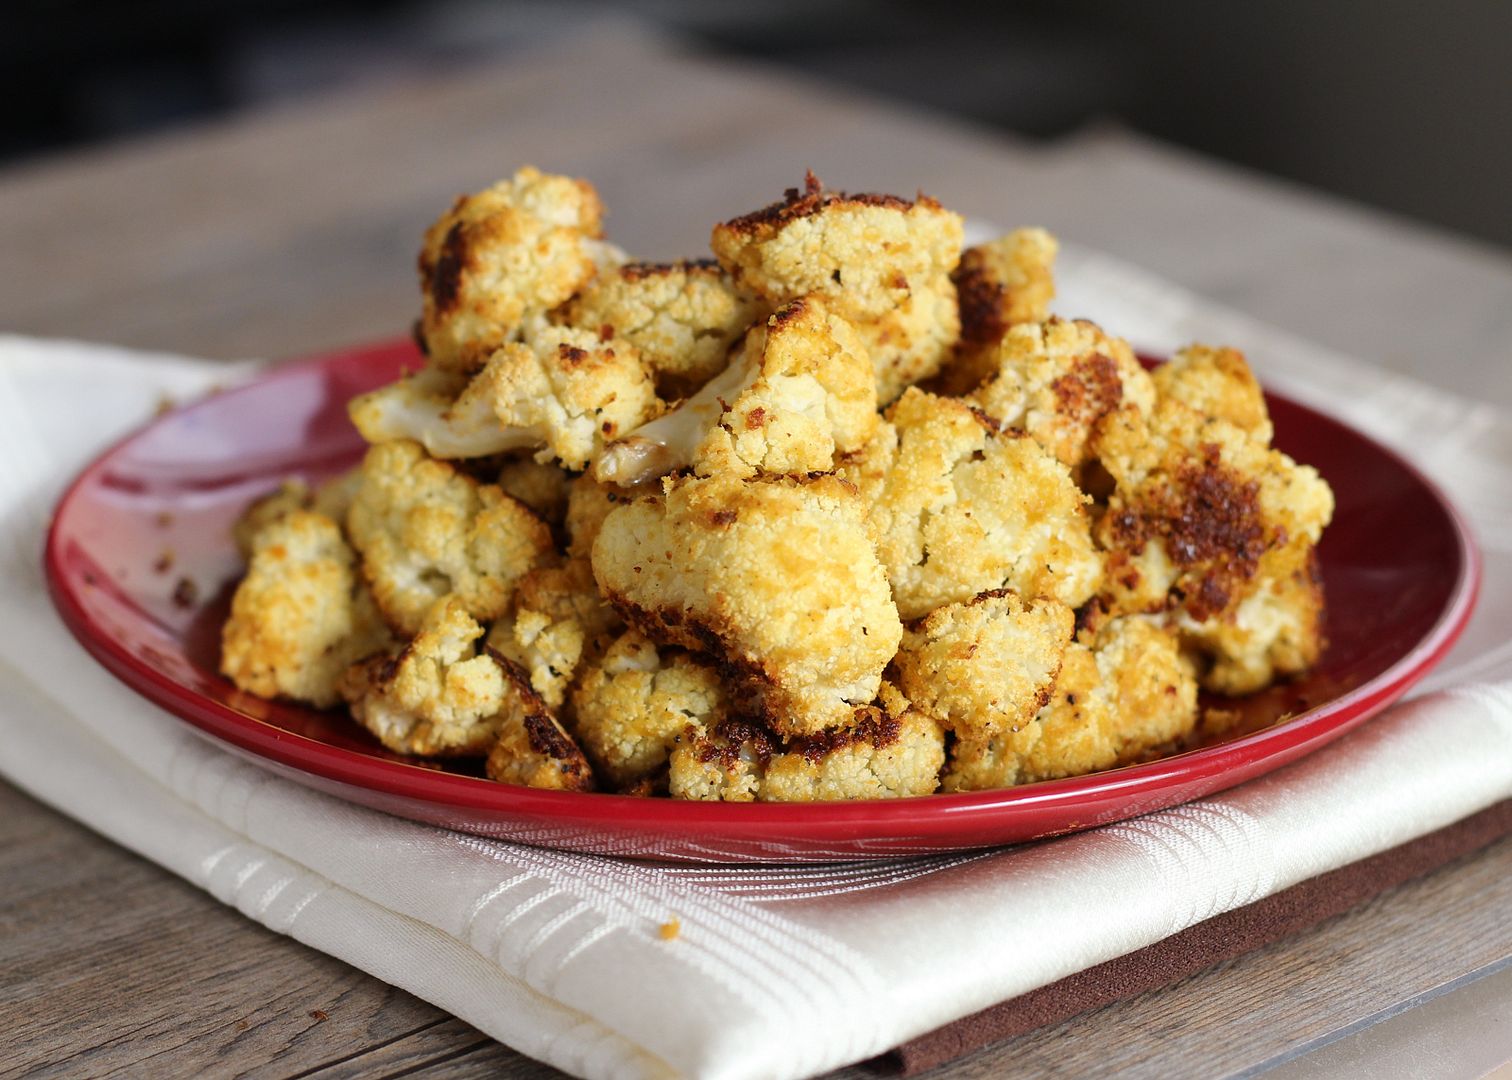
These cheezy cauliflower bites are the perfect healthy snack food to go with the big game, or to enjoy anytime! Throughout the football season we’ve been making roasted cauliflower tossed with buffalo sauce (in fact, this was how I finally got Ryan to admit that cauliflower can taste good), but I changed things up this time by going with a cheezy ranch type flavour. But without the cheese (hence the use of the ‘z’)!

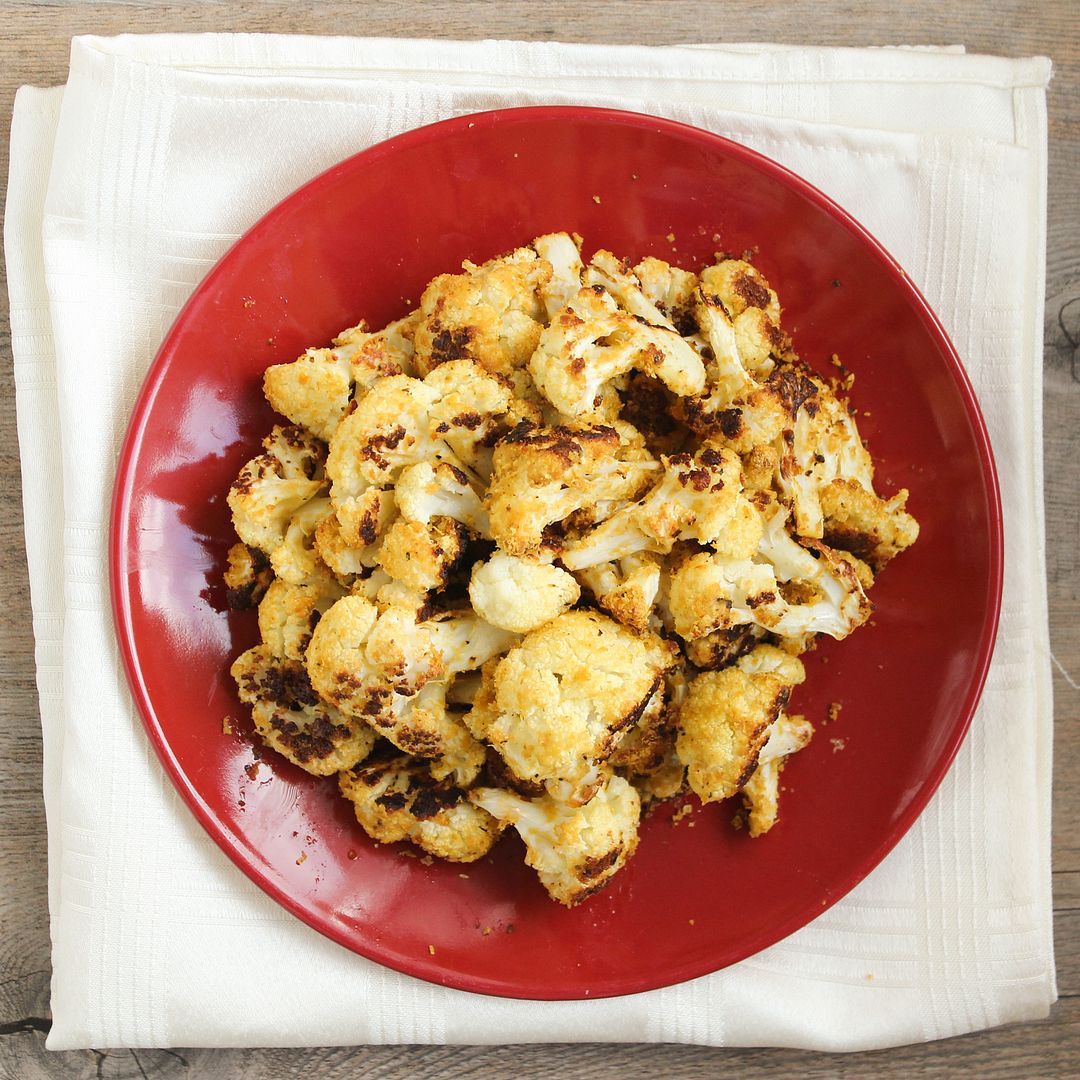
Nutritional yeast (which indeed lives up to its name and is full of nutritional value, but with a cheesy nutty flavour) coats these cauliflower florets along with some mustard, seasoning, and a bit of olive oil, then they get roasted in the oven until they’re slightly crispy and delicious.

Healthy 'Cheezy' Roasted Cauliflower

The original recipe is from Clean Eating Magazine, though I made quite a few changes like adding more spices, adding mustard to complement the cheesy flavour and decrease the amount of oil needed to get the spices tso stick, and rather than dipping each cauliflower in oil, I just tossed everything together with some oil to cut the amount needed in half.  You might end up with less of the coating sticking to each piece this way, but I still thought there was plenty.  

There are other versions of this online that call this type of dish ‘cauliflower popcorn’, which I resisted because this really tastes nothing like popcorn, but it is still so tasty and will disappear quickly, so plan accordingly if making it for the game this weekend!

Healthy 'Cheezy' Roasted Cauliflower

Cheezy Roasted Cauliflower

Adapted from Clean Eating Magazine

Serves 2-4, depending on serving size

Ingredients:

Non-stick cooking spray
1 head cauliflower
2 tablespoons olive oil
2 tablespoons Dijon mustard
1/2 cup nutritional yeast
1/2 teaspoon garlic powder
1/2 teaspoon onion powder
1/4 teaspoon mustard powder
1/2 teaspoon salt
1/4 teaspoon freshly ground pepper

Directions:

Preheat oven to 400°F.  Line a large baking sheet with aluminum foil and spray lightly with non-stick cooking spray. 

Chop cauliflower into bite-sized florets and add to a large bowl.  Pour olive oil and mustard into bowl and toss until cauliflower is thoroughly and evenly coated.  In a small bowl, mix nutritional yeast, garlic powder, onion powder, mustard powder, salt, and pepper.  Pour mixture over the cauliflower and toss until evenly coated.

Spread cauliflower in an even layer on prepared baking sheet.  Sprinkle any leftover seasoning overtop.  Roast  in preheated oven for 20 minutes, remove from oven and turn cauliflower over, then roast for another 20-25 minutes, until browned.  Serve warm.

September 05, 2013

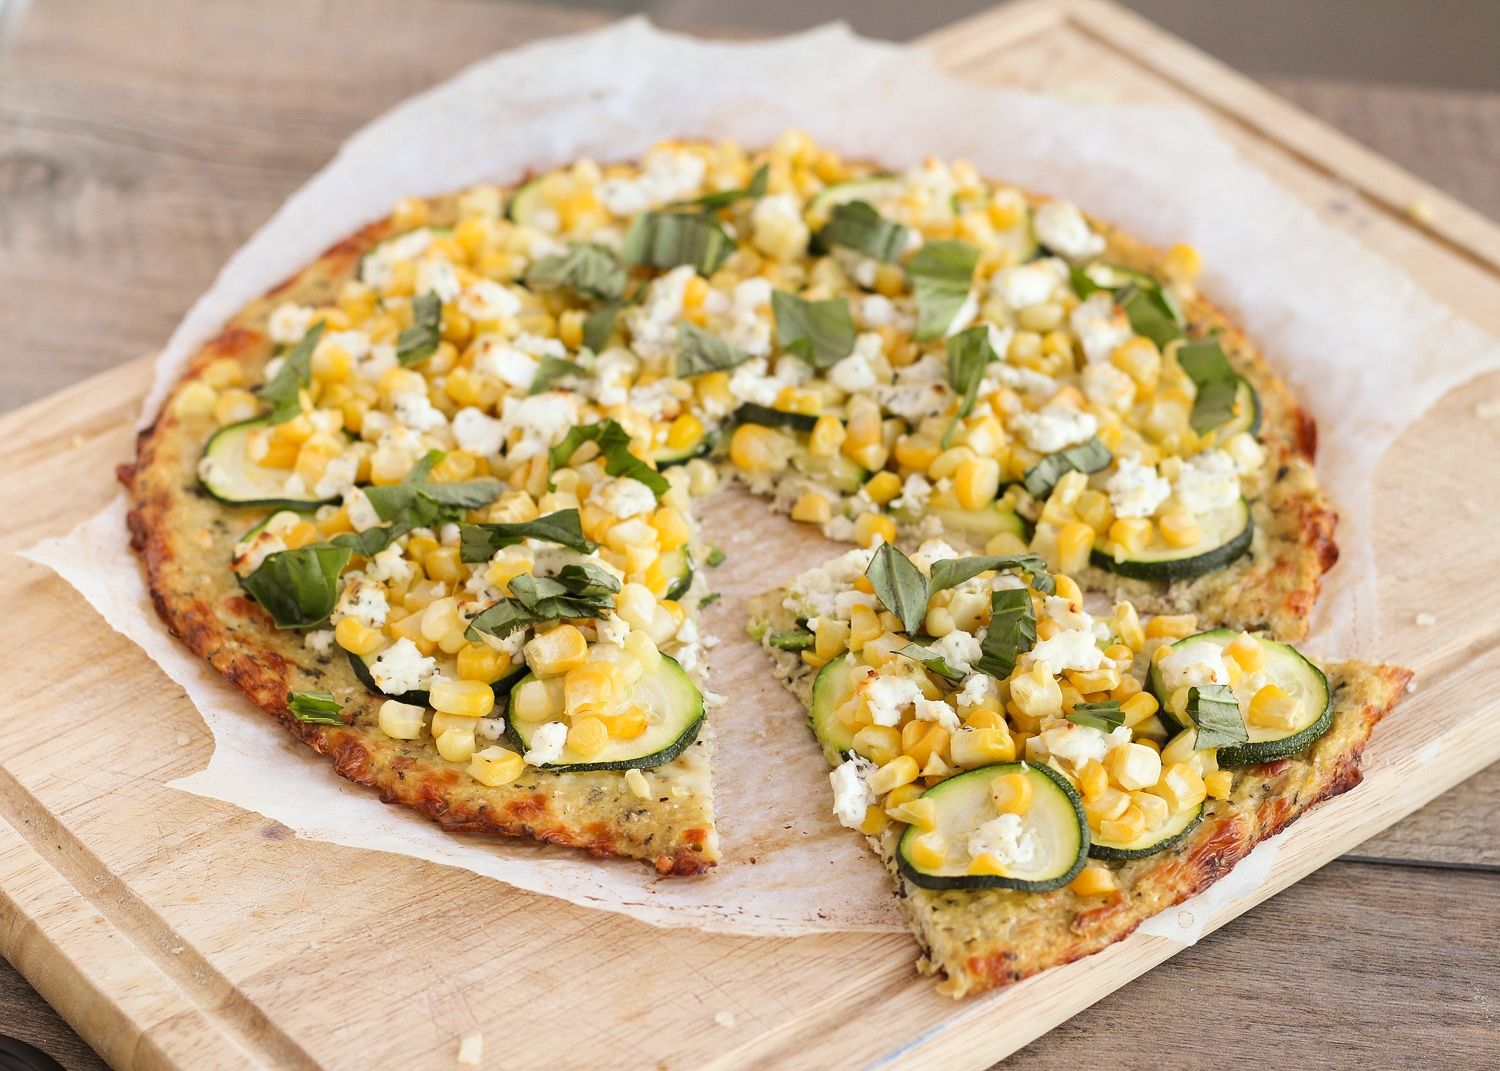
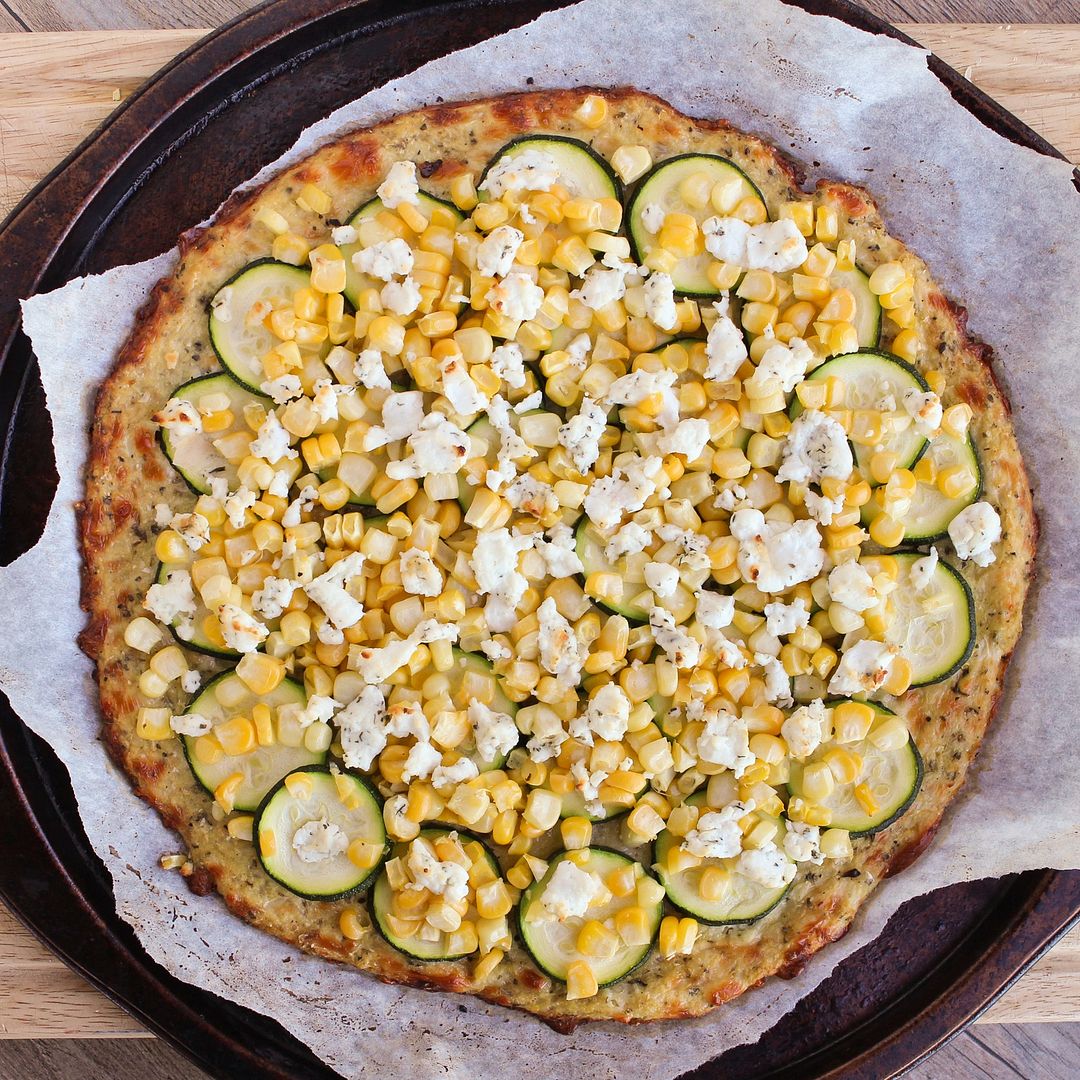
Cauliflower Crust Pizza with Corn, Zucchini, & Goat Cheese

Cauliflower Crust Pizza with Corn, Zucchini, & Goat Cheese

If you read blogs regularly or look at food on Pinterest, you've probably noticed at least a few recipes for cauliflower crust pizza before.  I've been seeing it all over the place for a while now and keep adding it to my list of things I need to try, but for some reason it took me until now to finally make it.  I admit I was skeptical that this was another fad that people go crazy for because it sounds good but in reality tastes disgusting (*cough*egg baked in an avocado*cough*), but I'm happy to report that this tastes as good as it sounds! (unless you think it sounds gross, like a certain boyfriend who shall remain unnamed, in which case you are wrong!)

If you have no idea what I'm even talking about when I refer to cauliflower crust pizza, I'll give a quick explanation of what it is.  Basically it's a breadless pizza crust that's made by mixing pulverized cauliflower with cheese, egg, and spices (if you like) to form a "crust" that is then baked and topped with any pizza toppings you like.  So it's healthier than pizza in the sense that there is actually some nutrition in the crust instead of empty carbs, but I should be clear that it's also not some sort of miracle calorie-free pizza because there is a lot of cheese in the crust, if that's what you're concerned about!

Cauliflower Crust Pizza with Corn, Zucchini, & Goat Cheese

There are lots of different recipes for cauliflower crust floating around, but I used one from The Lucky Penny Blog (with a few small changes), which Jessica from How Sweet It Is recently affirmed is the best cauliflower crust pizza recipe around, and though I haven't tried any other versions, this one worked so well that I know I won't need to (though she does have a cheese-free version if you're interested in trying it)!

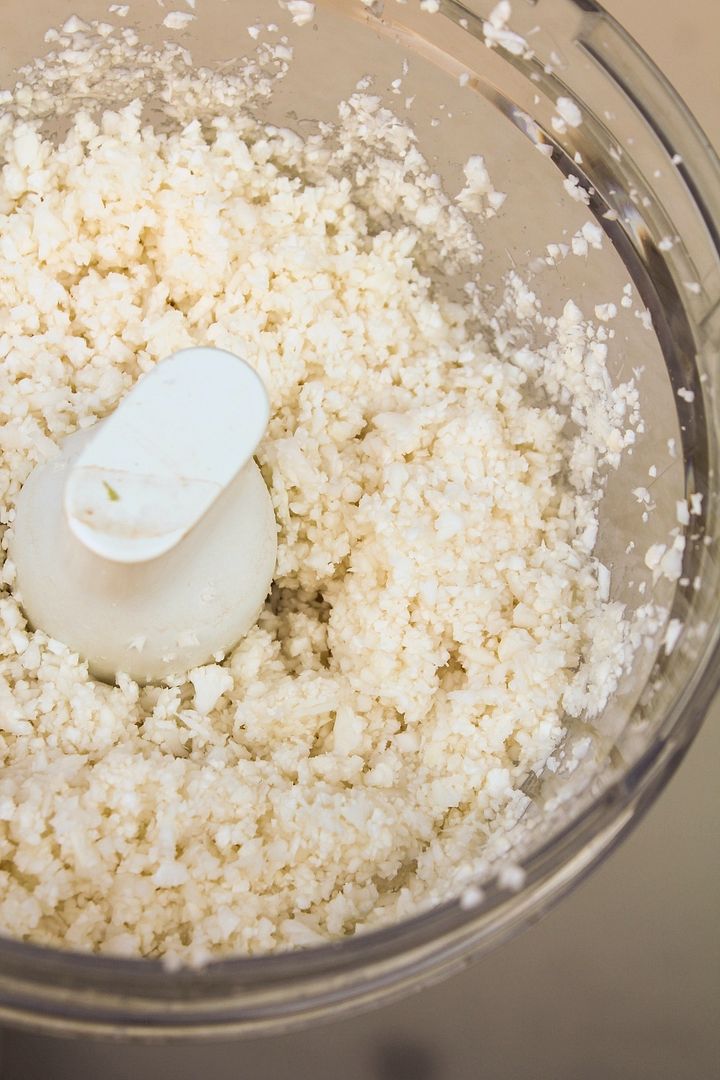
Making the crust is pretty simple.  You start by pulsing your cauliflower florets in a food processor until you get a bowl of fluffy snow-like "crumbs":

Making cauliflower crust pizza

You then cook the "crumbs" in the microwave, let them cool, then transfer them to a towel to wring out all the water.  This is probably the most important step, as it will help make sure your crust stays together later.  You'll be surprised at how much water comes out - and you'll get a bit of an arm workout during the process!

Making cauliflower crust pizza

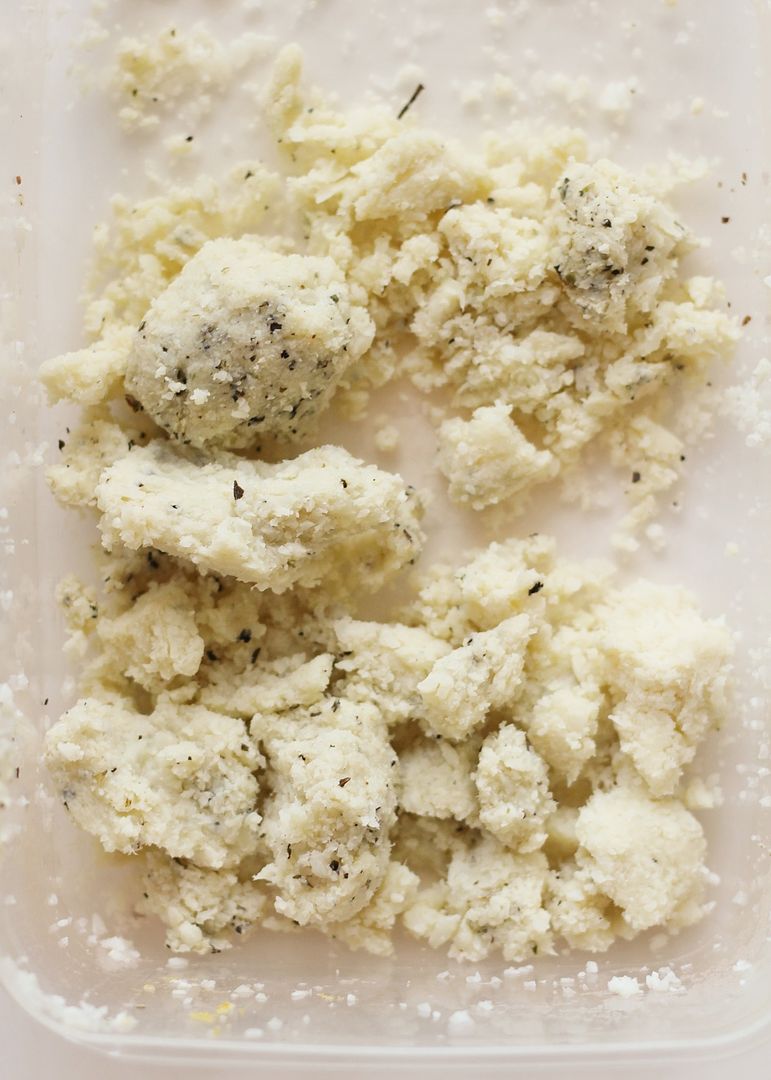
After you wring out all the moisture, the cauliflower will look completely different and if you smoosh it together with your hands it should actually stay together in clumps:

Making cauliflower crust pizza

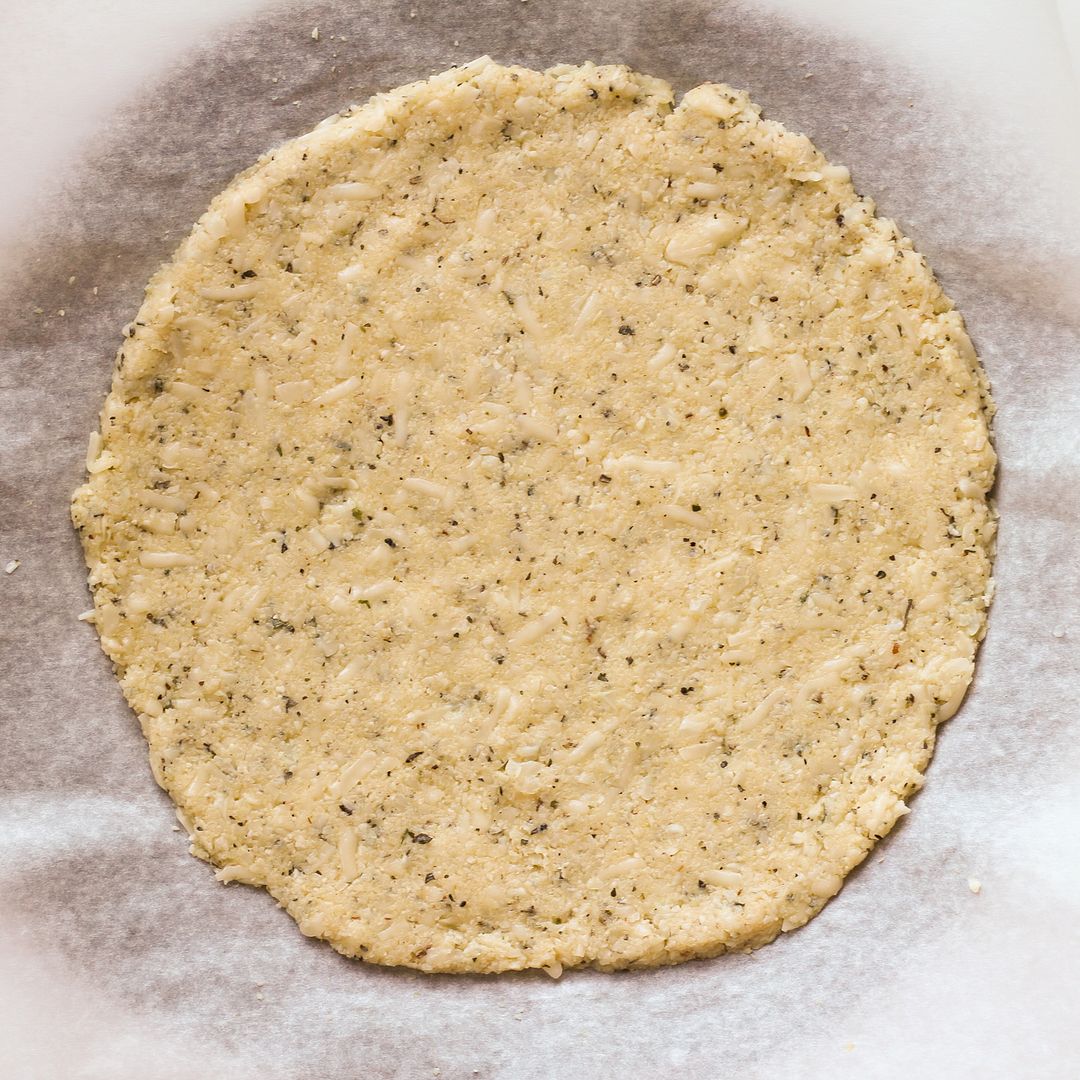
You then mix in your cheese, egg, and seasonings (if you like - I added dried basil, oregano, salt, pepper, and nutritional yeast for added cheesy flavour).  Then you pat the mixture into a pizza crust shape:

Making cauliflower crust pizza

You'll need to prebake your crust, during which time you can get all your toppings ready, then return the pizza to the oven with the toppings, wait very impatiently for it to be ready, and eat!

Cauliflower Crust Pizza with Corn, Zucchini, & Goat Cheese

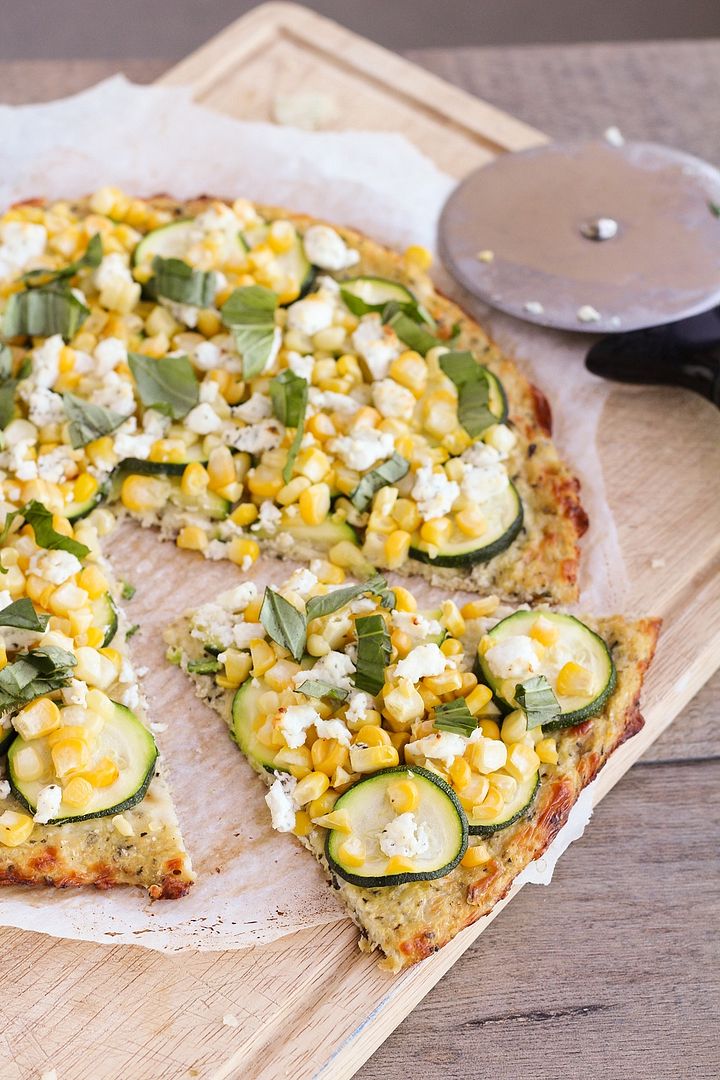
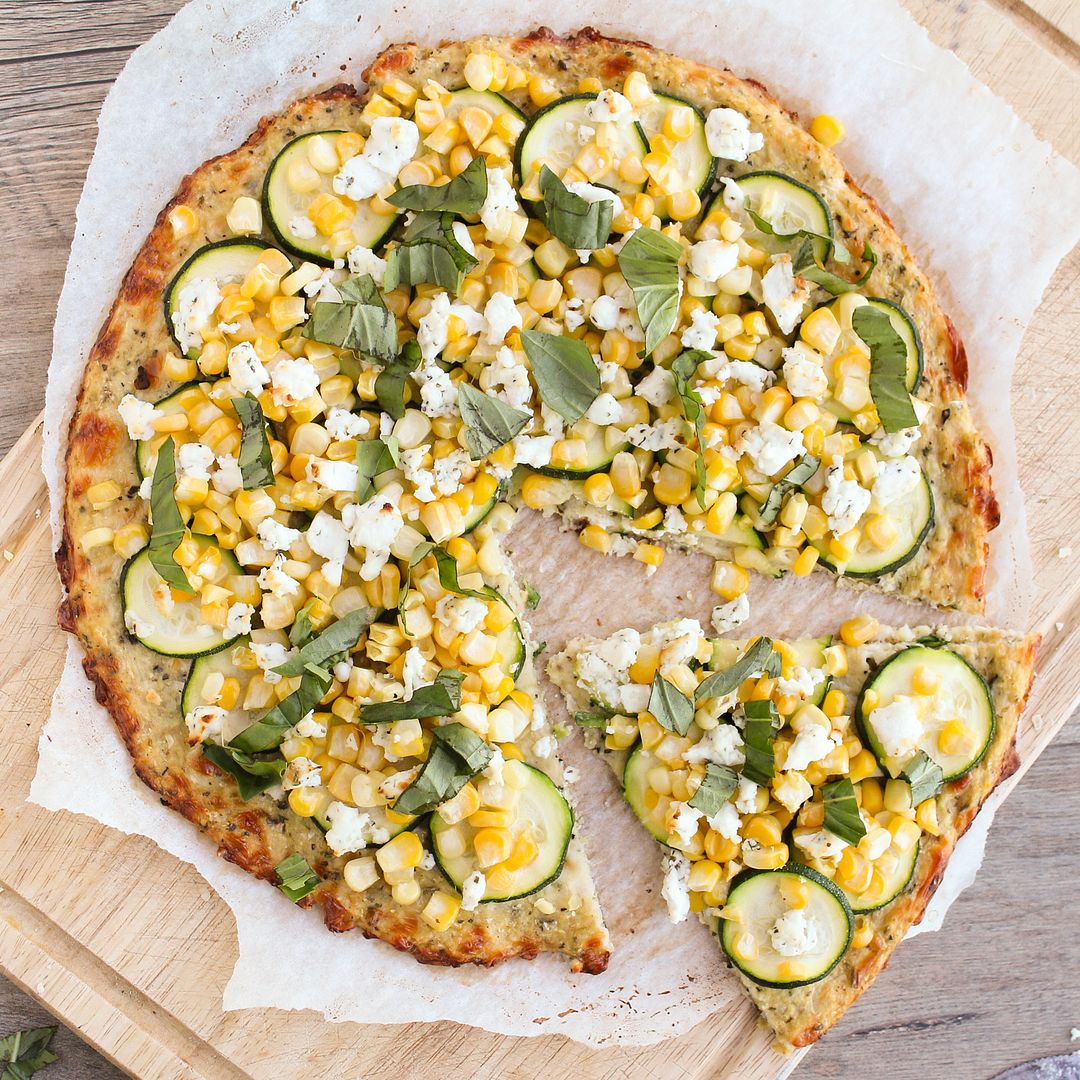
I decided to keep my toppings light and summery with corn, zucchini, and basil.  Even though the air is definitely getting chillier around here, it's still summer and there's still lots of corn and zucchini available!

I didn't use a sauce or cheese except for the goat cheese on top, as there's already cheese in the crust and I didn't want this to be too heavy.  Everything worked so well together and tasted fresh, which I loved!

Cauliflower Crust Pizza with Corn, Zucchini, & Goat Cheese

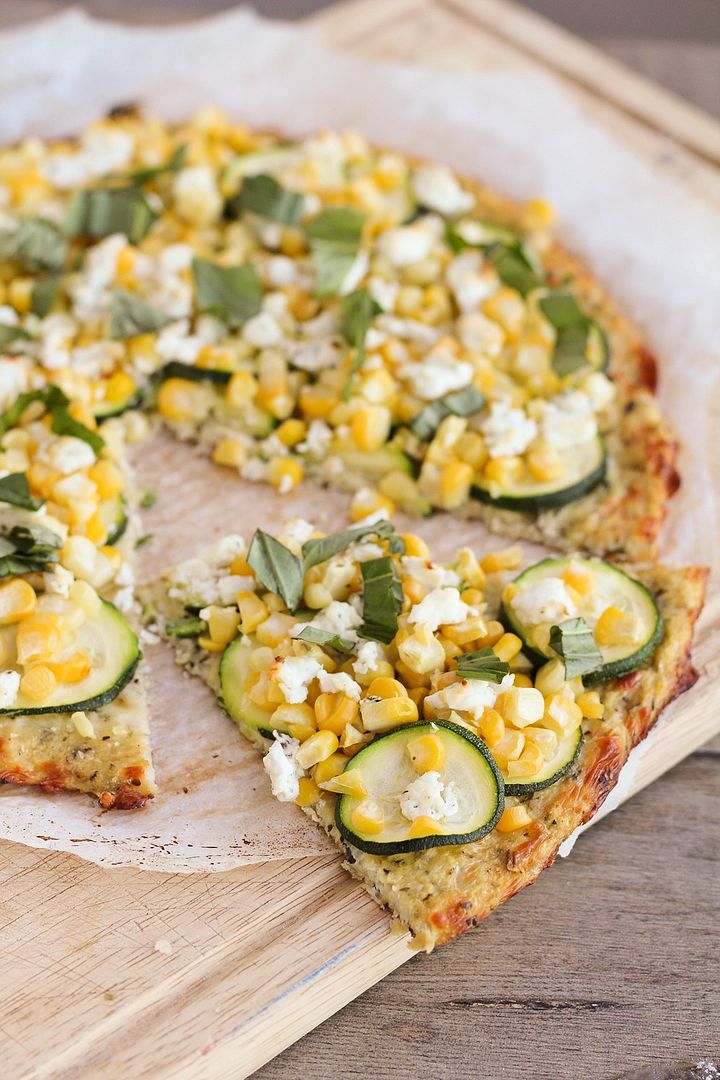
The crust was also way better than I expected!  It definitely doesn't taste anything like traditional pizza crust, so if that's what you're expecting then you'll be sadly disappointed.  Instead, it's chewy and flavourful and cheesy, and I think I actually might like it even better than regular crust!

Not that this will be replacing regular pizza for me as there's definitely still a time and place for that, but it's nice to have an alternative!

Cauliflower Crust Pizza with Corn, Zucchini, & Goat Cheese

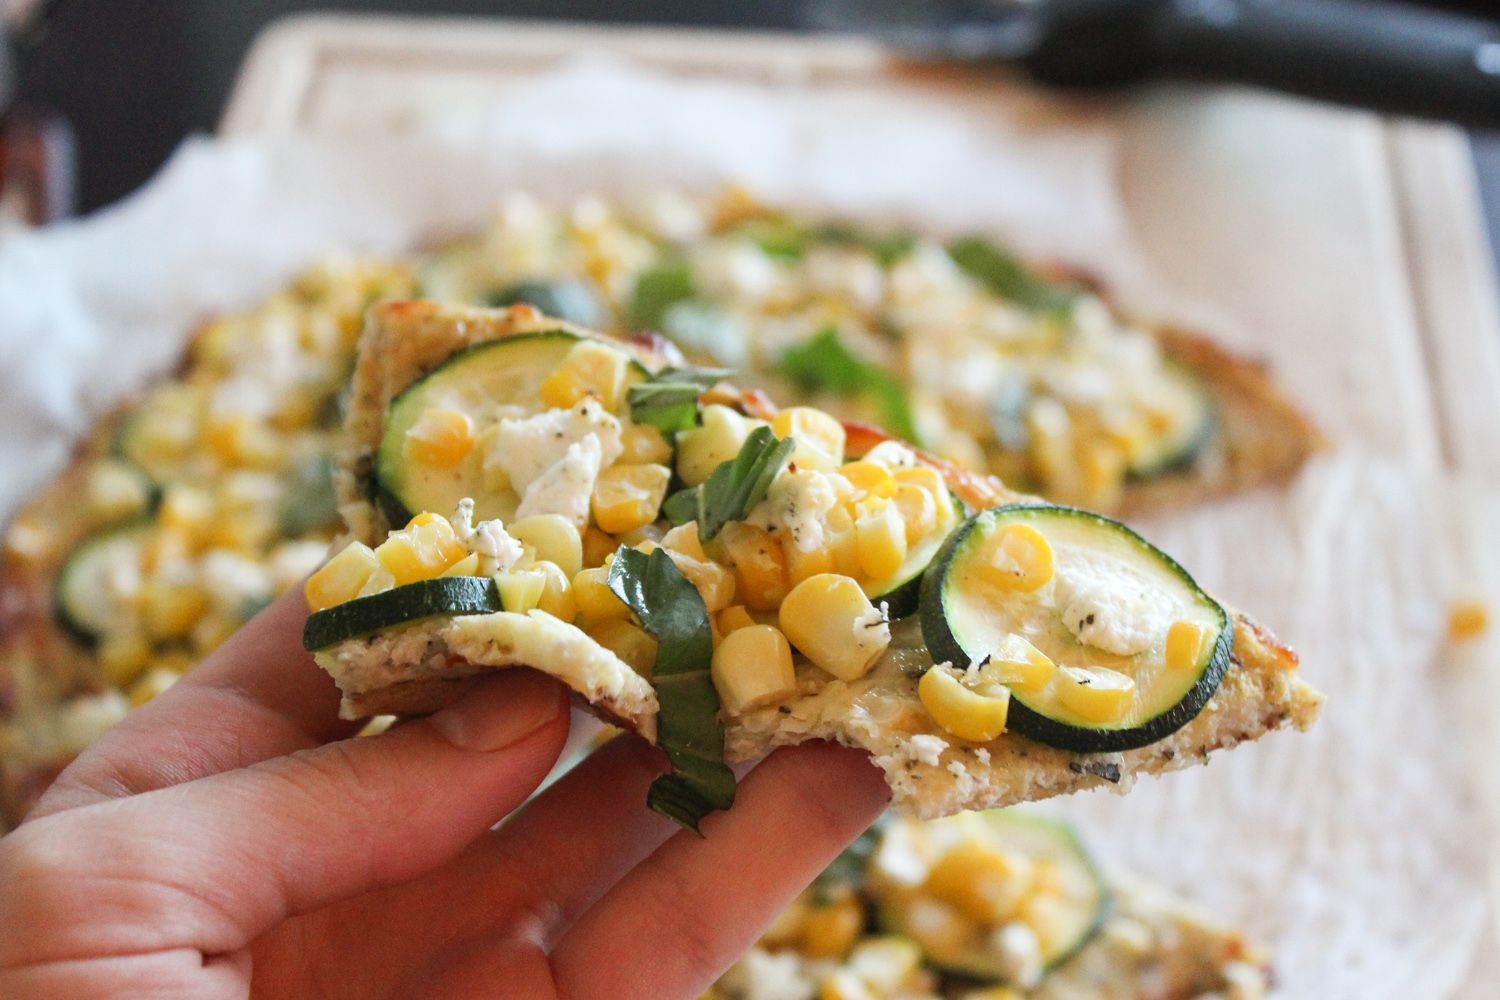
The only problem some people have noted is that the crust isn't super sturdy, so it can be hard to pick it up and eat it with your hands like regular pizza.  I found that I could still pick up the slices of pizza (see picture below for an idea - sorry it's so dark, I didn't think to take a picture until I'd already started eating), but because I chose corn as a topping, it was a bit hard to keep everything in place!  But as long as you don't mind getting a bit messy, it's worth it!  (and you can always eat with a knife and fork if you prefer!)

Cauliflower Crust Pizza with Corn, Zucchini, & Goat Cheese

Cauliflower Crust Pizza with Corn, Zucchini, & Goat Cheese

Crust recipe adapted from The Lucky Penny

Serves 2-3

Ingredients:

For the Crust:
1 medium head of cauliflower
1 cup grated part-skim mozzarella cheese
1/2 teaspoon dried basil
1/2 teaspoon dried oregano
1/2 teaspoon salt
1/4 teaspoon pepper
1 teaspoon nutritional yeast (optional)
1 large egg

For the Toppings:
1 small zucchini, sliced into thin rounds
1 ear of corn, kernels removed
2 oz herbed goat cheese (or plain goat cheese)
A few leaves of fresh basil, sliced thinly

Directions:

Preheat oven to 450°F and line a baking sheet with parchment paper.

Chop the cauliflower into florets (try to remove the stems).  Place in the large bowl of a food processor and pulse for about 30 seconds, just until all of the florets have been pulsed into very fine crumbs.  You should have about 3 cups of crumbs.  Transfer to a microwave safe bowl, cover, and microwave on high for 4 minutes.  Remove and let cool slightly.  Transfer to a clean tea towel (don’t use paper towels - they will shred), wrap up tightly in the towel, and wring all the water out of the cauliflower over the sink.  You will be surprised at how much water comes out!  Keep wringing to get as much water out of the cauliflower as you can – this will prevent the crust from crumbling.  Combine dried cauliflower with the cheese, basil, oregano, salt, pepper, nutritional yeast, and egg.  Mix to combine (I just used my hands).  Transfer to prepared baking sheet and form into a 10” thin circle.  Bake in preheated oven for 10-11 minutes.

Once crust has precooked, remove from oven and top with zucchini, corn, and goat cheese (you might not be able to fit all of the zucchini or corn kernels, depending on how big the zucchini and ear of corn were).  Top with crumbled goat cheese.  Return to oven and bake for another 15-20 minutes.  Remove from oven, top with sliced basil, season with additional pepper if desired, and serve!

Note that this is best eaten fresh - it doesn't keep very well.
April 23, 2013

Cheezy Ranch Hummus

Cheezy Ranch Hummus

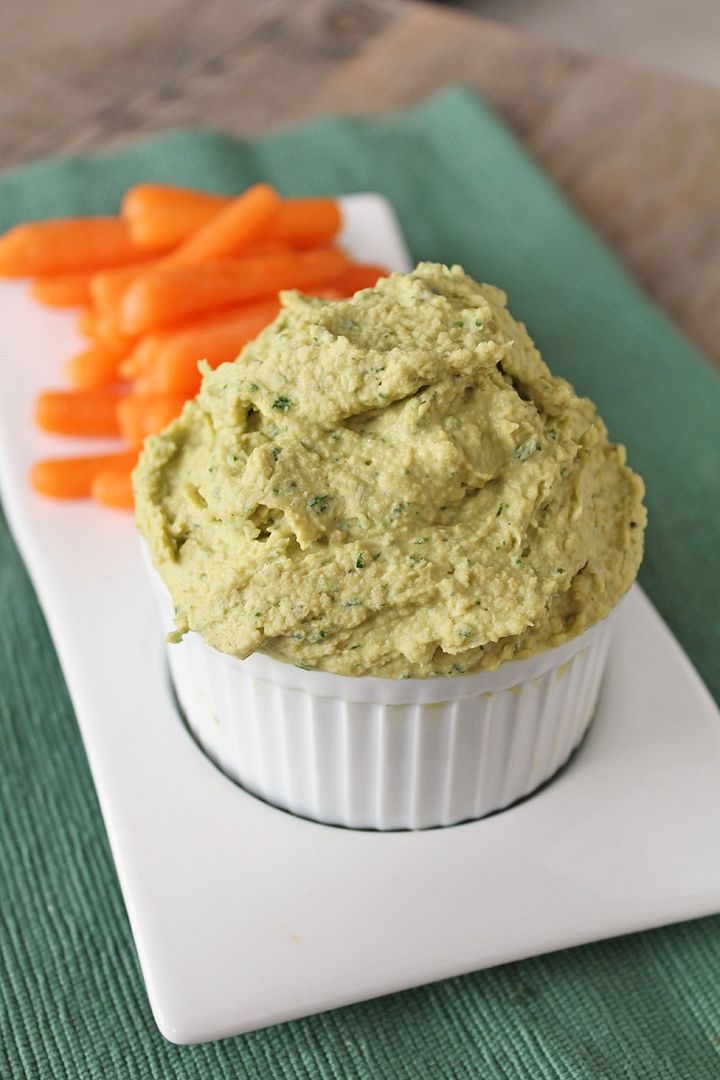
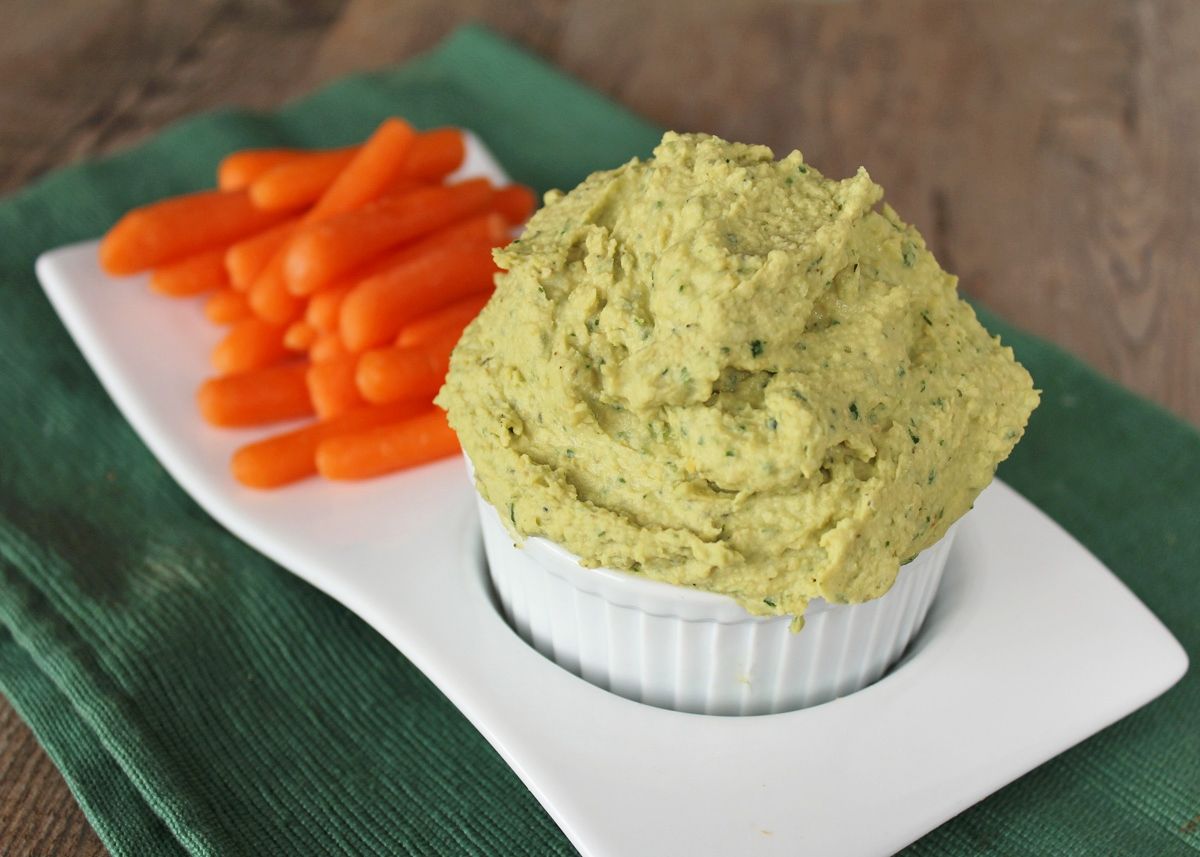
Before I get into this post, I feel the need to first clarify that I did not spell "cheesy" wrong in the title.  I'm guessing that the majority of people reading this already knew that, but for those who might not have heard the term "cheezy" before, it's used to describe something that tastes cheesy but doesn't actually use dairy cheese.  I'm not vegan and there is no way I could ever give up real cheese, but there are some dishes where cheese just doesn't really work, like in hummus.  Fortunately, there is a magical little ingredient called nutritional yeast that can blend right in to not only add cheesy flavour but also lots of nutrients.  Again, I'm sure a lot of you have heard of it before, but in case nutritional yeast is new to you (I had no idea what it was a couple of years ago), I described it more in this post for broiled pesto tomatoes, and I also used it in this pizza hummus to get the same cheesy flavour I was going for in this ranch version.

Cheezy Ranch Hummus

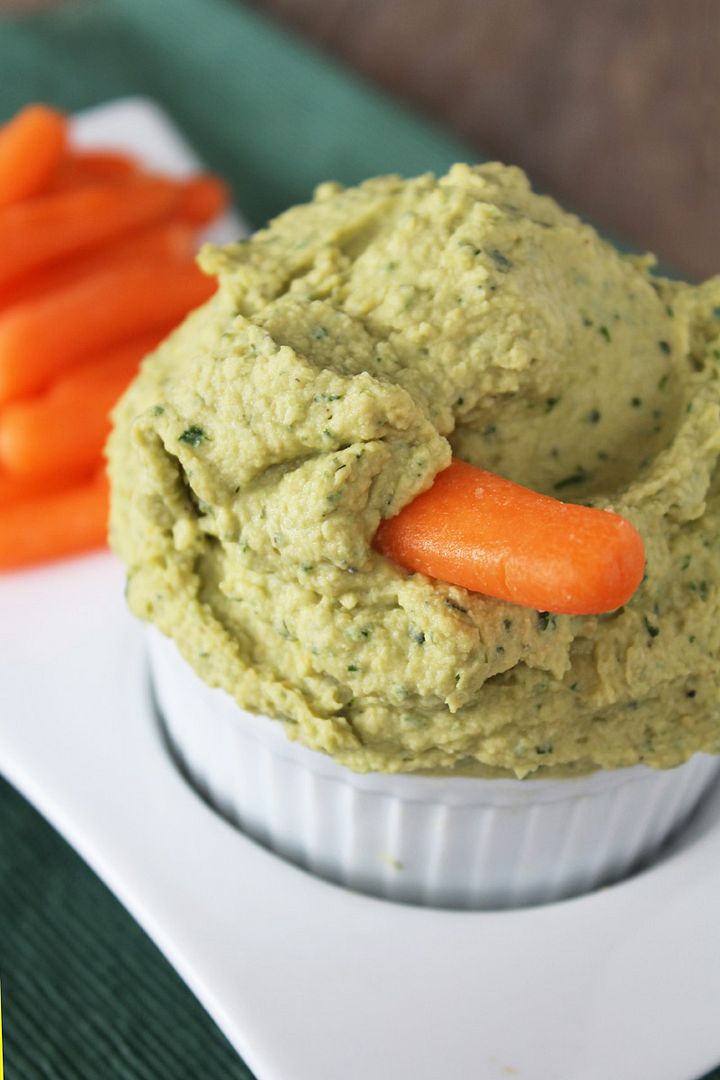
This hummus was inspired by Pickles & Honey's vegan cool ranch hummus I saw a while ago and loved.  I don't buy Doritos anymore because I know I'd eat the whole bag in one sitting, but Cool Ranch was always one of my favourite flavours.  I changed almost everything from the original recipe to make my own version, and I wouldn't say that mine is "cool ranch" flavoured, but rather combines elements of ranch dressing like fresh herbs and onion and garlic powder with nutritional yeast for a cheezy ranch hummus that makes a fantastic dip for veggies!

Cheezy Ranch Hummus

In other news, Spring has finally sprung in Southern Ontario and I couldn't be happier!  I love seeing flowers and robins and feeling the sun on my face again.  I hope those still stuck with the white stuff will see it all melt away soon!

Springtime

Cheezy Ranch Hummus

Inspired by Pickles & Honey

Ingredients:

1 (540mL or 19 fl oz) can chickpeas, drained and rinsed
3-4 tablespoons water
3 tablespoons tahini
2 tablespoons fresh lemon juice
3 tablespoons fresh chopped parsley
2 tablespoons chopped chives
1 tablespoon fresh chopped dill
1 teaspoon garlic powder
2 teaspoons onion powder
1/2 teaspoon salt
1/4 teaspoon pepper
2 tablespoons nutritional yeast
1/2 teaspoon dijon mustard
Dash Worcestershire sauce (optional, leave out to keep it vegetarian)
2 tablespoons extra virgin olive oil

Directions:

Add all ingredients except for the olive oil to the large bowl of a food processor.  Process until smooth.  Pour the olive oil into the feed tube of the food processor and let slowly drain into hummus as you continue to pulse.  Once everything is well combined, taste and adjust any amounts to your liking.  Store in the refrigerator and serve with veggies or as a sandwich spread.

September 05, 2012

Creamy Vegan Tofu Basil Pesto Sauce

Creamy Vegan Tofu Basil Pesto Sauce

Remember when I discovered that I can eat tofu when it's disguised in a dip?  And that it can add a silky creaminess to a dip without you even being able to taste it?  Well I decided to see if this same magic would also work in a pasta sauce, and guess what?  It does!

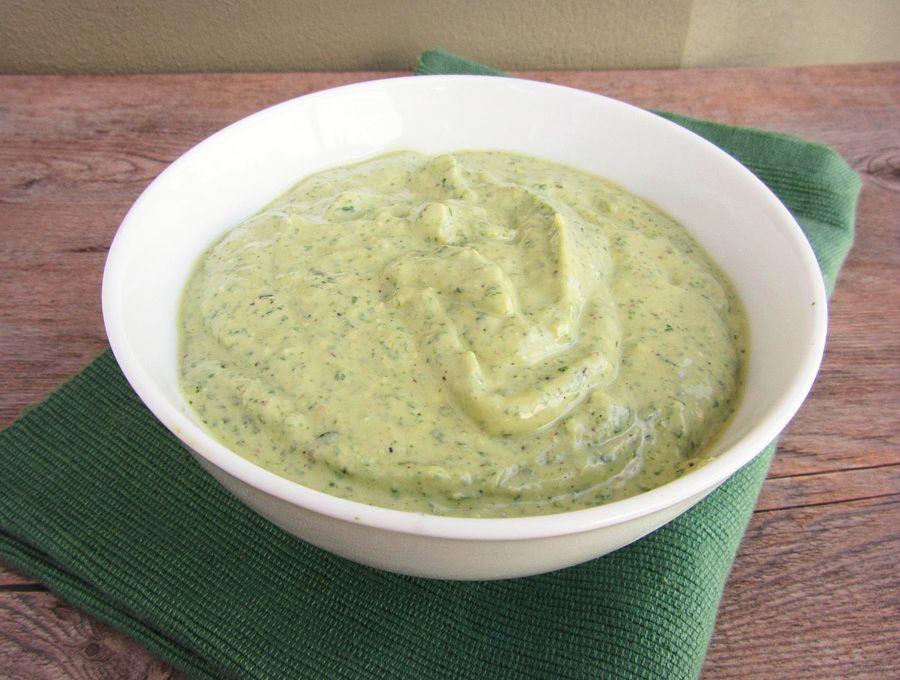
I wanted to make a pesto sauce that would be light and creamy through the addition of silken tofu.  The only recipe I found was this one from Cooking Light, so I worked from it but made it vegan using nutritional yeast and walnuts in place of the parmesan cheese.  I'd like to tell you that I did this because nutritional yeast is healthier than parmesan (which it is), but really it's because when I went to the grocery store looking for parmesan, all they had were ginormous hunks that cost 20 dollars, and I wasn't willing to spend that much money on a meal that I wasn't even sure would work out!

Fortunately, this meal not only worked out, but it was delicious!  The silken tofu gave the pesto such a smooth and fluffy texture that made for a creamy sauce that still tasted light and had all the flavour of pesto, which I love!  I ate all of mine with pasta, but I think it would also work great as a sandwich spread or dip.

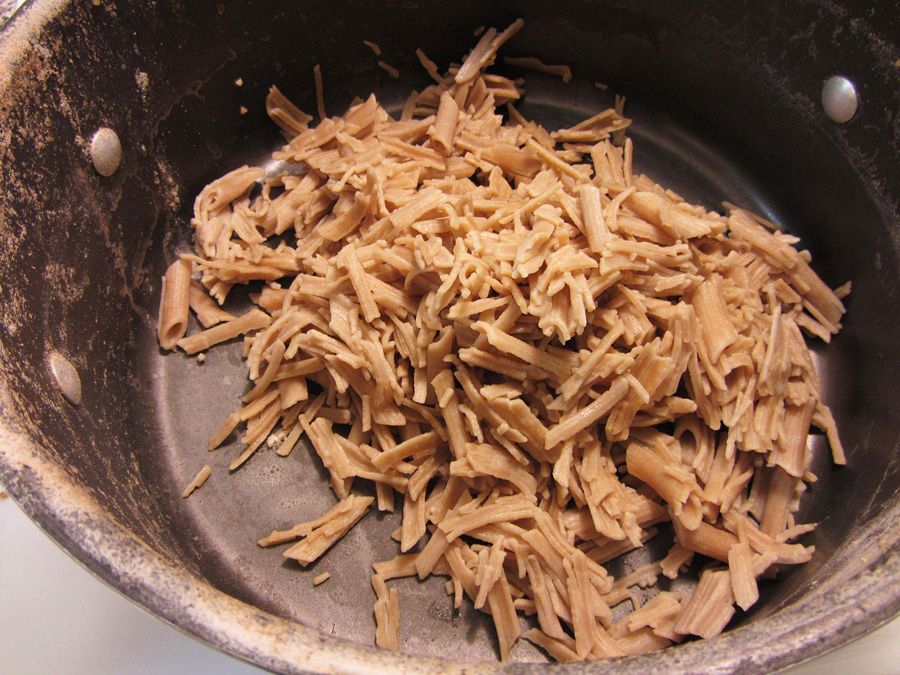
I decided to be extra healthy and eat my pesto with a gluten-free multigrain penne I'd bought from Whole Foods, made from rice, quinoa, and amaranth.  Unfortunately, when the pasta was done cooking it looked like this (and no, my pot is not normally that dirty, all the residue on the sides was from the pasta):

failed pasta

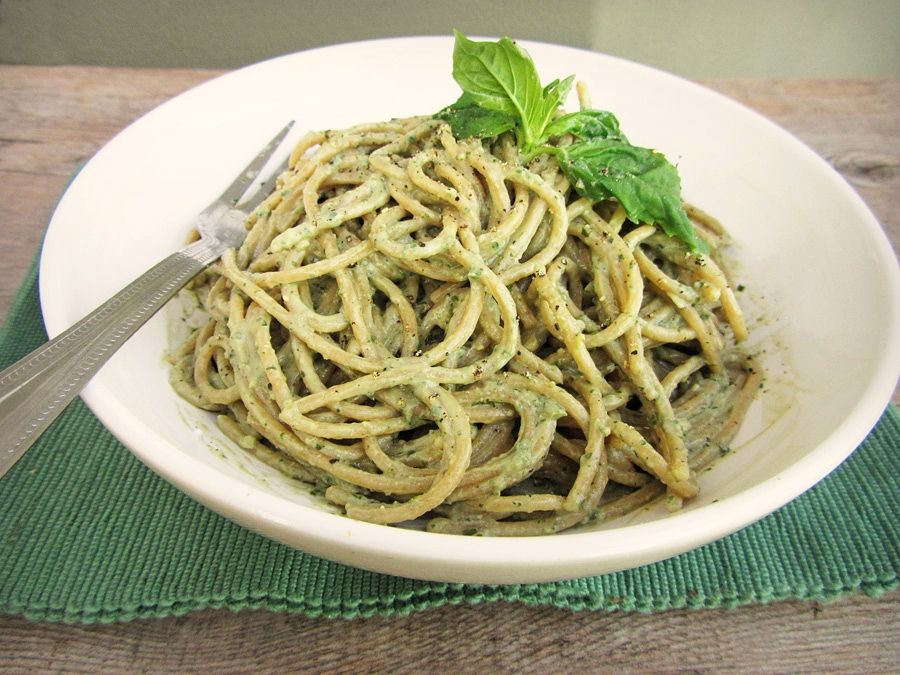
I still ended up eating it (no sense wasting food!), but didn't think those shreds of pasta would make for a very nice picture, so I immediately cooked up some whole wheat spaghetti so that I could show a photo of the pesto sauce in action.  That's how much I love you guys!

Of course, I realized afterward that I forgot to add cherry tomatoes for the photo, so just imagine they're in there making it prettier.  I gave some pasta to Ryan and asked if he could guess what was in it, which he couldn't, and even after I told him there was tofu in it, he still happily kept eating!  So don't think that if you hate tofu you won't like this, I promise you can't tell it's in there!

Creamy Vegan Tofu Basil Pesto Sauce

Tofu Basil Pesto Sauce

Adapted from Cooking Light

Makes enough sauce for 3-4 pasta servings

Ingredients:

1 cup fresh basil leaves
1 cup silken tofu
3 tablespoons nutritional yeast
2 tablespoons chopped walnuts
2 garlic cloves, minced
2 tablespoons fresh lemon juice
2 tablespoons extra virgin olive oil
Salt and Pepper to taste

Directions:

Combine all ingredients in a food processor and process until smooth.  Season with salt and pepper to taste and process to combine.

If serving pesto with pasta, cook 8oz pasta and heat up the pesto in a saucepan before tossing with the cooked pesto.  I also added some sauteed cherry tomatoes to the pasta, which worked really well.  You could also use the pesto as a sandwich spread, pizza sauce, or dip! 

May 18, 2012

Pizza Hummus

pizza hummus

It's a long weekend here in Canada, and I'm currently on a train headed toward our nation's capital, Ottawa, for a wedding weekend!  The weather is supposed to be hot and sunny over the next few days so it should be a great weekend!

I had a bit of a rough start to the trip this morning, waking up at the ungodly hour of 4:30am to be at the train station by 6am for a 6:30 train.  Around the time our train was scheduled to arrive, they announced that it was actually cancelled due to an accident, and we'd be switched to a later (and much less comfortable) train that would allow me only 15 minutes to make my connecting train in Toronto.  I haven't taken a train in ages so I was a bit panicked when we arrived at the station and I had no idea where to go or how to get to my next train!  I followed a crowd down a set of stairs, carrying my giant heavy suitcase along with three other bags, only to realize at the bottom that the exit led out to the street.  I turned around to try to go back up the stairs against a swarm of people trying to go down.  Just when I was sure I was going to topple backwards with all my bags in tow, an extremely nice guy carrying his bicycle down the stairs saw me struggling, grabbed my suitcase, and carried it AND his bicycle backwards all the way back up the stairs for me.  I'm definitely not a girl who gets offended from offers of help from strong men - I was so grateful!  I eventually managed to figure out how to get to my train and hopped on with about 5 minutes to spare before it left, and before the lump in my throat started to turn into tears haha - I'd had a dream the night before that I missed my train so I was so worried it was going to come true!  Anyways, the rest of the trip should be smooth sailing now, and I'm really excited to see a bit of Ottawa and also Quebec, which I rarely get to visit!

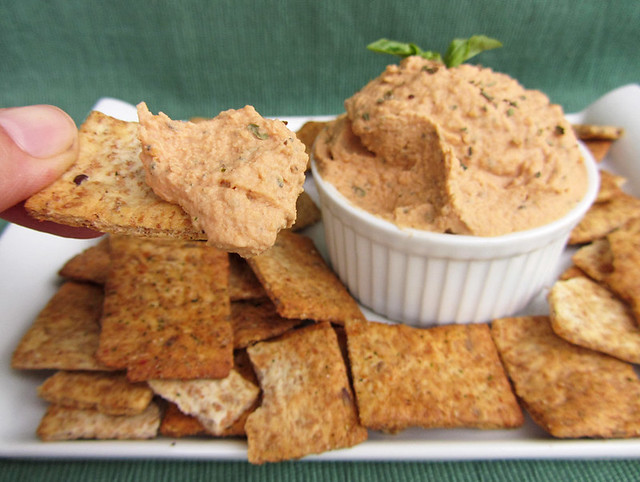
As I have about four free hours on the train before we arrive, I wanted to share a quick snack recipe that I made a while ago and have been dying to share!  You probably know by now that I love making hummus, but I was a bit nervous about the idea of pizza hummus, which I'd seen in my Food Network magazine a while back.  I loved their buffalo wing hummus from the same issue though, so I decided to give this one a shot too, and I was so glad I did!


pizza hummus

I noticed that Tessa from Handle the Heat recently wrote about this hummus too, so I thought now would be a good time to share it and spread the pizza hummus love further!  I made quite a few changes to the recipe though, as the original calls for 3 cups of chickpeas, which is an odd amount when working from canned chickpeas.  So I adjusted all the amounts to work with just  one regular can, and also added in some nutritional yeast, because what's a pizza hummus without cheesy flavour!

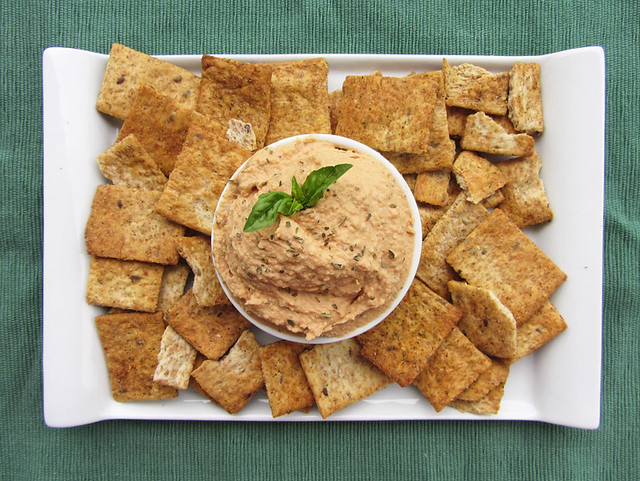
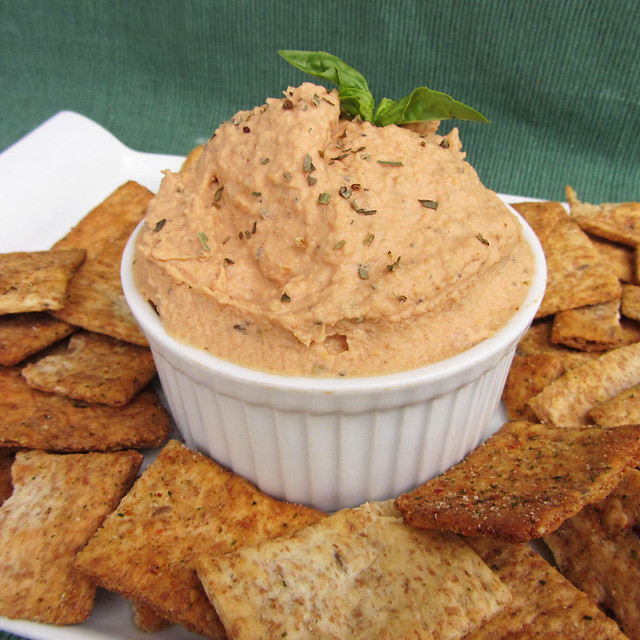
While it may seem odd, this hummus truly tastes like pizza, with just the right combination of tomato, herb, and cheese flavours.  Though the tomato paste gave it a rather unfortunate-looking pinkish hue, the taste totally made up for it!

I could not stop eating this hummus right after I made it, but I managed to force myself to put it in the fridge to save for later.  It still didn't last too long though!  I ate it with garden herb pita chips and I loved how the extra herbs in the chips enhanced the flavour of the pizza hummus.  I think I've seen parmesan herb pita chips before though, so if you can find those then they'd probably be an even better match!

Hope my fellow Canadians have a wonderful long weekend and get a chance to enjoy the sunshine!

pizza hummus

Pizza Hummus

Adapted from Food Network

Makes about 2 cups

Ingredients:

1 (540mL) can chickpeas
1/3 cup liquid from the chickpea can
3 tablespoon tahini
3 tablespoons tomato paste
1-1/2 tablespoons fresh lemon juice
2 cloves garlic, minced
1-1/2 teaspoons dried oregano
1 teaspoon dried basil
1/2 teaspoon salt
1 tablespoon nutritional yeast
2 teaspoons olive oil
Additional salt and pepper for seasoning

Directions:

Add all ingredients except for the olive oil to the large bowl of a food processor and blend until smooth.  Add olive oil to feed tube and process as the oil slowly mixes in.  Taste and season with salt and pepper if desired; adjust any amounts to your liking (e.g. Add more dried herbs for a stronger herb flavour, add more nutritional yeast for a stronger cheesy flavour, add more tomato paste for stronger tomato flavour, etc.)

August 11, 2011

Broiled Pesto Tomatoes


I know everyone’s sick of hearing people say this, but seriously, where has the summer gone?? I’ve been seeing back to school ads everywhere lately and it’s freaking me out. So far this summer I’ve only had two beach days, zero pool days, less than a handful of bbqs, and my tan is pretty much gone. But what I’m most concerned about is how little cooking and baking I’ve done with summer produce before it all disappears! I totally missed strawberry season this year, and I’m determined not to let peach, corn, or tomato season disappear as quickly.

I’ve already professed my love for tomatoes, which I don’t think I could ever tire of eating, but with tomatoes popping up everywhere right now, you might get bored of the usual caprese salads and tomato sandwiches. This side dish is a simple way to highlight the flavour of summer tomatoes in a new and interesting way. It’s also super quick and easy – all you have to do is whip together a pesto then broil the tomatoes for a few minutes (or you can use a pre-made pesto to save you even more time!).

The recipe calls for nutritional yeast, which up until recently was completely foreign to me. If you’ve never heard of it, it’s a strand of deactivated yeast (not to be confused with the active yeast you use in bread) that’s popular with a lot of vegetarians and vegans because it adds a boost of nutrients to meals and has a nutty, cheesy flavour that makes it great as a cheese substitute. In this recipe it’s used as a parmesan cheese substitute to top the tomatoes. You should be able to find it in the bulk section of health food stores, but if you can’t find it and have no problem with cheese, then just use parmesan cheese instead. I ended up using a mix of both, and also used Italian breadcrumbs (the storebought kind that has a mix of cheeses blended in) in place of the panko to add even more cheesy flavour. I also used walnuts instead of pine nuts simply because pine nuts are ridiculously expensive! Feel free to use the original ingredients though, or make your own substitutions – I bet mozzarella would be good on there too!

Broiled Pesto Tomatoes

Adapted from Vegetarian Times

Serves 4 as a side dish

Ingredients:
1 1/2 cups basil leaves
1 clove garlic, peeled
2 tablespoons pine nuts (or walnuts)
2 tablespoons nutritional yeast (or parmesan cheese)
1/4 cup olive oil
2 medium tomatoes, cored and halved crosswise
About 3 tablespoons panko (or Italian) breadcrumbs

Directions:

Pesto:
Place basil and garlic in food processor, and process until finely chopped. Add nuts and nutritional yeast (or parmesan), and process 1 minute, or until nuts are finely chopped and mixture is paste-like. With motor running, add olive oil in steady stream. Process one minute more, or until smooth. Season with salt and pepper, if desired.

Broiled Tomatoes:
Preheat oven to broil. Place tomatoes cut-side up on a baking sheet. Spread each tomato half with about 2 teaspoons of the pesto, and sprinkle the tops with about 2 teaspoons of breadcrumbs. Add additional parmesan cheese on top if desired. Broil 3 to 5 minutes, or until breadcrumbs are browned and pesto is bubbly. Serve warm as a side dish.

Ingredient Index

Related Posts Plugin for WordPress, Blogger...