Showing posts with label onion powder. Show all posts

June 12, 2014

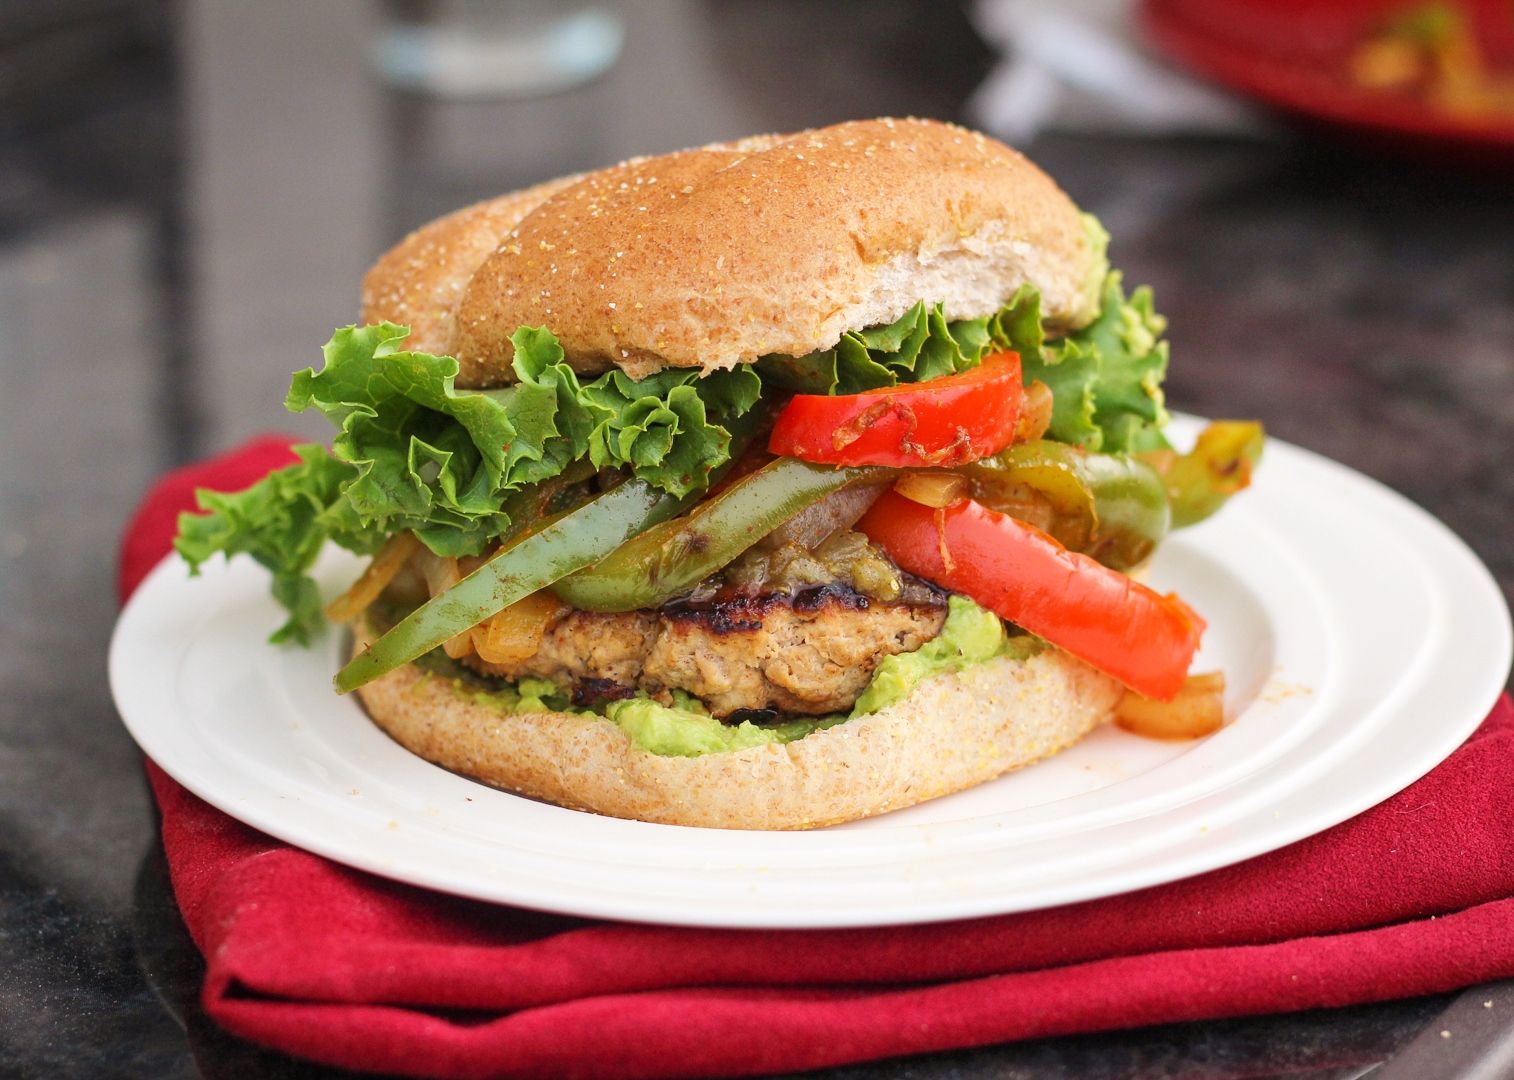
Chicken (or Turkey) Fajita Burgers

Chicken (or Turkey) Fajita Burgers

We love turkey and chicken burgers around here, and have been eating them a lot more often now that it’s summertime and I seem to crave burgers all the time.  Not only are they inexpensive (around 5 dollars of meat gives us meals for two days), but they’re so easy to make, they provide a healthy lean source of protein, they fill me up, and there are infinite flavour combinations to experiment with!

It’s hard to persuade Ryan away from our favourite buffalo chicken burgers, but I like trying new things, so recently I decided to make chicken fajita burgers.  I actually intended to use turkey but didn’t realize I’d grabbed chicken until I got home – either works though!
Chicken (or Turkey) Fajita Burgers

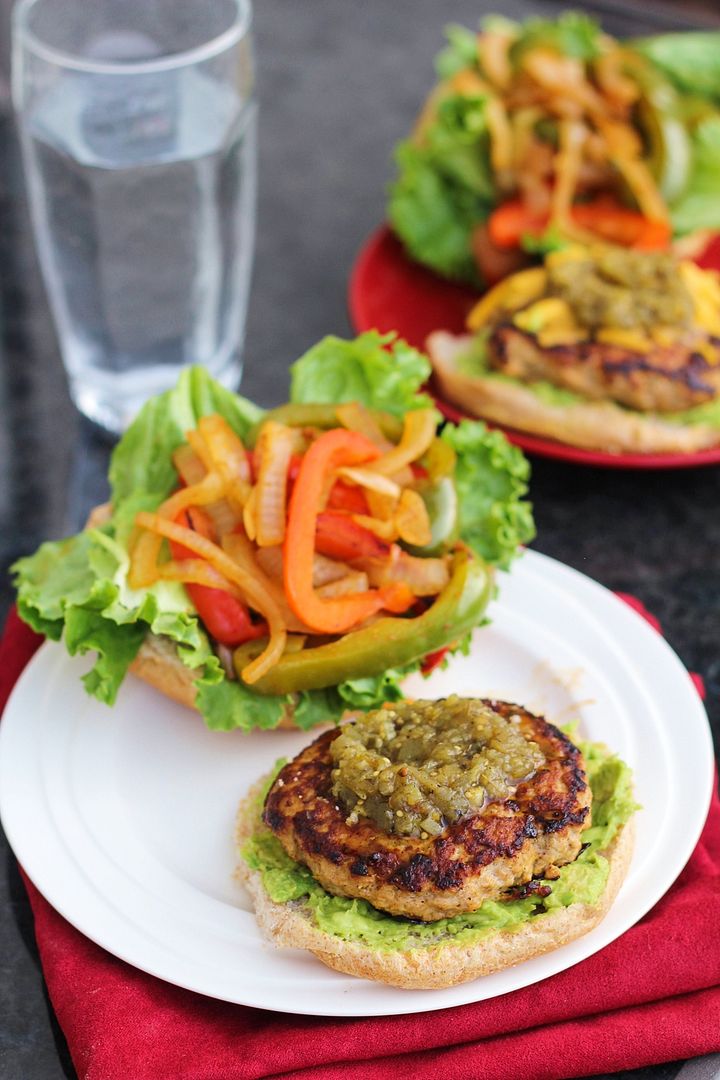
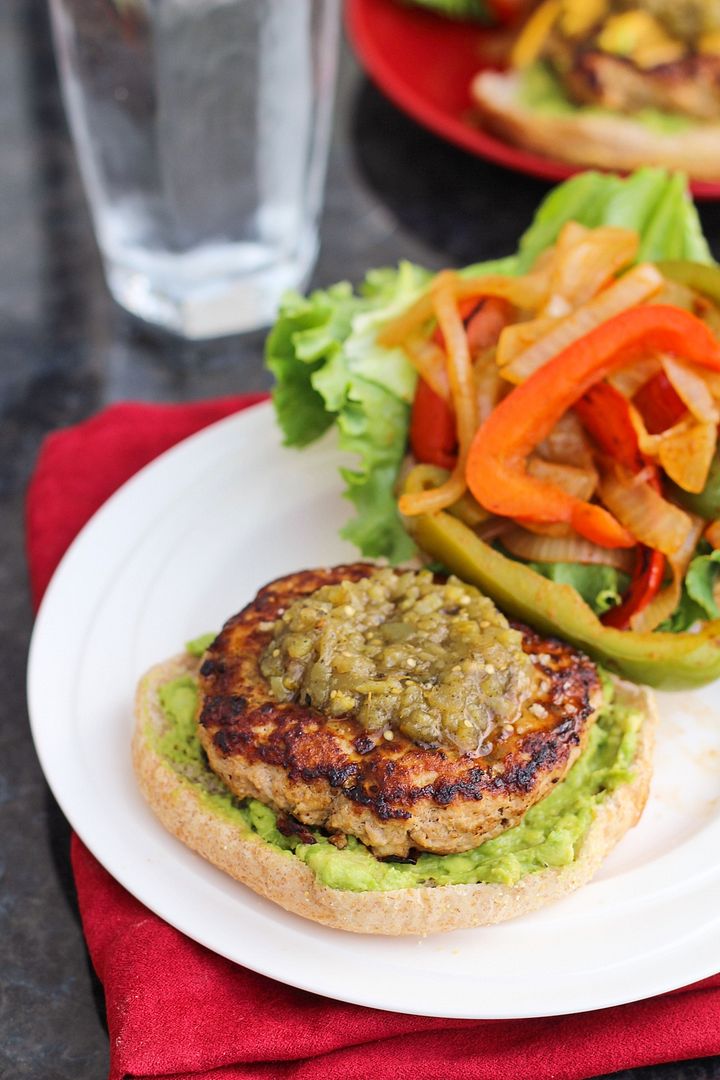
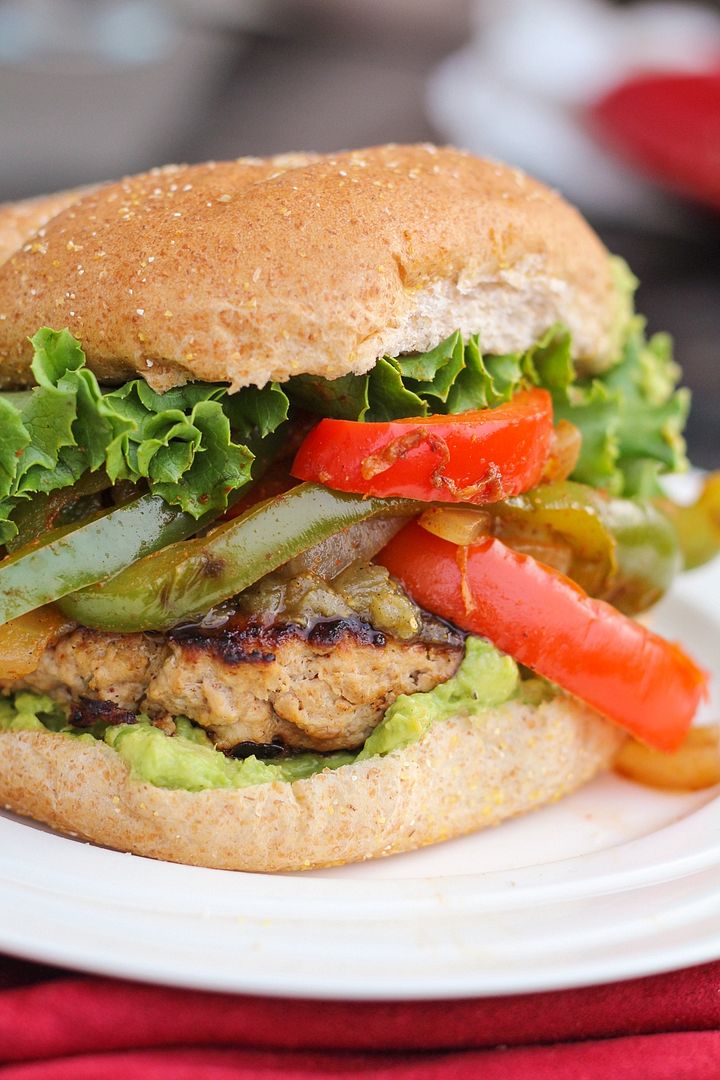
These basically taste like chicken fajitas but in burger format, thanks to the combination of fajita spices in both the burger and the veggies, the sautéed peppers and onions on top, and optional (but delicious) extras like mashed avocado, tomatilla salsa, and cheese!

The way I wrote out the recipe makes this look like a lot of ingredients and work, but it’s really not.  Most of the ingredient list is dedicated to the spices you’ll use to create your own fajita seasoning, but if you like, you can make this even easier with a premixed fajita spice!
Chicken (or Turkey) Fajita Burgers

I loved the flavour in these and all the added veggies to make them a complete meal for me!  When we ate our leftovers the next day, Ryan opted to leave off the veggies and instead top the patties with buffalo sauce, so I don’t think they’ve replaced buffalo burgers as his new favourite, but I’ll definitely keep making these as a fun alternative!

I’m off to vote (it’s Election Day in Ontario) and then join my lovely older sister for lunch for her birthday (Happy Birthday if you’re reading this!).  Hope you all have a great day and weekend!
Chicken (or Turkey) Fajita Burgers

Chicken (or Turkey) Fajita Burgers

Recipe inspired by Cooking Light with many adaptations

Makes 4 burgers

Ingredients:

Fajita Seasoning:
1 teaspoon chili powder
1 teaspoon cumin
1/2 teaspoon paprika
1/2 teaspoon garlic powder
1/4 teaspoon onion powder
1/8 teaspoon cayenne
1/4 teaspoon salt

Burgers:
1 lb lean or extra-lean ground chicken or turkey
1/4 cup tomatillo salsa
1/4 cup breadcrumbs (I used panko)
2 teaspoons fajita seasoning (above)

Veggies:
2 teaspoons olive oil
1 sweet onion, sliced
1 red bell pepper, sliced
1 green bell pepper, sliced
2 teaspoons fajita seasoning (above)

Topping:
4 whole wheat hamburger buns
1 ripe avocado, mashed with some salt and pepper
Additional tomatillo salsa
Lettuce
Cheese such as Monterey jack or pepper jack, optional

Directions:

Combine spices for fajita mixture in a small bowl.  Mix well and set aside.

To prepare burgers, transfer ground chicken or turkey to a large bowl and add salsa, breadcrumbs, and 2 teaspoons fajita seasoning.  Stir with a fork until combined.  Use your hands to shape into 4 even patties, being very gentle and not pressing the meat so you don't make tough burgers. 

Depending on how big your skillets are, heat 2 or 3 skillets over medium-high heat.  I used one skillet for the veggies and 2 for the burgers because I could only fit 2 patties per pan.  Add a little olive oil to each pan.  Add the peppers and onion to one large pan and stir.  You will let these cook until slightly softened, about 10 minutes or until the burgers are done, stirring often.  In the last 3-5 minutes of cooking, season with remaining fajita seasoning (around 2 teaspoons) and stir to coat.  Transfer to a bowl when done.

Meanwhile, add burger patties to other skillets and let cook about 4-5 minutes, flip, then cook another 4-5 minutes on the other side or until done.  If you want to add cheese, add a few slices a couple  minutes before they’re done cooking so the cheese melts slightly.

To prepare burgers, I spread the bottom bun with the mashed avocado, topped with a burger patty, which I then topped with a spoonful of tomatillo salsa.  On the top bun I added lettuce and a big pile of the sautéed veggies, then put them together.  You might end up with leftover veggies, depending on how much you put on each burger.

May 29, 2014

Buffalo Lentil Loaf

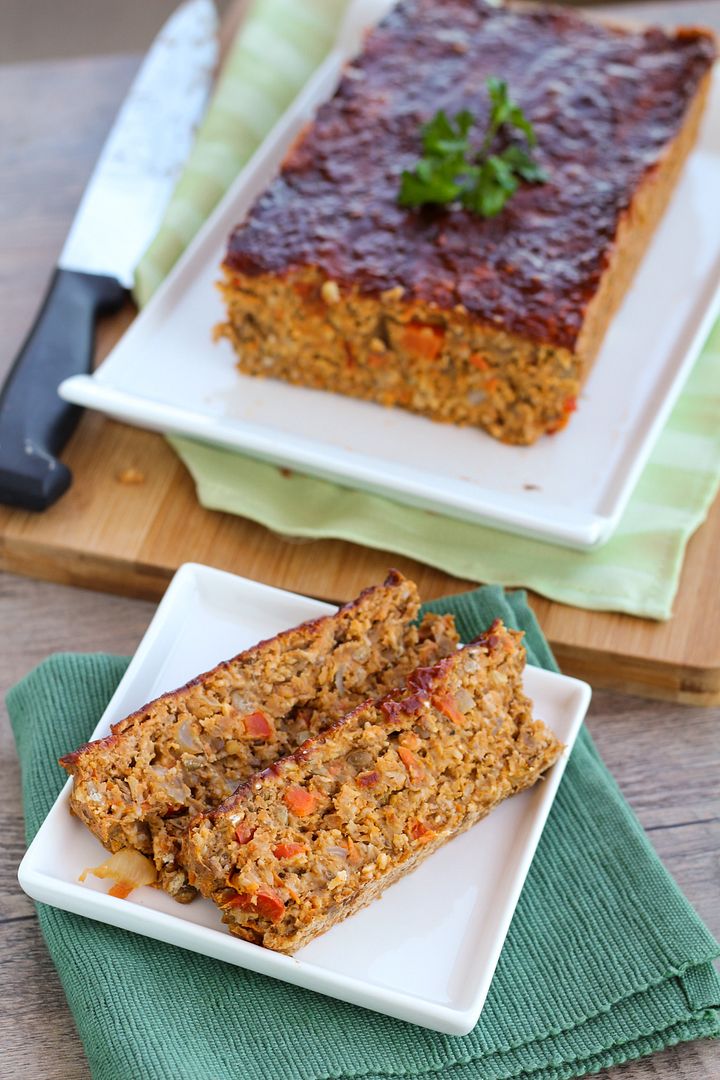
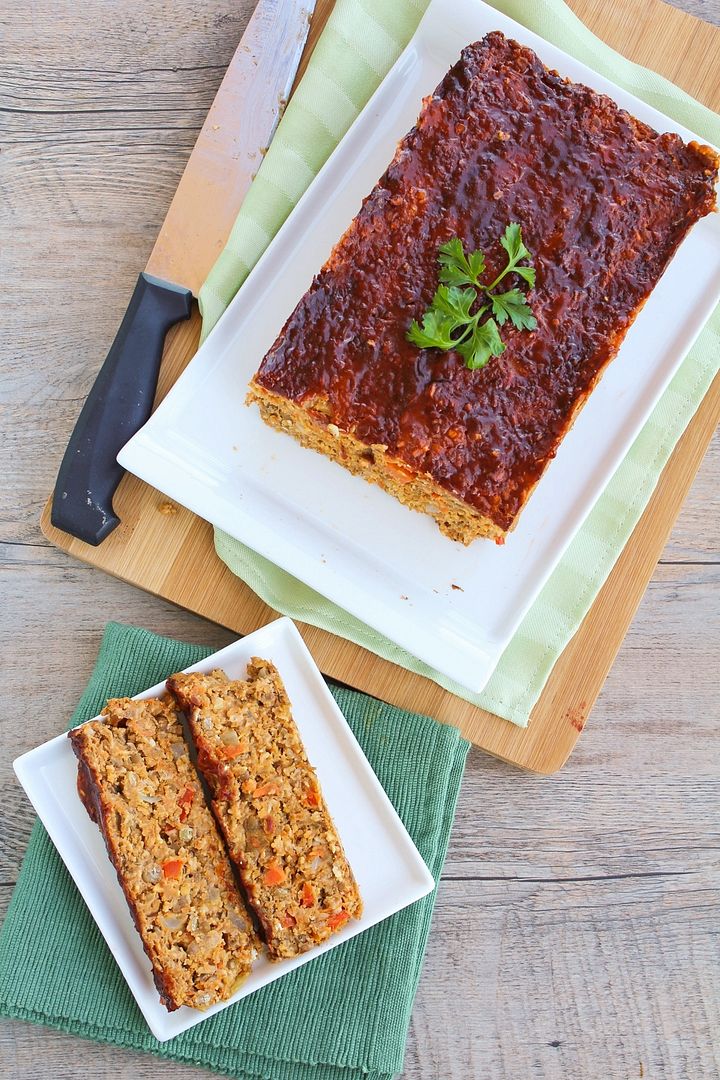
Buffalo Lentil Loaf - a healthy & tasty vegetarian meatloaf alternative!

I always hated meatloaf as a kid, and I still do.  I can’t even say the word meatloaf without adding ‘shmeatloaf’ after it.  It’s funny that when I was young, it was more the vegetables, onions and little crunchy bits in the meatloaf that I hated, and now it’s the idea of a tray full of packed meat that turns me off.  A lentil loaf full of vegetables though?  Much more up my alley!

I know some people will have the same reaction I have to meatloaf when they hear the word ‘lentil loaf’.  Indeed, my fiancé in particular was extremely skeptical at the idea.  But even he ended up admitting that this was really good, so if you’re hesitant, I encourage you to give it a chance!

Buffalo Lentil Loaf - a healthy & tasty vegetarian meatloaf alternative!

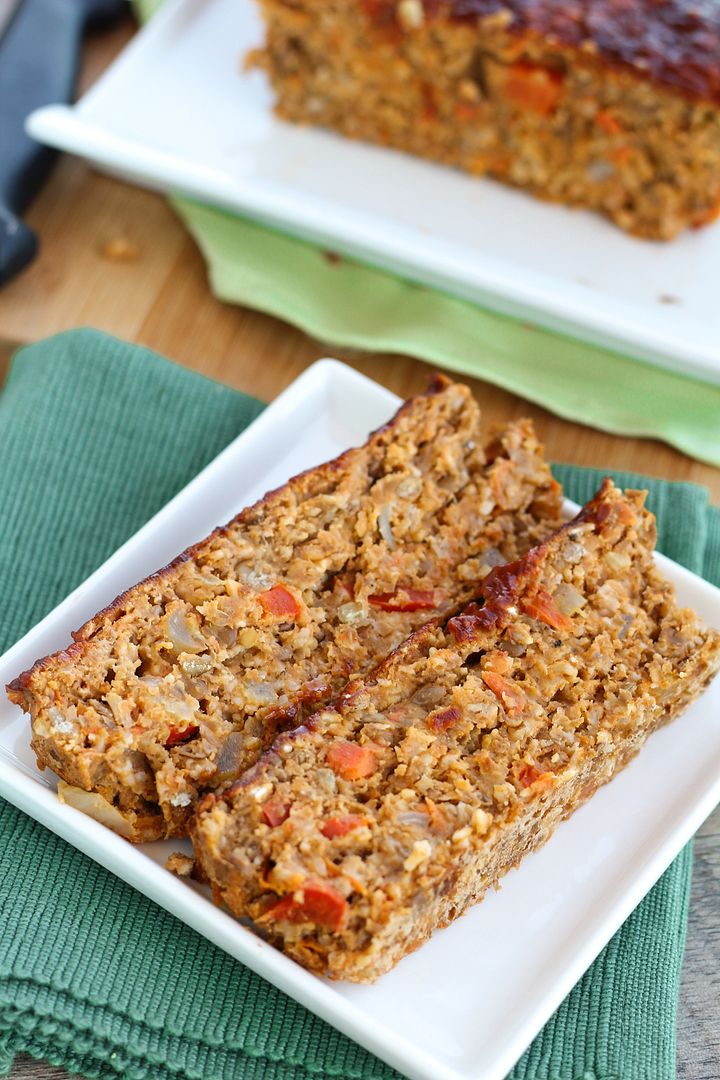
Why should you give this a chance over regular meatloaf?  Because lentils are full of fiber and protein to fill you up and give you energy, along with other important minerals like potassium, folate, and iron.  There’s also oats and a little egg for even more fiber and protein in this, along with vegetables like onions, carrots, and peppers for added nutrition.  Of course, I had to add a little extra appeal to convince the fiancé to try this, so I included buffalo sauce to give it extra flavour and kick, which I loved!  You could substitute bbq sauce though if you’re not into spicy food.

Buffalo Lentil Loaf - a healthy & tasty vegetarian meatloaf alternative!

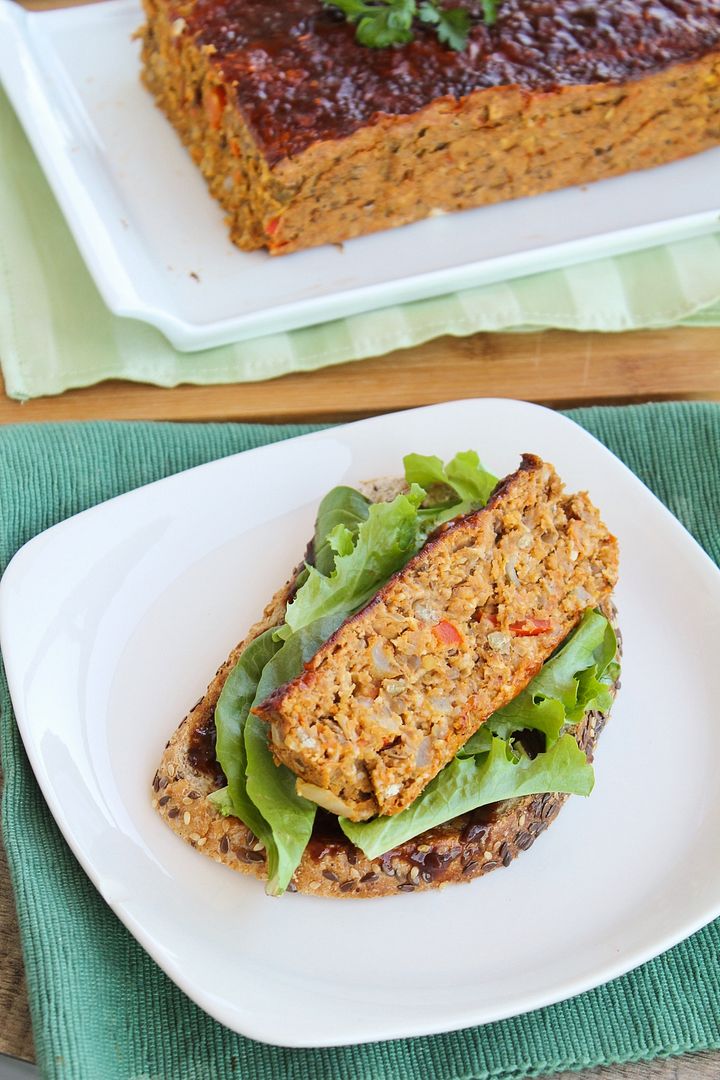
Though it takes a little time to cook, the result is worth it!  I love this lentil loaf on its own with a side of vegetables (mashed potatoes would be great too!), but I ate most of it in sandwiches for lunch.  Toast some whole grain bread, add some lettuce, barbeque or buffalo sauce, tomato, and a couple slices of lentil loaf and you’ve got a hearty, filling, and tasty meal!

Buffalo Lentil Loaf - a healthy & tasty vegetarian meatloaf alternative!

Buffalo Lentil Loaf

Lentil loaf recipe adapted from In Sonnet's Kitchen and The Simple Veganista

Makes one 9x5 loaf, serves about 4-6 (or more depending on how you serve the loaf)

Ingredients:

1 cup dry brown lentils
2-1/2 cups water
1 tablespoon olive oil
1 small or medium yellow onion, diced
3 garlic cloves, minced
1/2 a large red bell pepper, diced
1 large carrot, peeled and grated
1/2 teaspoon ground cumin
1/2 teaspoon garlic powder
1/2 teaspoon onion powder
1/4 teaspoon cayenne pepper (optional)
Pinch each of salt and pepper
1 cup rolled oats, pulsed in a blender or food processor a few times to more of a coarse crumb
2 large eggs, lightly beaten
1/2 cup buffalo sauce (your favourite brand, such as Frank's Red Hot Buffalo Wing Sauce or PC Buffalo Wing Sauce)

Glaze:
2 tablespoons bbq sauce (plus more for after baking, if desired)
2 tablespoons buffalo sauce

Directions:

Add lentils and water to a medium saucepan and bring to a boil.  Cover, reduce heat, and let simmer 25-30 minutes, until lentils are soft and water is mostly evaporated.  Remove from heat, drain any excess water, and puree about three-quarters of the lentils in a blender or food processor (or with an immersion blender).  Set aside to let cool slightly.  Preheat oven to 350°F.

Meanwhile, heat oil in a large saucepan over medium-high heat.  Add onion, garlic, red pepper, and carrot and sauté, stirring often, for about 5-7 minutes or until softened.  Stir in the spices (cumin, garlic powder, onion powder, cayenne, salt, and pepper), then remove from heat. 

Fold together the lentils, sautéed vegetables and spices, oats, eggs, and buffalo sauce in a large bowl or in the saucepan until combined.  Line a 9x5 loaf pan with parchment paper, spray lightly with cooking spray, and spread lentil mixture evenly in prepared pan.  Mix the 2 tablespoons each of bbq sauce and buffalo sauce for the glaze, and brush in an even layer on top of the loaf. 

Bake loaf in preheated oven for 45-50 minutes until the top of the loaf is dry, firm, and golden brown.  Let cool in pan for at least 10 minutes, run a knife around the edges, then use parchment paper to lift out of pan.  Top with a bit of additional bbq sauce if you like. Slice into 10-12 slices and serve however you desire – either on its own, in a sandwich, on top of a salad, etc.

January 31, 2014

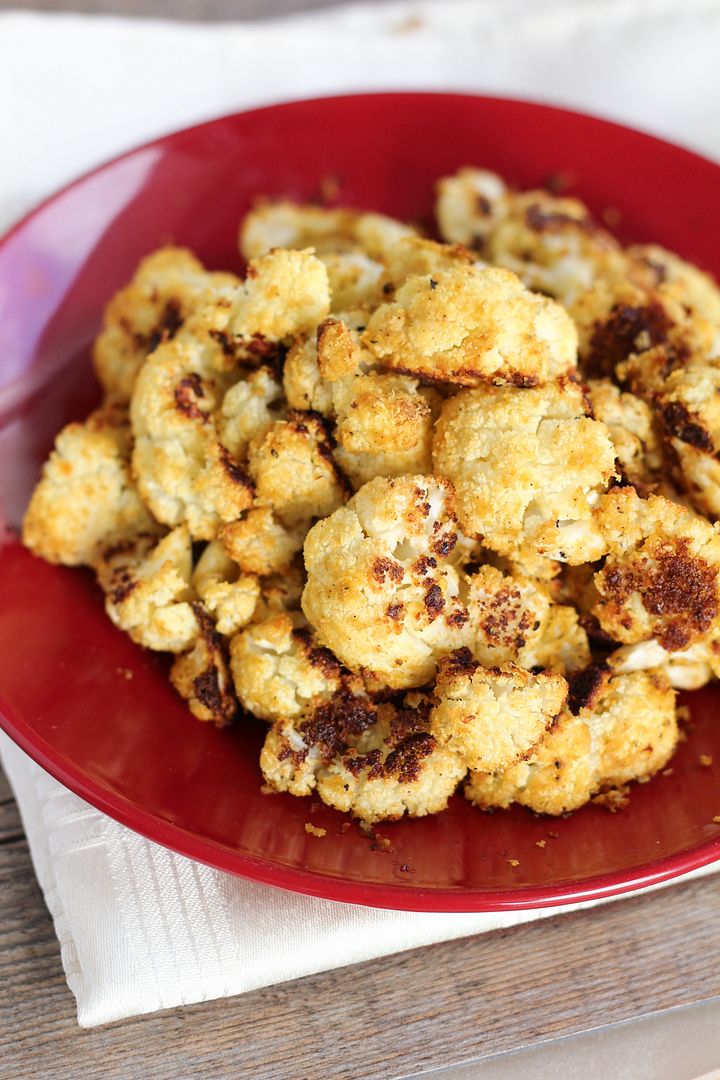
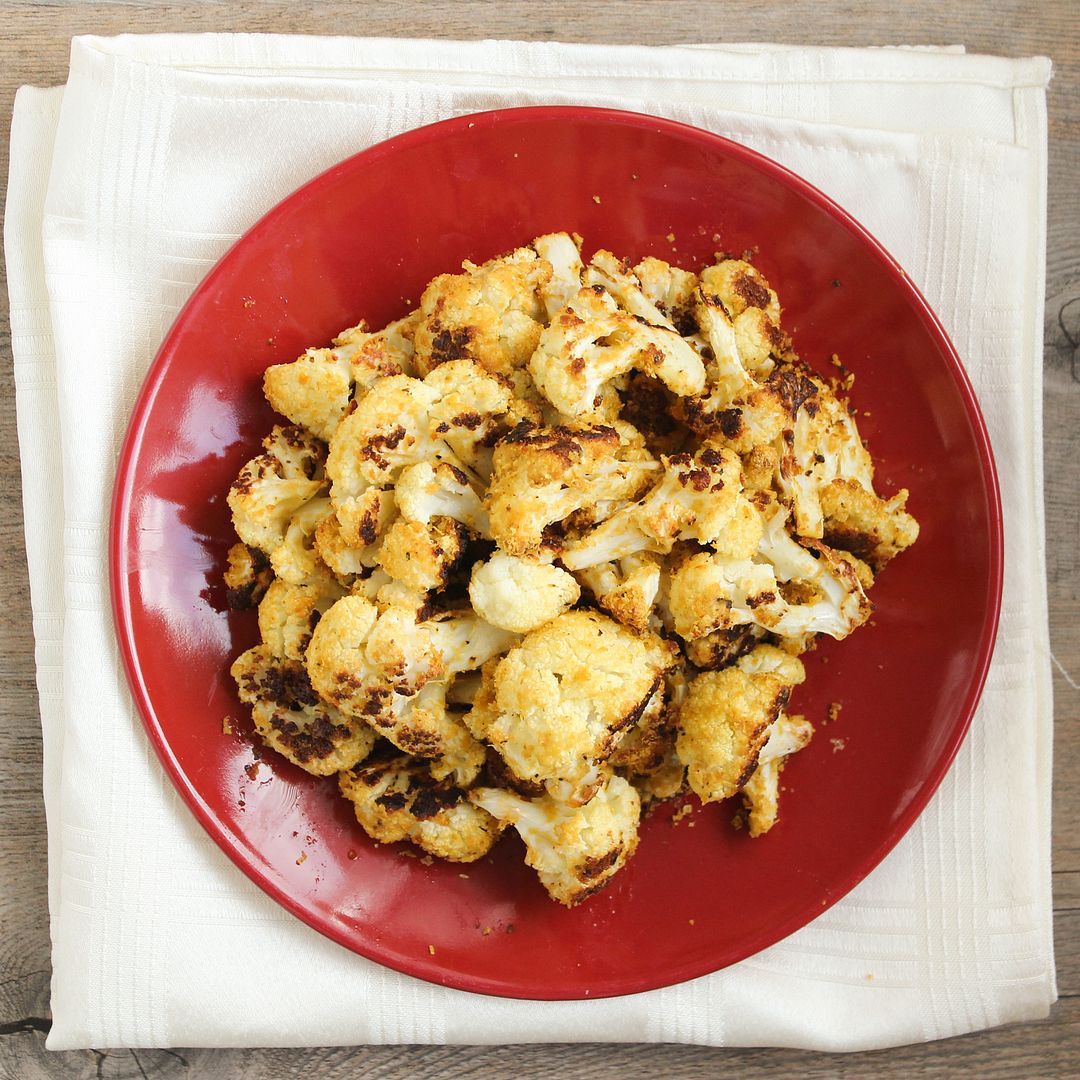
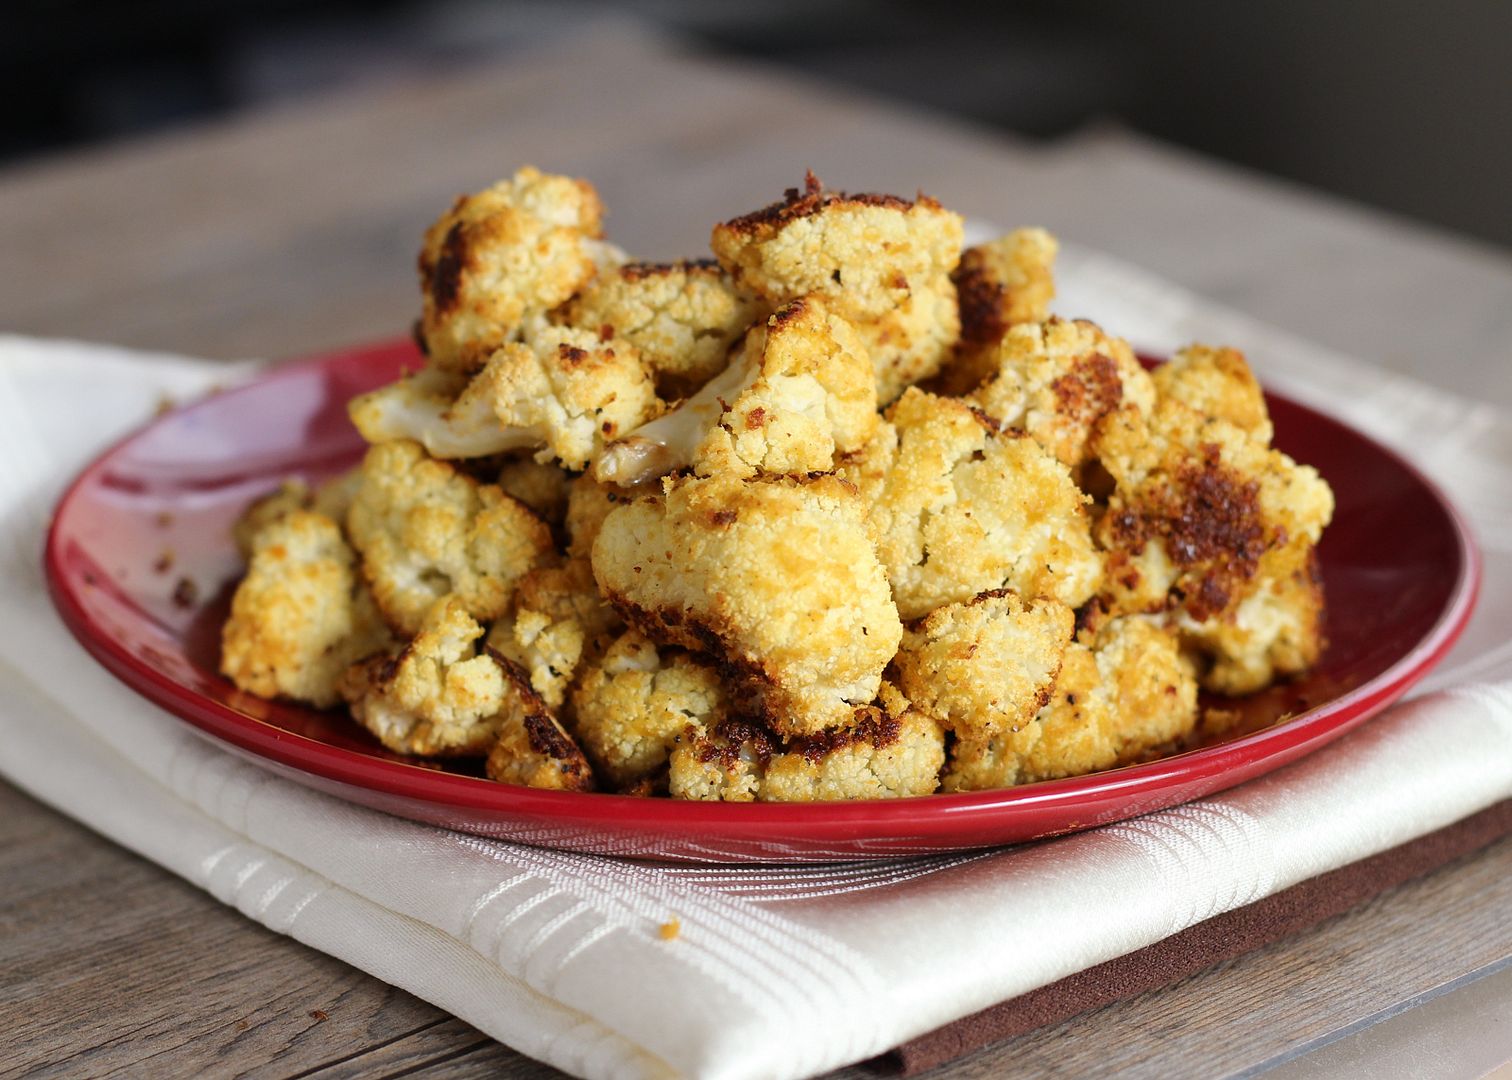
Healthy 'Cheezy' Roasted Cauliflower

Healthy 'Cheezy' Roasted Cauliflower

Even though my team didn’t quite make it to the Super Bowl this year, I’m still looking forward to this Sunday, not only to watch some very talented players compete in what should be an exciting game, but also to enjoy one of my favourite parts of the big game – the food!

Healthy 'Cheezy' Roasted Cauliflower

This year I’m going to try to keep things a little healthier than normal, though. I’ve been so busy with schoolwork over the past week that I feel like I haven’t been eating nearly as well as I usually do. Case in point: last night’s dinner consisted of peanuts, crackers, and a granola bar. Not the most nutritious meal I've ever had.

Healthy 'Cheezy' Roasted Cauliflower

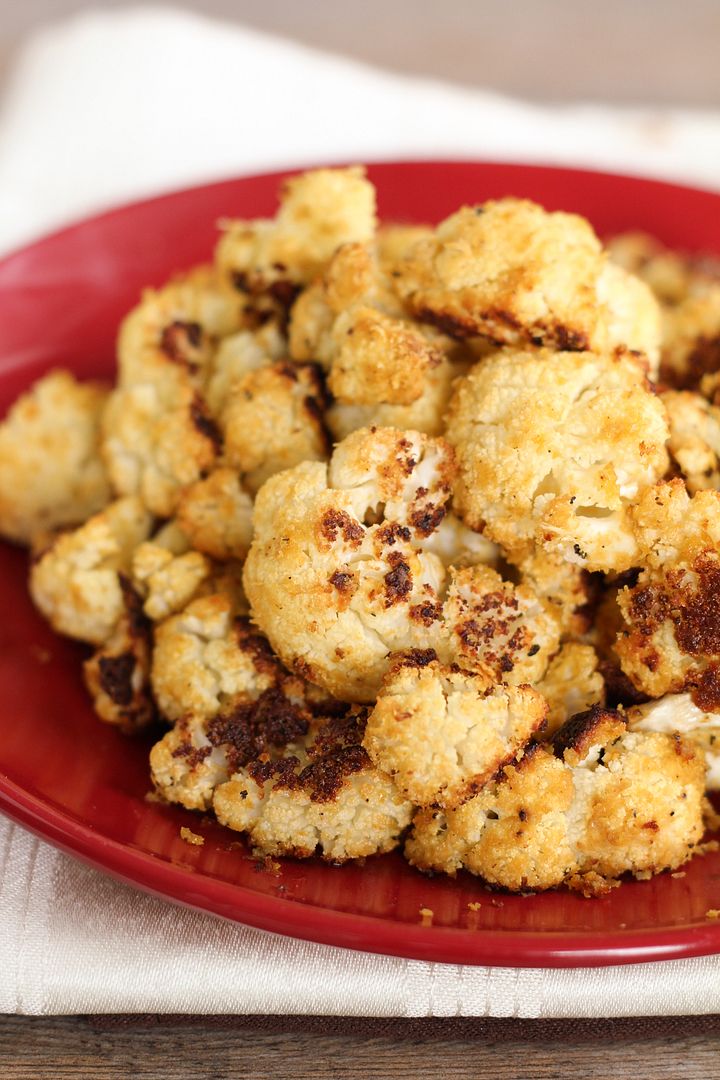
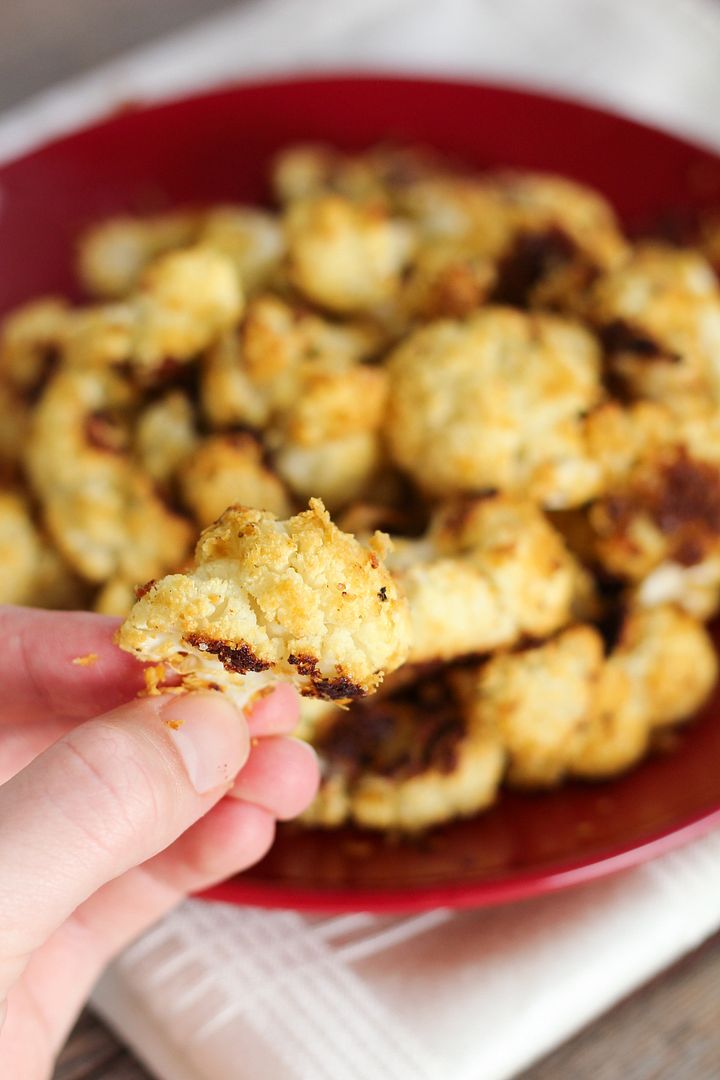
These cheezy cauliflower bites are the perfect healthy snack food to go with the big game, or to enjoy anytime! Throughout the football season we’ve been making roasted cauliflower tossed with buffalo sauce (in fact, this was how I finally got Ryan to admit that cauliflower can taste good), but I changed things up this time by going with a cheezy ranch type flavour. But without the cheese (hence the use of the ‘z’)!

Nutritional yeast (which indeed lives up to its name and is full of nutritional value, but with a cheesy nutty flavour) coats these cauliflower florets along with some mustard, seasoning, and a bit of olive oil, then they get roasted in the oven until they’re slightly crispy and delicious.

Healthy 'Cheezy' Roasted Cauliflower

The original recipe is from Clean Eating Magazine, though I made quite a few changes like adding more spices, adding mustard to complement the cheesy flavour and decrease the amount of oil needed to get the spices tso stick, and rather than dipping each cauliflower in oil, I just tossed everything together with some oil to cut the amount needed in half.  You might end up with less of the coating sticking to each piece this way, but I still thought there was plenty.  

There are other versions of this online that call this type of dish ‘cauliflower popcorn’, which I resisted because this really tastes nothing like popcorn, but it is still so tasty and will disappear quickly, so plan accordingly if making it for the game this weekend!

Healthy 'Cheezy' Roasted Cauliflower

Cheezy Roasted Cauliflower

Adapted from Clean Eating Magazine

Serves 2-4, depending on serving size

Ingredients:

Non-stick cooking spray
1 head cauliflower
2 tablespoons olive oil
2 tablespoons Dijon mustard
1/2 cup nutritional yeast
1/2 teaspoon garlic powder
1/2 teaspoon onion powder
1/4 teaspoon mustard powder
1/2 teaspoon salt
1/4 teaspoon freshly ground pepper

Directions:

Preheat oven to 400°F.  Line a large baking sheet with aluminum foil and spray lightly with non-stick cooking spray. 

Chop cauliflower into bite-sized florets and add to a large bowl.  Pour olive oil and mustard into bowl and toss until cauliflower is thoroughly and evenly coated.  In a small bowl, mix nutritional yeast, garlic powder, onion powder, mustard powder, salt, and pepper.  Pour mixture over the cauliflower and toss until evenly coated.

Spread cauliflower in an even layer on prepared baking sheet.  Sprinkle any leftover seasoning overtop.  Roast  in preheated oven for 20 minutes, remove from oven and turn cauliflower over, then roast for another 20-25 minutes, until browned.  Serve warm.

April 23, 2013

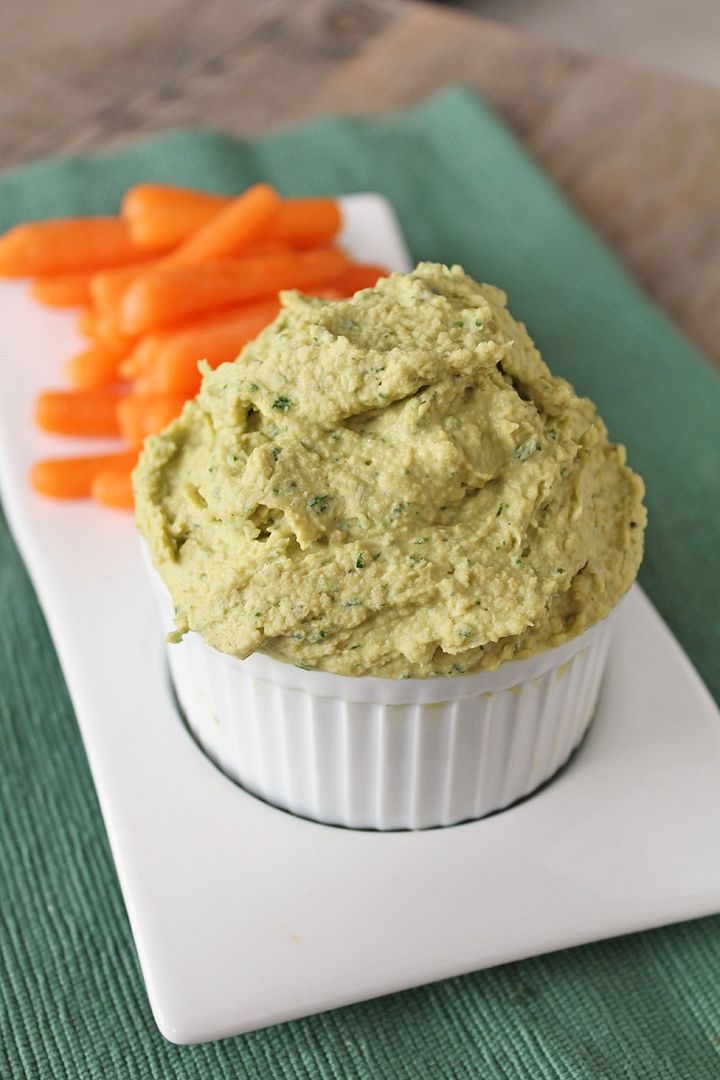
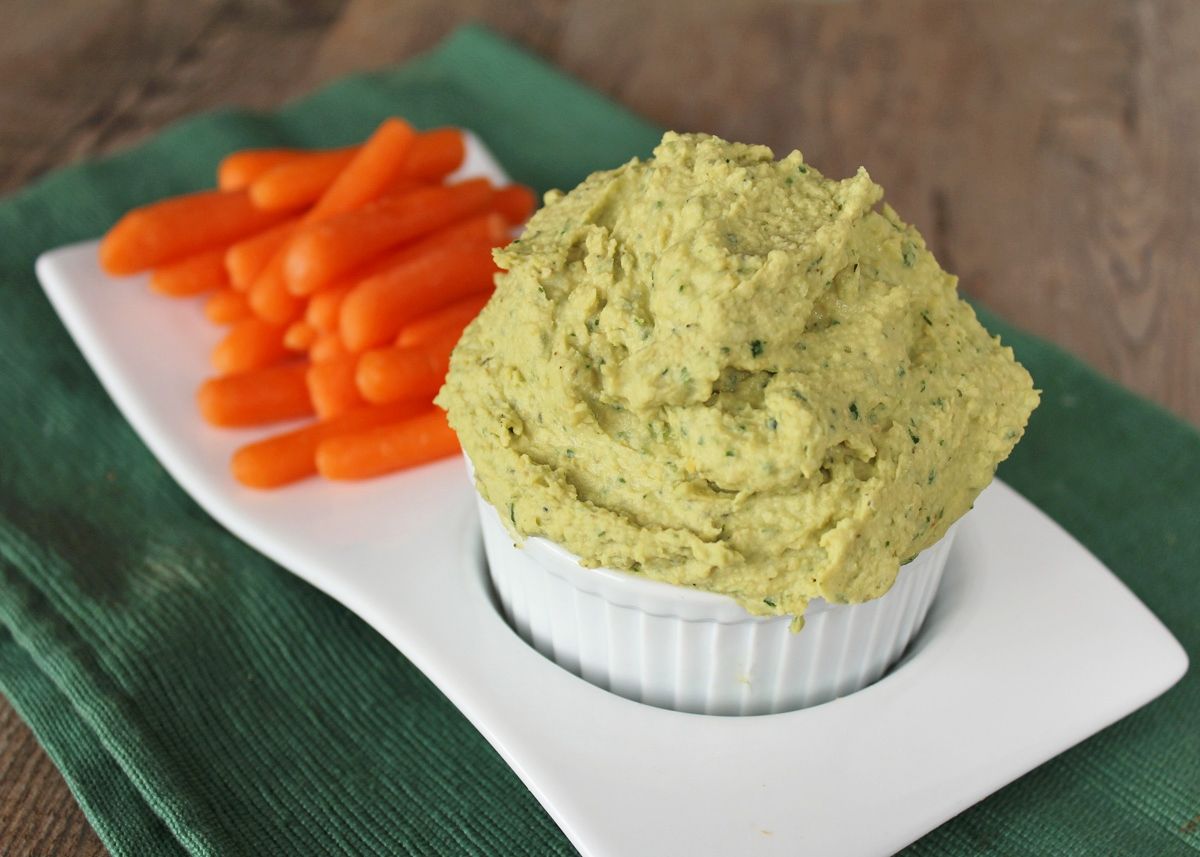
Cheezy Ranch Hummus

Cheezy Ranch Hummus

Before I get into this post, I feel the need to first clarify that I did not spell "cheesy" wrong in the title.  I'm guessing that the majority of people reading this already knew that, but for those who might not have heard the term "cheezy" before, it's used to describe something that tastes cheesy but doesn't actually use dairy cheese.  I'm not vegan and there is no way I could ever give up real cheese, but there are some dishes where cheese just doesn't really work, like in hummus.  Fortunately, there is a magical little ingredient called nutritional yeast that can blend right in to not only add cheesy flavour but also lots of nutrients.  Again, I'm sure a lot of you have heard of it before, but in case nutritional yeast is new to you (I had no idea what it was a couple of years ago), I described it more in this post for broiled pesto tomatoes, and I also used it in this pizza hummus to get the same cheesy flavour I was going for in this ranch version.

Cheezy Ranch Hummus

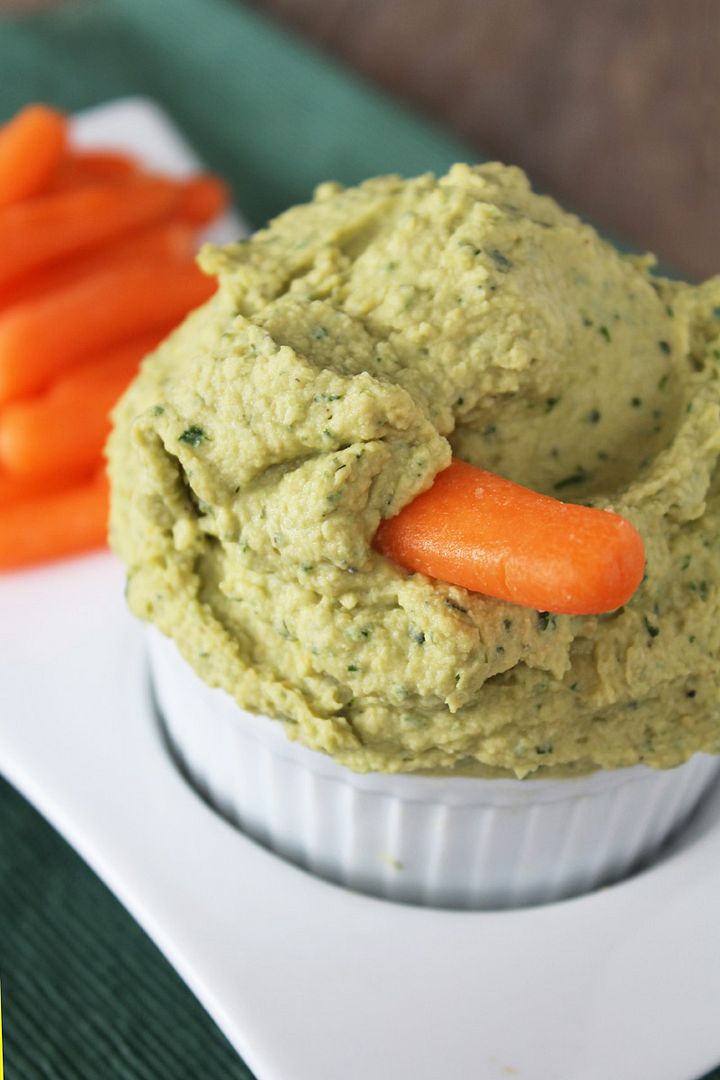
This hummus was inspired by Pickles & Honey's vegan cool ranch hummus I saw a while ago and loved.  I don't buy Doritos anymore because I know I'd eat the whole bag in one sitting, but Cool Ranch was always one of my favourite flavours.  I changed almost everything from the original recipe to make my own version, and I wouldn't say that mine is "cool ranch" flavoured, but rather combines elements of ranch dressing like fresh herbs and onion and garlic powder with nutritional yeast for a cheezy ranch hummus that makes a fantastic dip for veggies!

Cheezy Ranch Hummus

In other news, Spring has finally sprung in Southern Ontario and I couldn't be happier!  I love seeing flowers and robins and feeling the sun on my face again.  I hope those still stuck with the white stuff will see it all melt away soon!

Springtime

Cheezy Ranch Hummus

Inspired by Pickles & Honey

Ingredients:

1 (540mL or 19 fl oz) can chickpeas, drained and rinsed
3-4 tablespoons water
3 tablespoons tahini
2 tablespoons fresh lemon juice
3 tablespoons fresh chopped parsley
2 tablespoons chopped chives
1 tablespoon fresh chopped dill
1 teaspoon garlic powder
2 teaspoons onion powder
1/2 teaspoon salt
1/4 teaspoon pepper
2 tablespoons nutritional yeast
1/2 teaspoon dijon mustard
Dash Worcestershire sauce (optional, leave out to keep it vegetarian)
2 tablespoons extra virgin olive oil

Directions:

Add all ingredients except for the olive oil to the large bowl of a food processor.  Process until smooth.  Pour the olive oil into the feed tube of the food processor and let slowly drain into hummus as you continue to pulse.  Once everything is well combined, taste and adjust any amounts to your liking.  Store in the refrigerator and serve with veggies or as a sandwich spread.

Ingredient Index

Related Posts Plugin for WordPress, Blogger...