Showing posts with label paprika. Show all posts

June 12, 2014

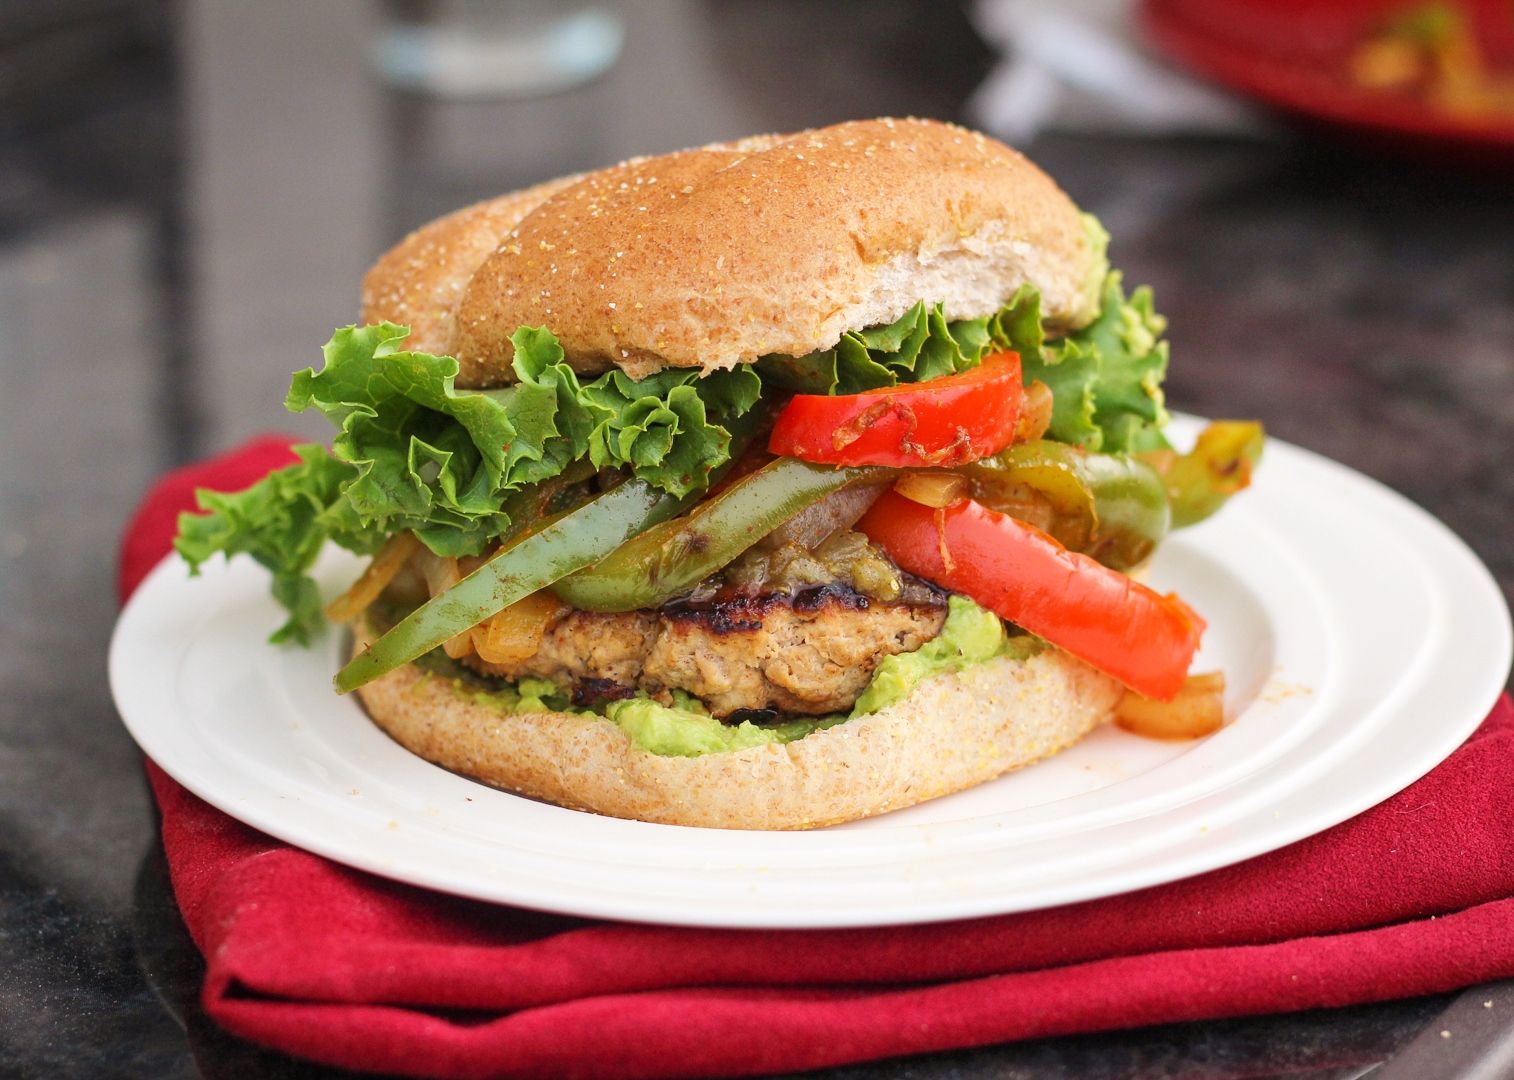
Chicken (or Turkey) Fajita Burgers

Chicken (or Turkey) Fajita Burgers

We love turkey and chicken burgers around here, and have been eating them a lot more often now that it’s summertime and I seem to crave burgers all the time.  Not only are they inexpensive (around 5 dollars of meat gives us meals for two days), but they’re so easy to make, they provide a healthy lean source of protein, they fill me up, and there are infinite flavour combinations to experiment with!

It’s hard to persuade Ryan away from our favourite buffalo chicken burgers, but I like trying new things, so recently I decided to make chicken fajita burgers.  I actually intended to use turkey but didn’t realize I’d grabbed chicken until I got home – either works though!
Chicken (or Turkey) Fajita Burgers

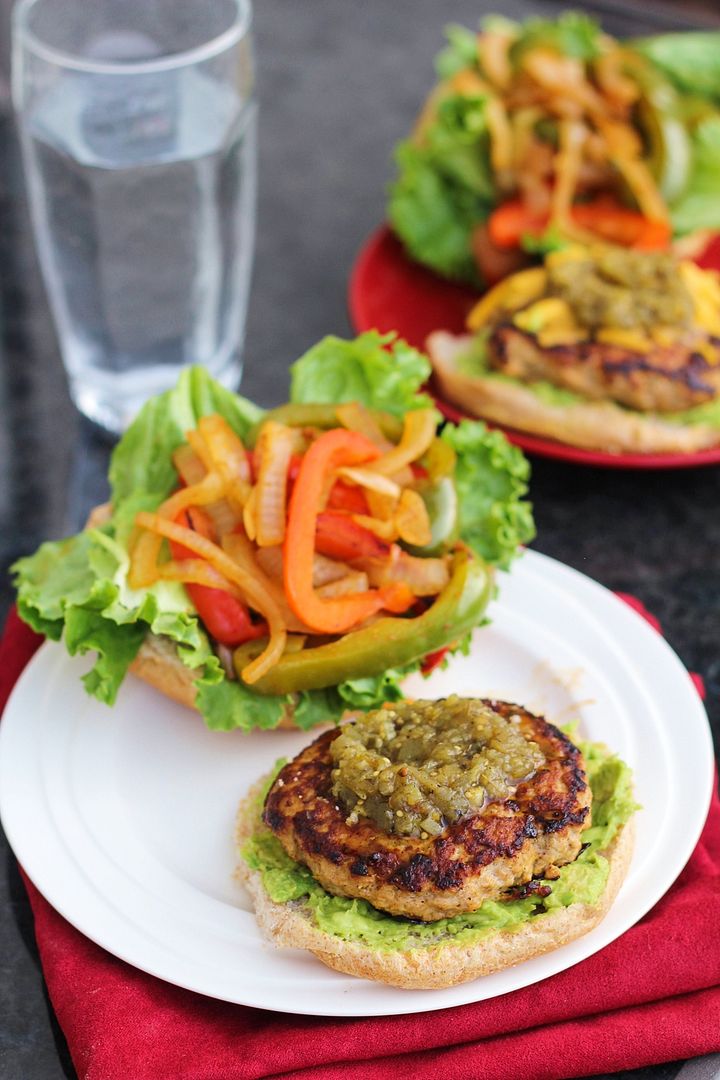
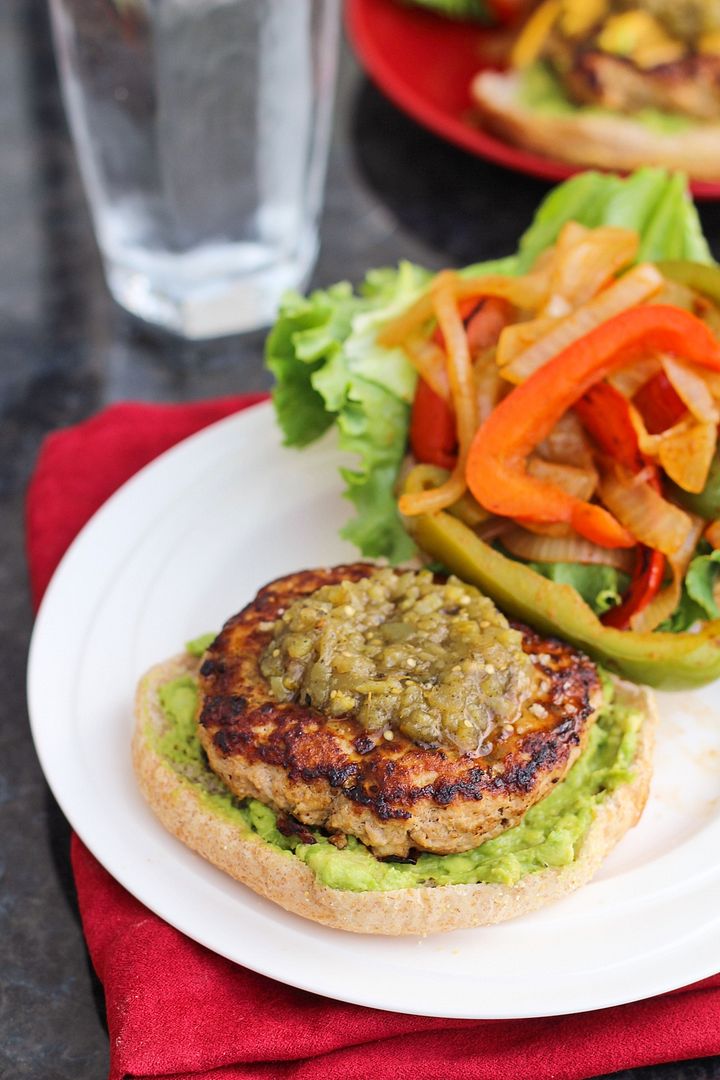
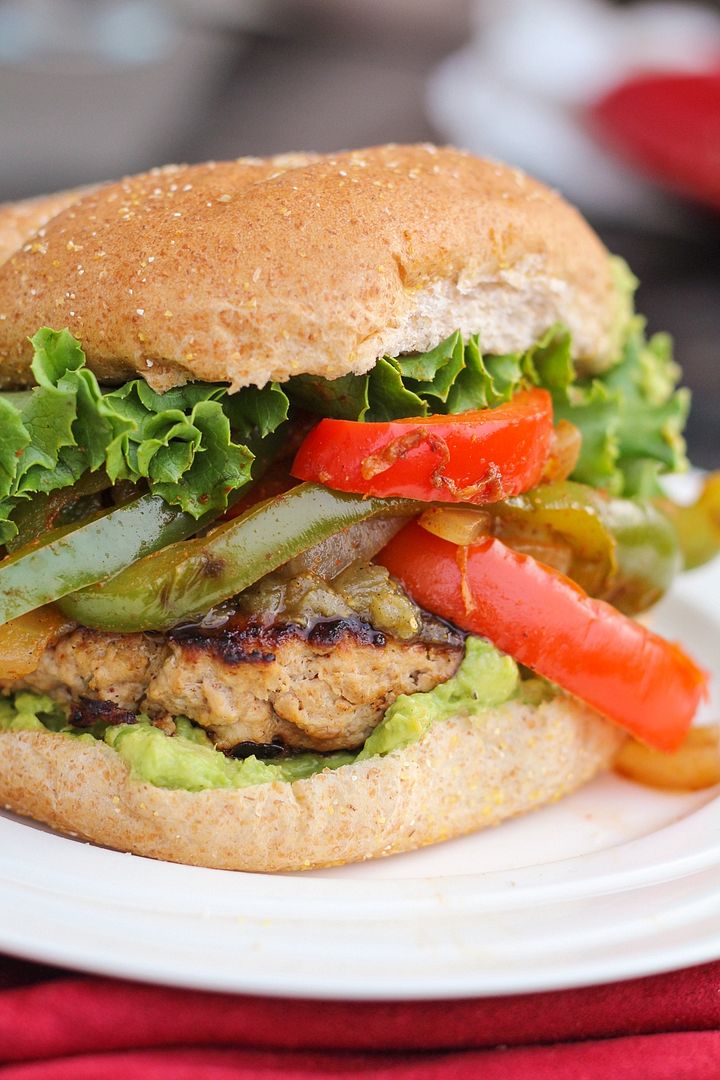
These basically taste like chicken fajitas but in burger format, thanks to the combination of fajita spices in both the burger and the veggies, the sautéed peppers and onions on top, and optional (but delicious) extras like mashed avocado, tomatilla salsa, and cheese!

The way I wrote out the recipe makes this look like a lot of ingredients and work, but it’s really not.  Most of the ingredient list is dedicated to the spices you’ll use to create your own fajita seasoning, but if you like, you can make this even easier with a premixed fajita spice!
Chicken (or Turkey) Fajita Burgers

I loved the flavour in these and all the added veggies to make them a complete meal for me!  When we ate our leftovers the next day, Ryan opted to leave off the veggies and instead top the patties with buffalo sauce, so I don’t think they’ve replaced buffalo burgers as his new favourite, but I’ll definitely keep making these as a fun alternative!

I’m off to vote (it’s Election Day in Ontario) and then join my lovely older sister for lunch for her birthday (Happy Birthday if you’re reading this!).  Hope you all have a great day and weekend!
Chicken (or Turkey) Fajita Burgers

Chicken (or Turkey) Fajita Burgers

Recipe inspired by Cooking Light with many adaptations

Makes 4 burgers

Ingredients:

Fajita Seasoning:
1 teaspoon chili powder
1 teaspoon cumin
1/2 teaspoon paprika
1/2 teaspoon garlic powder
1/4 teaspoon onion powder
1/8 teaspoon cayenne
1/4 teaspoon salt

Burgers:
1 lb lean or extra-lean ground chicken or turkey
1/4 cup tomatillo salsa
1/4 cup breadcrumbs (I used panko)
2 teaspoons fajita seasoning (above)

Veggies:
2 teaspoons olive oil
1 sweet onion, sliced
1 red bell pepper, sliced
1 green bell pepper, sliced
2 teaspoons fajita seasoning (above)

Topping:
4 whole wheat hamburger buns
1 ripe avocado, mashed with some salt and pepper
Additional tomatillo salsa
Lettuce
Cheese such as Monterey jack or pepper jack, optional

Directions:

Combine spices for fajita mixture in a small bowl.  Mix well and set aside.

To prepare burgers, transfer ground chicken or turkey to a large bowl and add salsa, breadcrumbs, and 2 teaspoons fajita seasoning.  Stir with a fork until combined.  Use your hands to shape into 4 even patties, being very gentle and not pressing the meat so you don't make tough burgers. 

Depending on how big your skillets are, heat 2 or 3 skillets over medium-high heat.  I used one skillet for the veggies and 2 for the burgers because I could only fit 2 patties per pan.  Add a little olive oil to each pan.  Add the peppers and onion to one large pan and stir.  You will let these cook until slightly softened, about 10 minutes or until the burgers are done, stirring often.  In the last 3-5 minutes of cooking, season with remaining fajita seasoning (around 2 teaspoons) and stir to coat.  Transfer to a bowl when done.

Meanwhile, add burger patties to other skillets and let cook about 4-5 minutes, flip, then cook another 4-5 minutes on the other side or until done.  If you want to add cheese, add a few slices a couple  minutes before they’re done cooking so the cheese melts slightly.

To prepare burgers, I spread the bottom bun with the mashed avocado, topped with a burger patty, which I then topped with a spoonful of tomatillo salsa.  On the top bun I added lettuce and a big pile of the sautéed veggies, then put them together.  You might end up with leftover veggies, depending on how much you put on each burger.

January 25, 2013

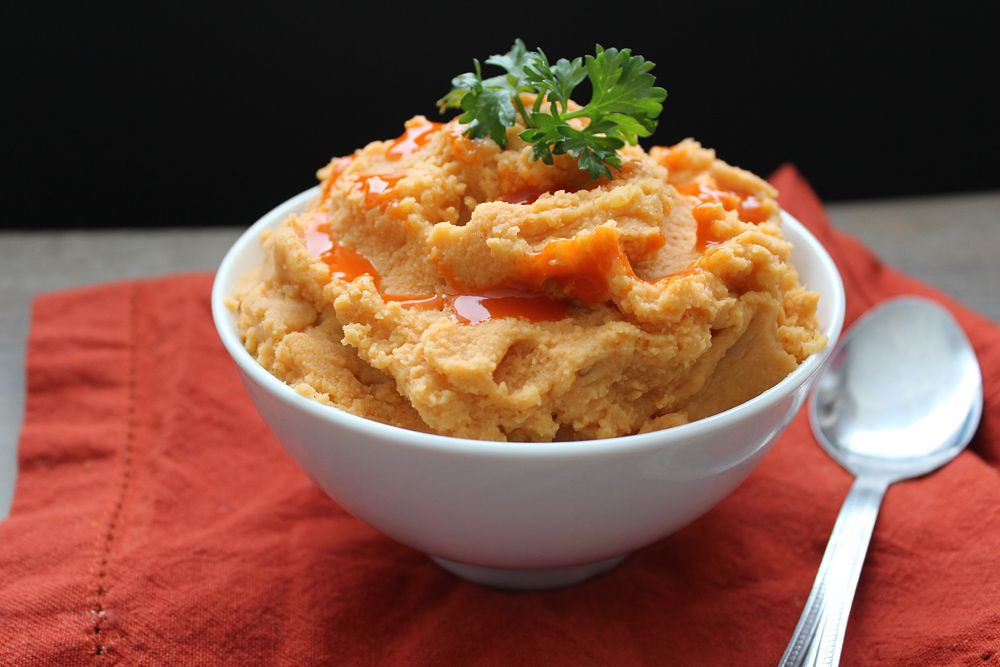
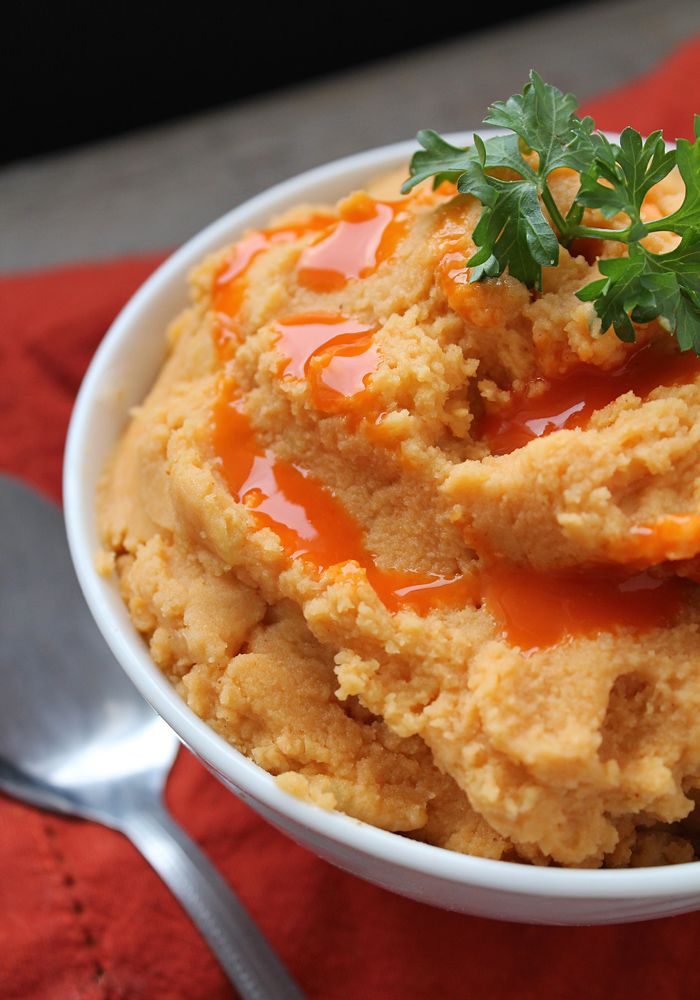
Buffalo Hummus Mashed Potatoes

Buffalo Hummus Mashed Potatoes

When I first saw hummus mashed potatoes on one of my favourite blogs, Gimme Some Oven, I thought it was such a fantastic idea – I love hummus and love mashed potatoes, so combining the two would not only taste great but would be a great way to healthify potatoes!

Of course, my mind starting immediately whirring with all the flavours of hummus you could use to change things up, and my first choice was buffalo.  If you love buffalo flavour and haven’t tried this hummus yet, you need to do so asap; I eat a lot of hummus and this is definitely one of my favourites!

These mashed potatoes are super easy to make – first you have whip up a batch of buffalo hummus, but that takes only five to ten minutes max, and you can do it while you wait for your potatoes to  boil.  Then you simply mash the potatoes, stir in some hummus, season with salt and extra buffalo sauce for spice, and that’s it!  There’s no adding tons of butter and cream, and you still end up with smooth and fluffy mashed potatoes, but with the added benefit of protein and healthy fats from the chickpeas and tahini in the hummus.

If you’re a fan of the buffalo/blue cheese combination, feel free to add some blue cheese in there - I didn’t have any on hand but I think it would have made a great addition!  This would make a great side dish to some chicken and steamed broccoli for a complete meal, but I liked it so much I ate it all on its own before I had a chance to try it that way!

Update: I realized after writing this post that these mashed potatoes are also vegan (correct me if I'm wrong, but from what I've read online, Frank's buffalo sauce does not contain milk products), giving you all the more reason to like them!  :)

Buffalo Hummus Mashed Potatoes

Buffalo Hummus Mashed Potatoes

Inspired by Sabra Hummus and Gimme Some Oven

Serves 3-4 as a side dish (can easily be doubled to serve more)

Ingredients:

1 pound Yukon Gold (yellow-fleshed) potatoes (about 2.5 cups peeled and cubed)
1-2 tablespoons buffalo sauce
Salt to taste

Directions:

Prepare a batch of buffalo hummus up to a few days in advance. 

Peel potatoes and chop into about 1” pieces.  Immediately transfer to a large pot and cover with cold water until potatoes are covered.  Bring to a boil, then reduce heat to a simmer and let cook 20-30 minutes, until potatoes are easily pierced with a fork.

Drain, then place potatoes back in the dry pot and let heat over medium heat until they appear dry, about 2-3 minutes.  Remove from heat and mash potatoes in the pot or in a bowl.  Add 3/4 cup hummus and mix.  Add 1 tablespoon of buffalo sauce, mix in, and add up to 1 additional tablespoon if desired.  Season with salt to taste.

July 03, 2012

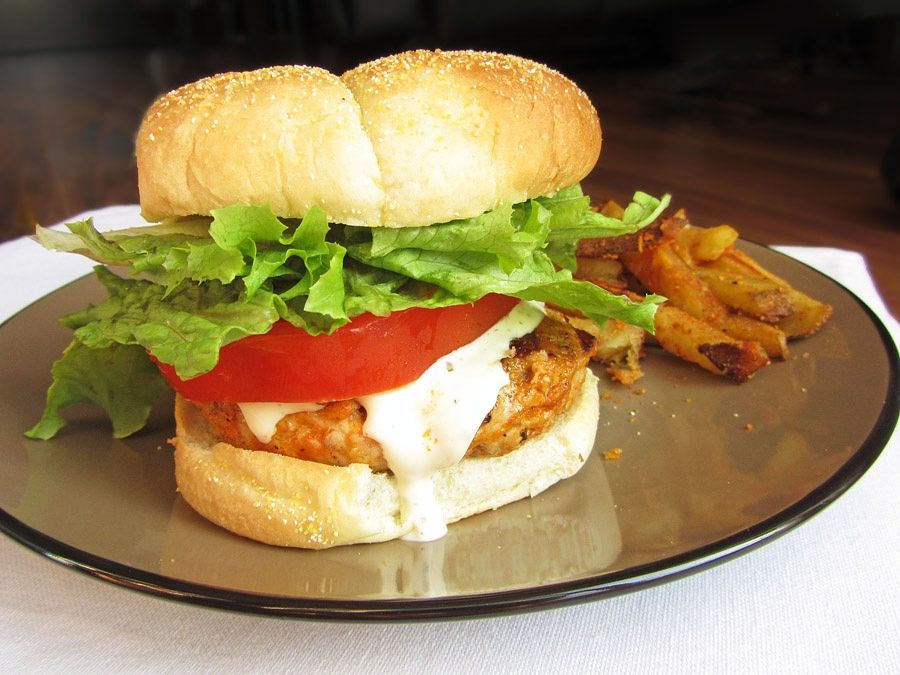
Buffalo Chicken Burgers

Buffalo Chicken Burgers

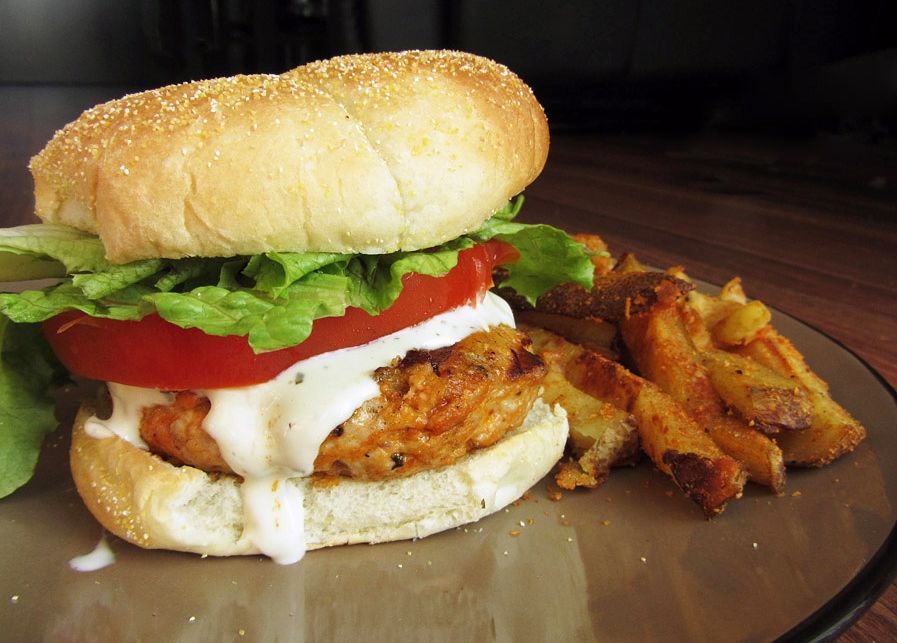
I had a great long weekend this past weekend, including a Canada Day party, fireworks, plenty of time in the sun relaxing with family and Ryan, and lots of great food!  The best thing I ate this weekend had to be these buffalo chicken burgers that are one of Ryan and my favourite meals.  And with 4th of July barbecues likely in store for many of my American readers tonight and tomorrow, I thought this would be a great recipe to share today!

These are ridiculously easy to make, and Ryan and I always love them every time we make them.  We’re both big fans of anything buffalo wing flavoured, so infusing that flavour into a juicy homemade chicken burger with fresh toppings and lots of sauce makes for a pretty amazing dinner, and so much better than any storebought frozen chicken burgers, which we have not had good experiences with!

Buffalo Chicken Burgers

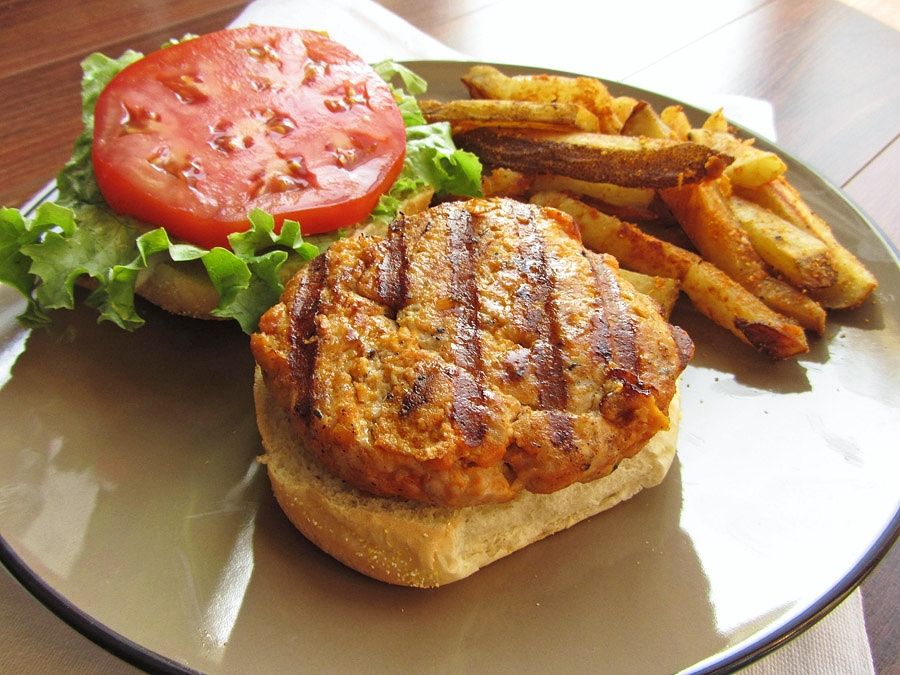
I know the pictures of this burger don’t do it justice, but this was one of those times when I just wanted to eat my dinner while it was still hot, without having to worry about styling it, finding good lighting to photograph it in, taking a million shots to get the best angle, and then reheating it before eating because by that time it would be ice cold.  Instead, I took a few quick pictures right before I ate it, so they’re not great but at least you know I didn’t spend forever making my burger look as pretty as possible but not at all how it would look in real life.  What you see is what you get!  (Well, except that when I took the pictures, I’d forgotten to add the extra buffalo sauce, which for me is a must!)

If you’re looking for a new and exciting way to eat chicken burgers this summer, or a healthier alternative to a beef burger, give these a try!  If you’re a buffalo wing fan, you won’t be disappointed! 

And happy Independence Day to my friends south of the border!

Buffalo Chicken Burgers

Buffalo Chicken Burgers

Adapted from How Sweet It Is

Serves 4

Note: I have made these many times as both chicken and turkey burgers - both work!

Ingredients:

For the burger patties:

1 lb (450g) ground lean or extra-lean chicken (or ground lean turkey may also be used!)
1/2 teaspoon salt
1/2 teaspoon pepper
1/2 teaspoon italian seasoning
1/2 teaspoon paprika
1/4 cup buffalo wing sauce or Frank's red hot sauce
1/4 cup breadcrumbs
1/4 cup grated parmesan cheese

For the rest of the burgers:
4 whole wheat burger buns
Lettuce
Tomato
Buffalo sauce
Low-fat ranch or blue cheese dressing
Cheddar cheese (optional)

Directions:

Mix up all ingredients for the chicken (or turkey) patties in a large bowl (using a fork, potato masher, or clean hands) until well blended, but being careful not to overmix. Form into four patties and press a small indentation in the center of each patty. Always be sure when making burger patties not to press hard on the meat or you will end up with tough patties - be as gentle as possible with every step!

If cooking on the barbecue: Preheat grill to medium to medium-high heat and lightly oil or spray. Grill for 4-5 minutes per side, or until the internal temperature reaches 165°F. In the last couple minutes of cooking, place cheese on burger to melt, if desired.

If cooking on the stovetop: Preheat two large non-stick skillets over medium-high heat. Cook the patties in the skillets for about 8-10 minutes total, flipping halfway, until cooked through. In the last couple minutes of cooking, place cheese on burgers to melt, if desired.

Place burgers on buns and top with lettuce, tomato, and desired sauces.

I like to serve these with baked sweet potato fries or as pictured above, Emeril Lagasse's oven baked parmesan paprika fries.

April 06, 2012

Carrot Hummus

There's been a ton of cute Easter recipes floating around the internet lately, but they're mostly all for desserts. Of course there's nothing wrong with that, and I even contributed to the pile of nest/basket-themed Easter dessert recipes myself with these mini Easter basket lemon mousse tarts. But when I came across an idea on Pinterest for baby carrots planted in hummus pots, I thought it was so refreshing to see a healthy (but still adorable) Easter recipe!

I had no intention of copying the idea myself until I realized that they would give me the perfect excuse to make a carrot hummus, which I'd been wanting to try for a while. Because what's better than carrots planted in regular hummus? Carrots planted in carrot hummus, of course!

I found a recipe for carrot hummus on Pip & Ebby and only made a few slight changes to suit my tastes. Slicing and boiling the carrots seemed to be the fastest and easiest method to cook them before adding them to the hummus, but I saw other recipes where the carrots were roasted instead, which would probably give them a deeper flavour. I just didn't feel like waiting that long, so choose your cooking method depending on your own preferences!

Once the carrots are cooked, all that's left to do is blend them up with the standard hummus ingredients and season, season, season! As long as you keep tasting as you make hummus, I think it's pretty impossible to ever end up with an end product that you don't like. I kept mine pretty simple, but I could imagine lots of different spins on the recipe that would add even more flavour: adding ginger and sesame oil for an Asian-inspired hummus; adding cayenne, cinnamon, and more cumin for a Moroccan-inspired hummus; or adding cardamom and more honey for a slightly sweeter hummus - be creative!

To serve the hummus, I spread it in a wide, shallow bowl, and "planted" little sprigs of carrot greens in rows to look like a carrot patch. At first I didn't attach baby carrots to the carrot tops because I didn't want to copy the original idea exactly, but halfway through photographing the dish I added them in just to see what it would look like, and it looked a million times better! If you're serving this hummus for Easter or any other spring gathering, I'd highly recommend checking out Pottery Barn Kids to get the instructions on how to plant baby carrots in the hummus!

I think this would make a great appetizer for an Easter gathering, but I've been enjoying eating it on my own all week as a dip for carrots and crackers - it's really tasty! I had planned on trying to save some for our Easter gathering on Sunday, but there won't be any left by then so I might have to make another batch!

Hope you all have a great Easter, Passover, or just enjoy the long weekend!


Carrot Hummus

Recipe adapted from Pip & Ebby, Carrots in hummus idea inspired by Pottery Barn Kids

Makes about 2 cups

Ingredients:

1 cup sliced carrots
1 19-oz can chickpeas
1/4 cup tahini
3 tablespoons lemon juice
1/2 tablespoon honey
2 cloves garlic, minced
1/2 teaspoon cumin
1/4 teaspoon paprika
Generous pinches of salt and pepper (to taste)
2 tablespoons olive oil

Directions:

Place chopped carrots in a large saucepan and cover in water. Bring to a boil, cover, and let cook 5-8 minutes, until carrots are tender. Drain and rinse with cold water to cool.

Place all ingredients except for the olive oil in the large bowl of a food processor and blend until smooth. Slowly add olive oil through the feed tube while processing.

Taste and adjust any seasonings to your liking – I added more lemon juice and salt, but if you wish it to be sweeter you could add more honey, or for more spice, try increasing the cumin and adding some cayenne!

February 16, 2012

Sweet Potato & Chickpea Hash with Fried Eggs

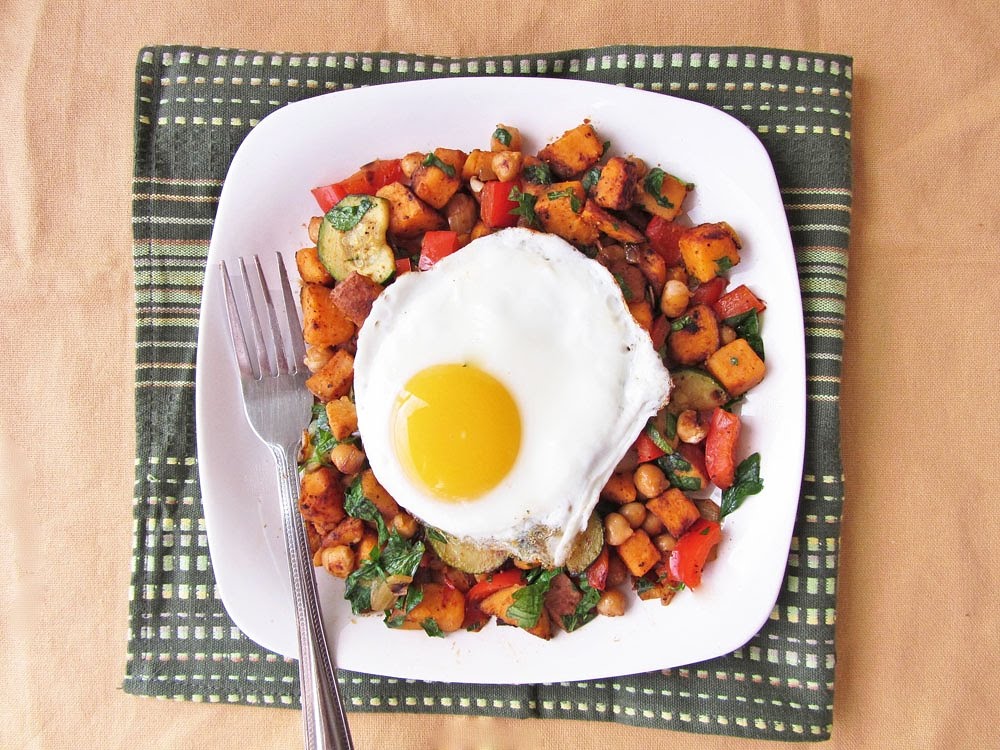
sweet potato chickpea hash with fried eggBreakfast for dinner (or 'brinner', though I've never once used that word in real life) is one of my very favourite meals. When I used to stay at school really late during my undergrad days, I liked to treat myself to the all-day breakfast for dinner in the cafeteria. It was cheap and filling and I would savour every single bite of those deliciously greasy hashbrowns. These days I'm usually at home for dinner, but on the nights that I don't feel like cooking anything, my standby is always a scrambled egg and cheese sandwich. It takes about three minutes to make and seems to taste better every time I make it!

I made this sweet potato and chickpea hash for a late weekend breakfast recently, but it's one of those dishes that would work equally well for dinner. Any time of day you choose to eat it, it makes for a really tasty and satisfying meal that's full of veggies and protein, so it's pretty healthy too.

I topped mine with a fried egg but next time I'd probably use a poached egg because I prefer their texture (plus they're healthier!) - either way, you'll end up with a delicious runny yolk that blends in with the potatoes to make each bite taste rich and savoury. Of course, you could leave out the egg and serve the hash as a side dish to a different protein if you prefer, but I thought the egg paired well with the dish and turned it into more of a complete vegetarian meal.

The original recipe called for baking the sweet potatoes in the oven before frying them in the skillet, but I was too hungry to wait that long so I searched online for other methods. There appear to be lots of ways of cooking sweet potatoes for a hash - some boil the sweet potato for up to 15 minutes, others for just a few minutes; some bake the sweet potato first, others bake the whole hash in the oven together; and some just throw the raw potatoes right into the skillet. I decided to boil the sweet potatoes just long enough to make them tender, then finish them in the skillet so they could get crispy and golden but still be cooked through. I thought that method worked well, but feel free to experiment!

I made a big batch of this sweet potato chickpea hash on the weekend, then divided the leftovers into single portions to keep in the fridge. That way I could take out a portion of the potato mixture during the week, and heat it in the microwave while I cooked a fresh egg to serve on top, making for quick and easy breakfasts (and dinner!)

sweet potato chickpea hash with fried egg
Sweet Potato & Chickpea Hash with Fried Eggs

Adapted from LCBO’s Food & Drink Magazine, Winter 2012 Issue

Serves 4

Ingredients:

2 medium or 1 large sweet potato (500g total), diced
1-2 tablespoons olive oil
1/2 a medium yellow onion, peeled and diced (about 1/2 cup)
3 cloves garlic, minced
1 small zucchini, chopped (about 1 cup)
1 medium red bell pepper, chopped (about 1 cup)
1 cup chickpeas (from a can, drained and rinsed)
1/4 cup chopped fresh parsley
Large pinch each of smoked paprika, salt, and pepper (and other seasonings if desired)
4 large eggs

Directions:

Add diced sweet potato to a large pot and cover with cold water. Bring to a boil and cook until tender, about 5-7 minutes. Drain and leave aside.

Meanwhile, heat olive oil over medium-high heat in a large non-stick skillet. Add the chopped onion, garlic, zucchini, red pepper, and chickpeas (I didn’t have a pan quite big enough to fit everything, so I split everything into two pans). Cook 5-10 minutes until starting to brown, stirring often.

Transfer vegetables to a bowl, wipe out the pan and add a bit more oil. Add the sweet potatoes to the pan and spread out in a single layer. Let cook without stirring for about 5 minutes, or until browned on one side. Flip and cook another 3-5 minutes. Repeat a couple more times until all sides are lightly browned.

Add the vegetables back to the pan and toss with the sweet potatoes. Add the parsley and season with paprika, salt, and pepper to taste. Toss everything together, then remove from pan and divide among four plates.

Wipe the pan, spray with non-stick cooking spray (or use butter if that’s your preferred method for frying eggs) and set over medium-low heat. Crack 4 eggs into the pan, cover, and let cook about 3 minutes, until whites are set. Top each serving of sweet potato hash with a fried egg, and serve warm with additional salt and pepper if desired.

November 23, 2011

Buffalo Wing Hummus

buffalo wing hummus

You may have noticed that I have a slight obsession with making hummus (see here, here, and here), but considering that the top two most popular recipes on my blog are hummus recipes, I’m thinking you guys won’t mind if I post another one!

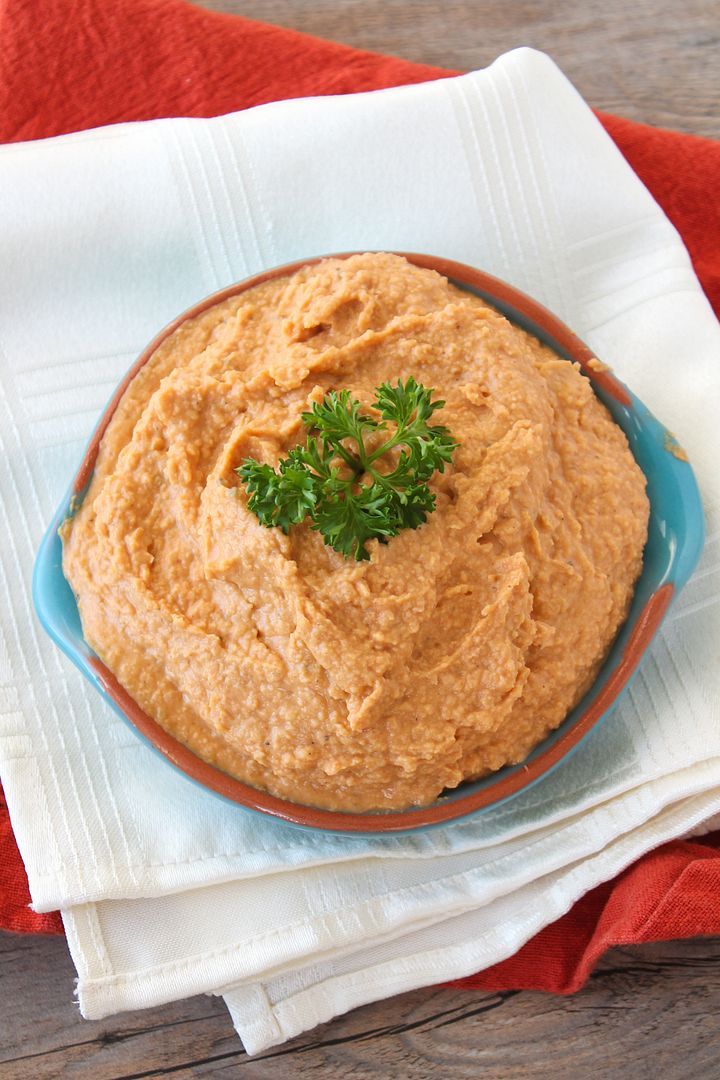
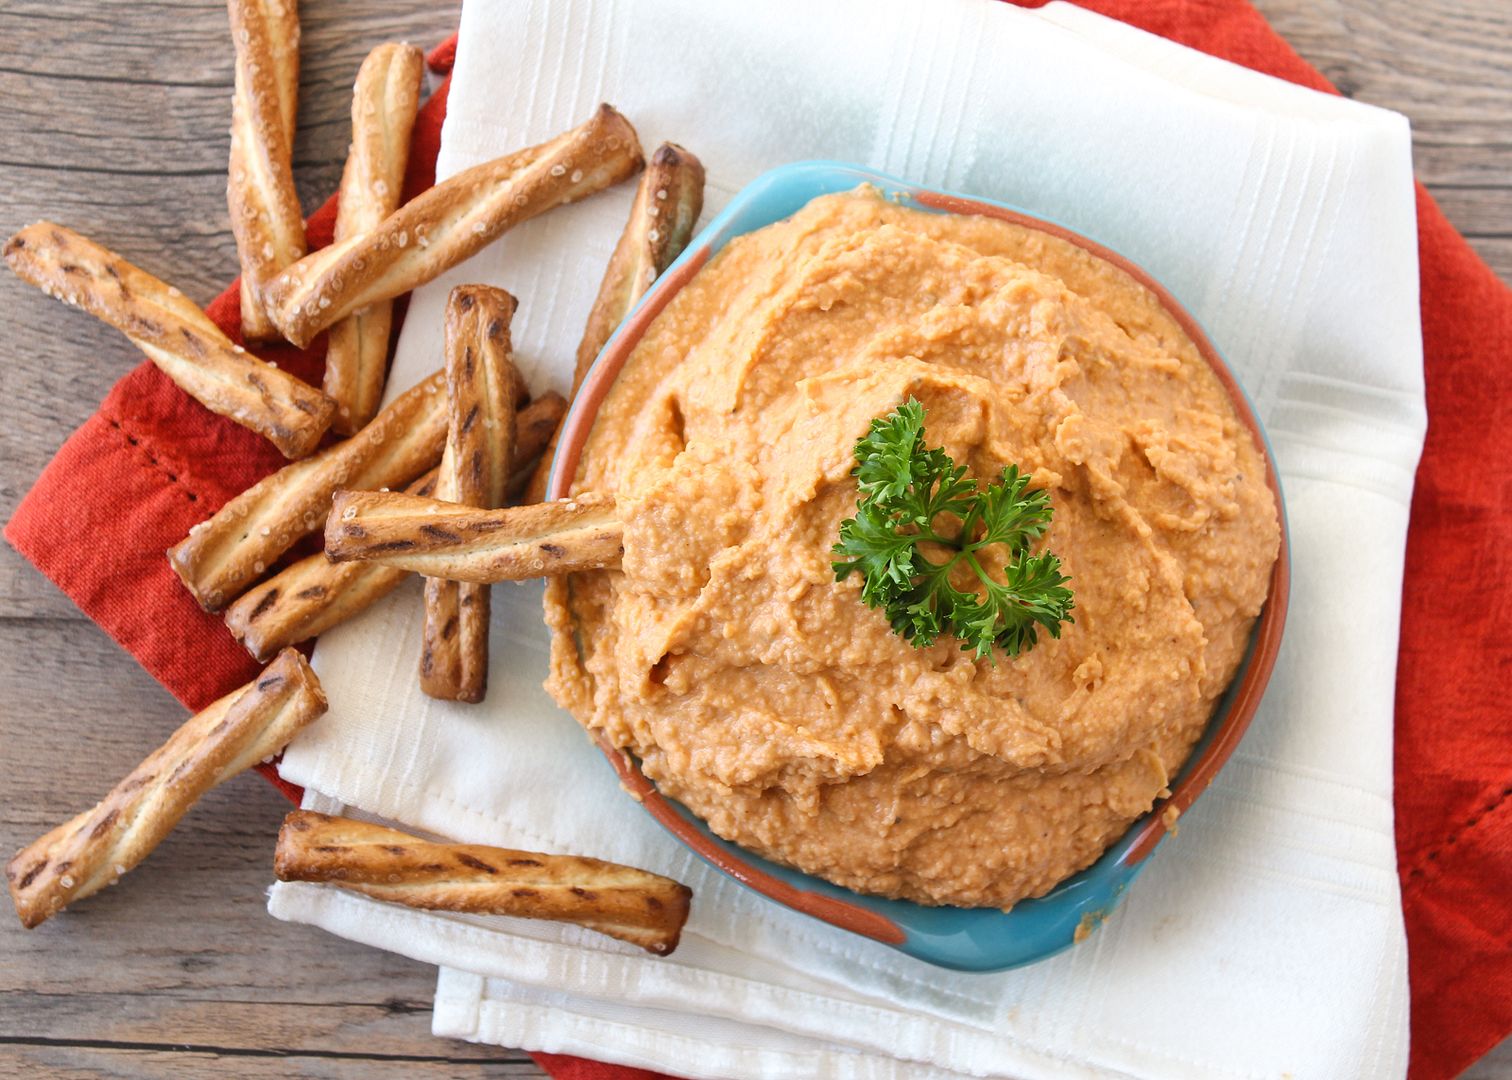
I’d been dreaming about this buffalo wing hummus ever since I first saw it in September’s Food Network magazine, and once I tried it I couldn’t believe I didn’t make it sooner! This is easily my new favourite hummus recipe; it tastes exactly like buffalo wings but in a healthy dip form. It’s also the creamiest hummus I’ve made, even though it doesn’t contain any oil like most recipes. This dip makes a healthy snack served with celery or carrot sticks, but is also delicious served with pita chips or even off your finger ;)

If you love buffalo wings but are looking for a healthier way to enjoy their flavour, try this hummus out, you won’t regret it!

buffalo wing hummus
P.S. I want to wish all my American readers a very happy Thanksgiving!! And if you missed it earlier, be sure to check out my Thanksgiving recipe roundup if you need some last minute ideas!

Buffalo Wing Hummus

Adapted from Food Network

Makes about 2 cups of hummus

Ingredients:

1 (19oz) can no-salt added chickpeas (about 2 cups)
1/3 cup liquid from the chickpea can
1 clove garlic, minced
3 tablespoons tahini
2 tablespoons fresh lemon juice
1 teaspoon paprika
2 tablespoons barbeque sauce
2 to 3 tablespoons hot buffalo sauce
1/2 tablespoon distilled white vinegar (optional, you may want to taste before adding this as some brands of buffalo sauce can already taste quite vinegary)
1/2 to 1 teaspoon salt
Freshly ground pepper for seasoning, optional

Directions:

Place all ingredients in the bowl of a food processor and process until smooth.  For amounts that have a range (i.e. the buffalo sauce and salt), start with the smaller amount and add more after tasting if desired.  Taste and adjust any other amounts to your liking.

Serve with celery sticks, carrots, pretzels, or pita chips. Store in the refrigerator.

*Note: Because this recipe uses the liquid from the chickpea can, it's a good idea to buy no-salt added chickpeas.  If you can't find that and are watching your sodium, you can also make this by replacing the chickpea liquid with about 1 tablespoon olive oil and 3 tablespoons water.

Update: Here are a couple more (brighter) photos from a more recent batch in February 2014:

buffalo wing hummus

buffalo wing hummus

Ingredient Index

Related Posts Plugin for WordPress, Blogger...