Showing posts with label pasta - macaroni. Show all posts

June 03, 2014

Gluten-Free Moroccan Macaroni Bowl (+ a giveaway!)

Gluten-Free Moroccon Macaroni Bowl with Roasted Cauliflower & Chickpeas

I don't follow a gluten-free diet or think of gluten as an evil thing to avoid, but I know there are a lot of people out there who have to avoid it for health reasons, and for their sake I'm happy that there now seem to be so many gluten-free alternatives out there.  People should not have to go without food like pasta!

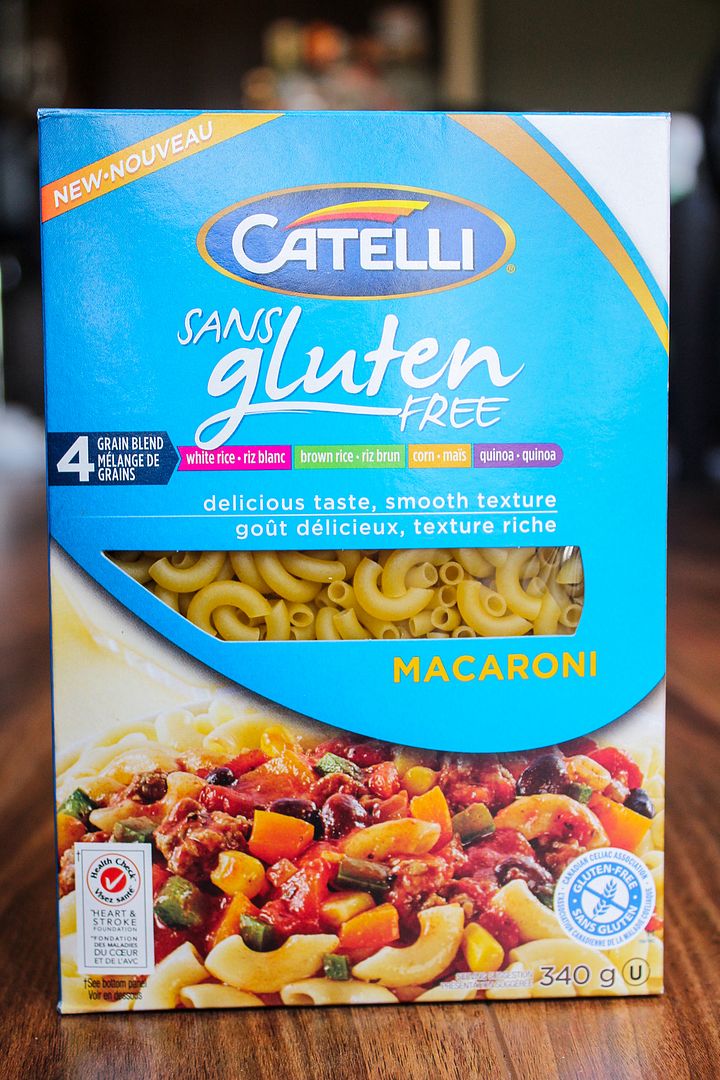
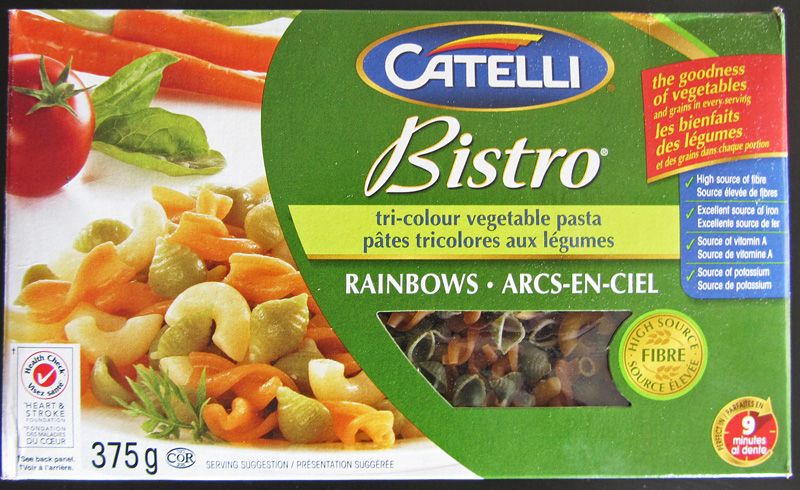
Catelli pasta is one of my favourite brands here in Canada because they offer so many alternatives to regular white pasta.  I love their line with vegetables in the pasta, but I usually buy the whole grain pasta.  Last year they launched a line of gluten-free pasta including penne, fusilli, and spaghetti, and recently they added macaroni to the line-up and asked if I wanted to give it a try. 

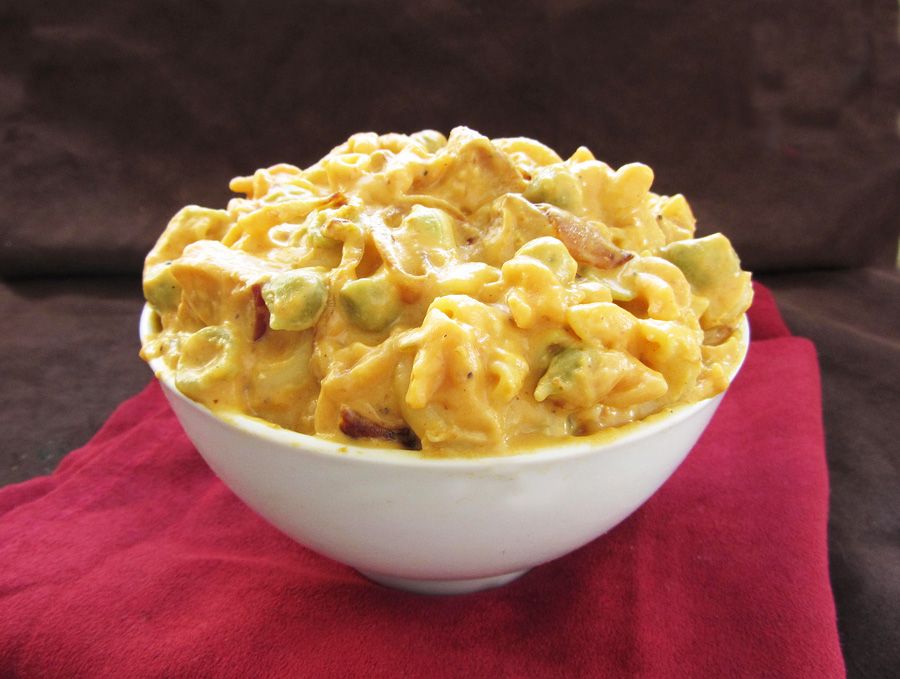
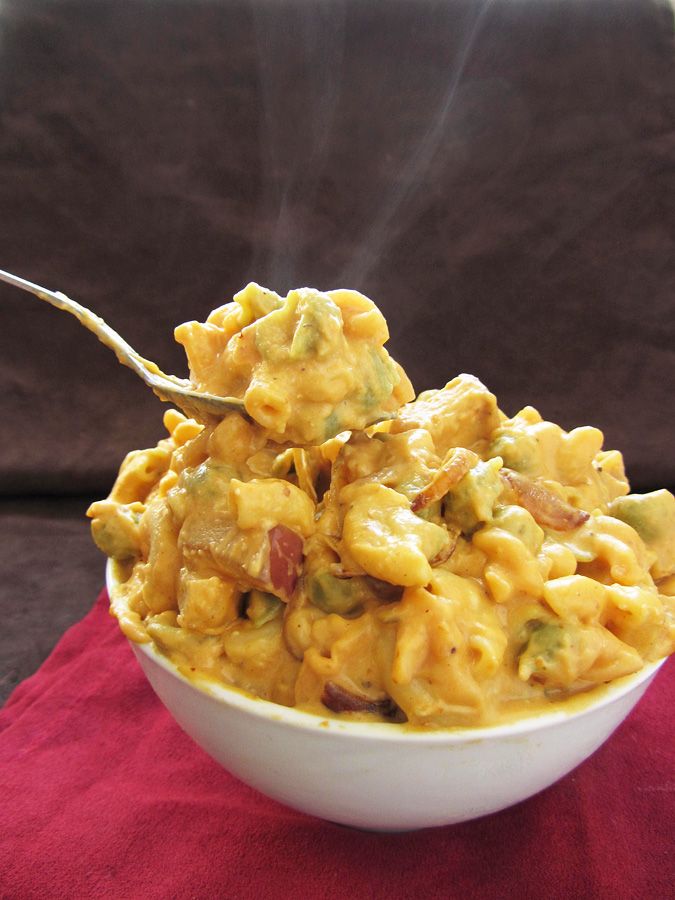
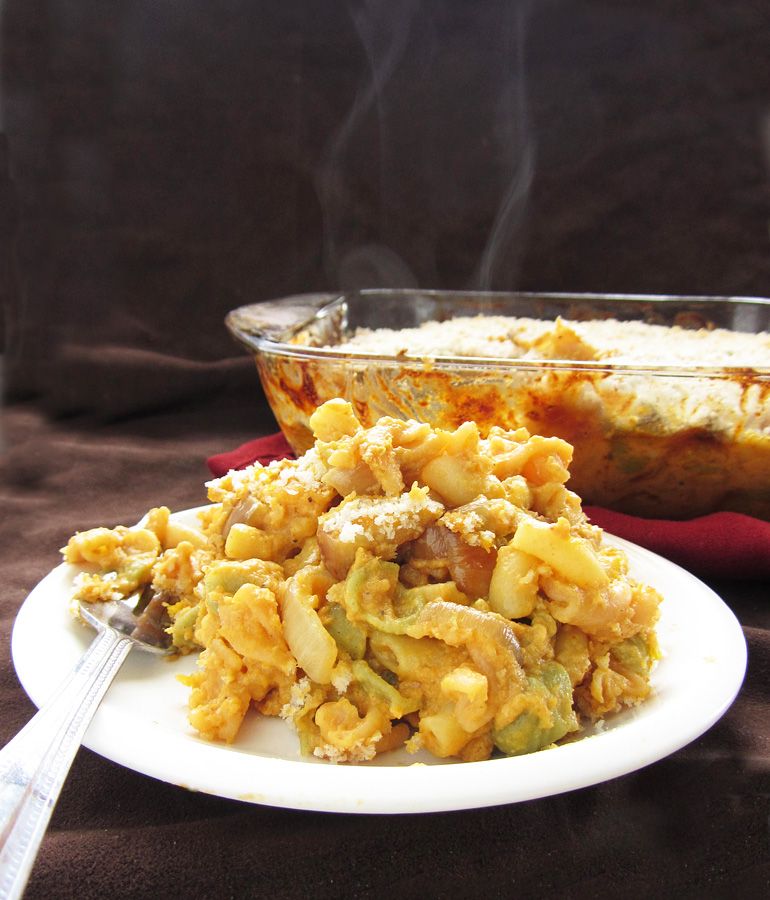
Turns out it tastes just like regular pasta, even though it's made from white and brown rice, corn, and quinoa.  I still prefer using whole grain pasta whenever I can, but it's nice to know there's a tasty alternative out there for those with gluten sensitivities or intolerance, or for me to use in dishes where whole wheat doesn't really work as well, like in this pasta bowl.

Gluten-Free Moroccon Macaroni Bowl with Roasted Cauliflower & Chickpeas

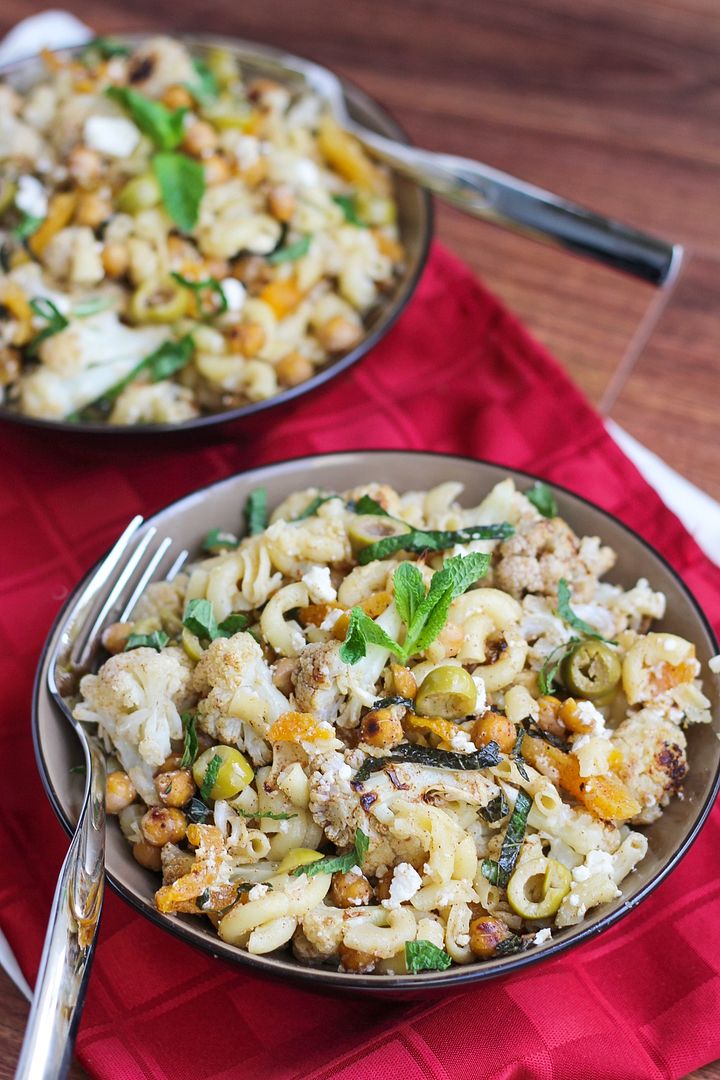
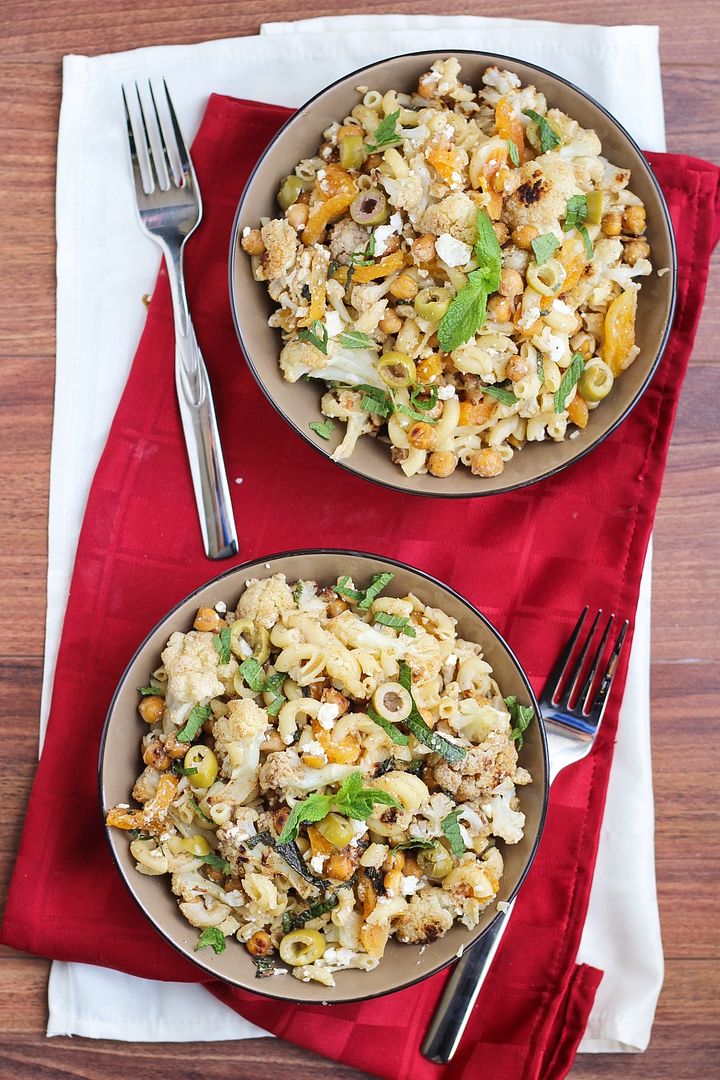
Catelli has lots of awesome pasta recipes on their site, and I decided to go with a Moroccan version to test out this pasta, and I'm so glad I did!  Everything about this pasta is so different from your typical tomato sauce pasta, and even though it looks like there are a lot of strange ingredients in this, they all work together so well!

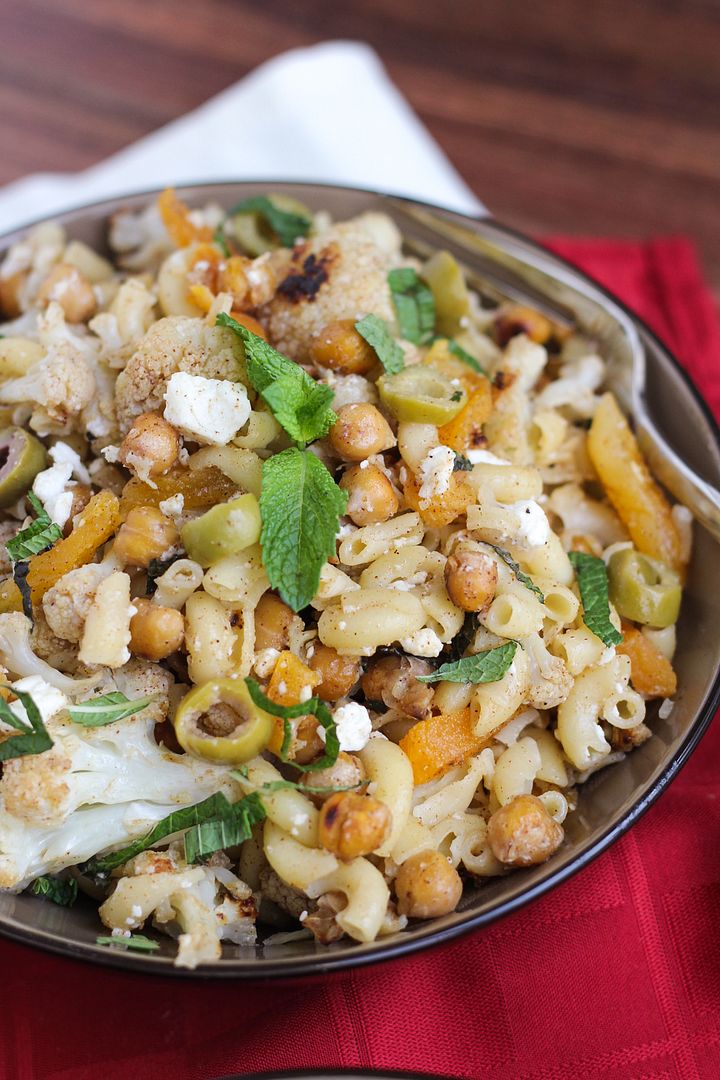
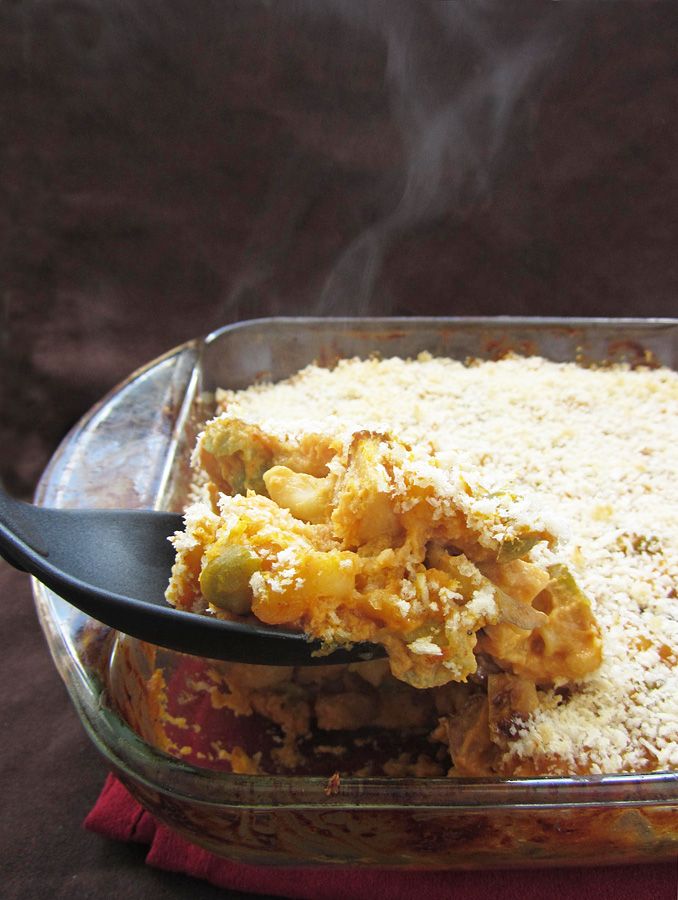
Instead of a sauce, this pasta is tossed with a light dressing full of fresh lemon flavour and lots of spices.  You also use some of this dressing to roast some cauliflower and chickpeas, giving them awesome flavour and texture.  I never roast chickpeas for pasta, usually tossing them in raw, but now I always want to eat them this way - I love that they get a little crispy!  Also mixed in there are some green olives, sliced dried apricot, feta cheese, and mint leaves.  I know it sounds a little weird, but trust me that it all the ingredients are balanced and together make an amazing flavour, so don't leave anything out!  I couldn't stop eating this right after I made it and already look forward to making it again.

Gluten-Free Moroccon Macaroni Bowl with Roasted Cauliflower & Chickpeas

If you want to try out this gluten-free pasta yourself, you can get a coupon for $1.00 off here.  And if you're lucky (and live in Canada), you have a chance to win a whole year's supply of Catelli's gluten-free macaroni!

To enter to win this awesome prize (with a retail value of approximately $180), please follow the instructions in the Rafflecopter widget below - there are three ways to enter: leaving a comment on this blog, following me on Facebook, or on Twitter - pick one or all three for more entries!

Catelli Gluten Free Macaroni

Please be sure to enter with a valid e-mail address or Facebook account so I can contact you if you're randomly selected as the winner.  The contest will close at midnight EST on Sunday, June 8th, 2014.  Please note that as this is a Canadian product, this contest is open to Canadians only (sorry, American friends!)

a Rafflecopter giveaway

And don't forget to check out the recipe below!

Disclosure: This is not a sponsored post.  I received one box of pasta to make this recipe but was not compensated in any other way for my time, ingredients, or thoughts, which are all my own :) I just thought this was a great giveaway opportunity for my readers!

Gluten-Free Moroccon Macaroni Bowl with Roasted Cauliflower & Chickpeas

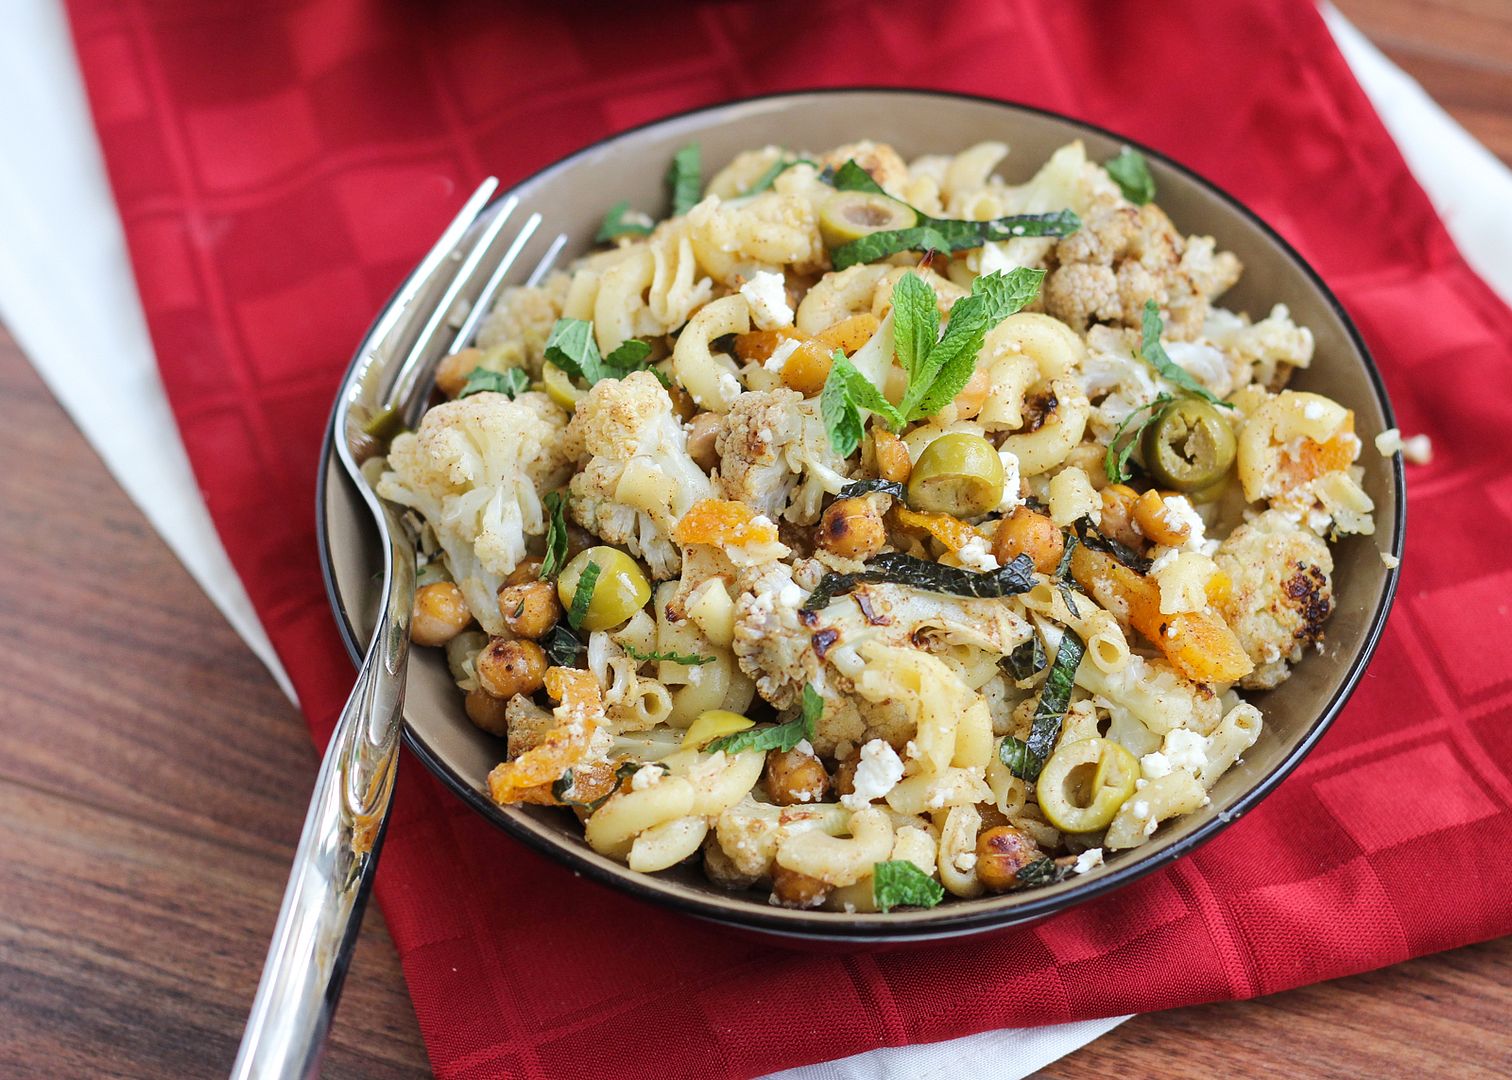
Gluten-Free Moroccan Macaroni Bowl with Roasted Cauliflower & Chickpeas

Slightly adapted from Catelli Pasta

Makes 4-6 servings

Ingredients:

1 (540mL) can of no-salt added chickpeas, drained and rinsed
4 cups cauliflower florets (about 1 small head or 3/4 of a larger head)
1/3 cup fresh lemon juice
1/4 cup olive oil
2 tablespoons honey
1 tablespoon minced or grated fresh ginger
2 cloves garlic, minced
1 tablespoon ground cumin
1 teaspoon cinnamon
1/2 teaspoon each salt and pepper
1 box (340g) Catelli® Gluten Free Macaroni
3/4 cup slivered dried apricots
1/3 cup sliced green olives
1 cup crumbled feta
3/4 cup loosely packed chopped fresh mint leaves

Directions:

Preheat oven to 400°F and line a large baking sheet (I used two) with parchment paper or foil.  Add cauliflower and chickpeas to a large bowl.  Whisk lemon juice, oil, honey, ginger, garlic, cumin, cinnamon, salt, and pepper in a small bowl until combined.  Drizzle 3 tablespoons of the dressing over the cauliflower and chickpeas and toss to combine.  Spread cauliflower and chickpeas onto prepared baking sheets in an even layer.  Roast in preheated oven for 30 minutes or until browned, tossing halfway through.

Meanwhile, cook pasta according to package directions.  Reserve 1/2 cup of the cooking water before draining.  Toss cooked pasta with roasted cauliflower and chickpeas, apricots, olives, feta, mint, reserved pasta water, and reserved lemon dressing.  Stir until combined and serve warm.

May 21, 2013

Greek Yogurt BBQ Chicken Pasta Salad

Healthy Greek Yogurt BBQ Chicken Pasta Salad

This past weekend was a long weekend for us Canadians, meaning the summer has (unofficially) begun!  And it has definitely felt like summer the past few days; yesterday the temperature went up to about 28°C (around 83F) here in Southern Ontario and I was reminded what it’s like to sweat just standing outside (and in my case, just sitting in your apartment too)!  It was perfect weather for sitting outside for a barbeque on Sunday and laying on the beach Monday (though with the lake still freezing cold, we didn’t last long on the sand without having a way to cool off)!

With the long weekend for my American friends coming up next, I thought this would be a good time to share a pasta salad recipe – the perfect thing to take with you to a summer bbq or picnic.  And feel free to bring me along too, I need another long weekend already!

Healthy Greek Yogurt BBQ Chicken Pasta Salad

This pasta salad is made with all whole wheat pasta, non-fat Greek yogurt in place of mayonnaise, with veggies for nutrition and chicken for protein - but with the delicious creamy BBQ flavour, no one would ever guess it’s healthy!  I loved the crunch of veggies and the kick of spice in this pasta salad that’s unlike any I’ve tried before; my boyfriend loved this too and couldn’t even tell the pasta was whole wheat or had Greek yogurt.

You could leave out the chicken if you wanted this to be a lighter side dish, but we loved the flavour and texture the chicken added.  And if you’re vegetarian, I think black beans would give this a fun southwestern twist!  

The Tuesdays after a long weekend are the worst, but thankfully this day's already almost over and I can start counting down the days until the next long weekend!

Healthy Greek Yogurt BBQ Chicken Pasta Salad

BBQ Chicken Whole Wheat Pasta Salad with Greek Yogurt

Recipe inspired by Gonna Want Seconds (who adapted a dish from Cook’s Illustrated)

Makes around 4-5 large servings or 8-10 side dish servings

Ingredients:

1 375g (13oz) box of whole wheat macaroni
1 teaspoon hot sauce
1/4 teaspoon garlic powder
1/2 teaspoon each salt and pepper
2 teaspoons chili powder
1 tablespoon brown sugar
1-1/2 tablespoons apple cider vinegar
1 small shallot, minced
1 cup non-fat plain Greek yogurt (you can replace part of the yogurt with low-fat mayo if desired, but I used all yogurt)
1/2 cup BBQ sauce
1 red bell pepper, diced
1 yellow bell pepper, diced
4 green onions, chopped
2 cooked boneless skinless chicken breasts, shredded and seasoned with salt & pepper, and tossed with a bit of bbq sauce if desired (or use around 12-14 oz of rotisserie chicken and shred it)

Directions:

Bring a large pot of salted water to a boil.  Cook macaroni according to package directions.  Drain and rinse thoroughly with cold water until cool.  Let drain in colander then transfer back to a large bowl.

Add hot sauce, garlic powder, salt and pepper, chili powder, brown sugar, vinegar, and shallots to the pasta and toss to coat.  Let stand for about 2 minutes to absorb.  Next, mix the Greek yogurt and BBQ sauce together in a small bowl, then add to the pasta and toss to coat.  Stir in diced peppers, green onions, and shredded chicken.  Mix and adjust any seasonings if necessary.  Serve cold or at room temperature.

*Note: Feel free to add a bit of BBQ sauce to leftovers before eating if the sauce dries up at all in the fridge (I didn't really have this problem, but I still liked to stir in a little extra sauce to my leftovers)

November 06, 2012

Pumpkin Mac & Cheese with Apples and Caramelized Onions

Pumpkin Mac & Cheese with Apples and Caramelized Onions

Now that I’ve seen my first official snowfall of the season and have broken out my winter hat and gloves, all I can think about are warm and cozy meals, and when it comes to comfort food, it doesn’t get much better than mac and cheese!

But as you’ve probably guessed from the title, this is no ordinary mac and cheese! And even though it might sound a little weird, I promise that it works!

Pumpkin Mac & Cheese with Apples and Caramelized Onions

This mac and cheese has a ton of flavour going on – there’s pumpkin puree, pumpkin beer, sautéed apples, caramelized onions, and smoked applewood cheddar cheese – and it all works together so well!

I can never decide if I prefer stovetop or baked mac and cheese, so I tried this both ways. I stopped after cooking it on the stovetop and dug in to test it out. You'll probably want to do the same thing because it’s so hard to resist at this point, and I certainly wouldn't blame you!

Pumpkin Mac & Cheese with Apples and Caramelized Onions

Or you could keep going; sprinkle some breadcrumbs on top and throw it in the oven so you get a crunchy topping with cheesy goodness underneath - it really just depends on how you like your mac and cheese. I loved it both ways!

Pumpkin Mac & Cheese with Apples and Caramelized Onions

I loved that the dash of maple syrup and addition of apples added a touch of sweetness to cut the richness of the cheese, but there wasn’t an apple in every bite so it was like a fun surprise every time you ate one! I also like the smokiness that the applewood smoked cheddar added, but if you don’t like smoky cheeses (my sister complained about the smell every time I heated it up), you could just use a regular sharp cheddar cheese, or I think gruyere would work well too!

You’re probably wondering why there are strange green things in my pasta, but that’s just because I used this tri-colour vegetable pasta:

vegetable pasta

I realize this isn’t exactly a healthy meal, but with the vegetable pasta instead of regular pasta, the addition of pumpkin, apples, and onions, and using low fat milk, I like to think that it’s at least better for you than a lot of other mac and cheese recipes.

And I certainly had no problem finishing this whole dish by myself (though not all at once, of course!)

Pumpkin Mac & Cheese with Apples and Caramelized Onions

Pumpkin Mac & Cheese with Apples and Caramelized Onions

Adapted from Her Campus, who adapted from Rachel Ray

Serves 4-6

Ingredients:

8oz dry macaroni pasta (I used tri-colour vegetable pasta)
1 tablespoon olive oil
1 large onion, thinly sliced
1 apple, diced (I used Red Delicious)
2 tablespoons unsalted butter
1-1/2 tablespoons all-purpose flour
1/2 cup pumpkin beer
1 tablespoon pure maple syrup
1/2 cup evaporated 2% milk (regular 2% milk would work too)
1/2 teaspoon mustard powder
1/4 teaspoon nutmeg
Salt and pepper
1 cup pumpkin puree
1-1/4 cups grated sharp cheddar cheese (I used applewood smoked cheddar and I used 1-1/2 cups to use it up)
~1/4 cup panko bread crumbs, optional

Directions:

Preheat oven to 350°F.

Cook pasta in a large pot of salted boiling water, according to package directions.  Drain and set aside.
Meanwhile, heat olive oil in a large skillet over medium heat.  Add onions, stir to coat with oil, and let cook, stirring occasionally, about ten minutes.  Season with salt and pepper.  Let cook another 5 minutes or so and then add the chopped apples.  Continue to cook apples and onions, stirring occasionally, for an additional 15 minutes or so, until onions are caramelized and apples are softened and golden brown.  Set aside.

About ten minutes before your onions and apples are done cooking, you can start the roux.  Add butter to a medium saucepan and let melt over medium heat.  Add flour to the melted butter and whisk continuously for about a minute. Raise heat a bit and add the beer.  Reduce until almost evaporated and mixture is quite thick, then whisk in the maple syrup and milk.  Season with mustard powder, nutmeg, and salt and pepper.  Let cook until thick enough to coat the back of a spoon.  Whisk in the pumpkin then whisk in the grated cheese until incorporated.

Stir together the pasta, cheese sauce, onions, and apples.  At this point, you can serve the mac and cheese as is for a stovetop version, or you can bake it.  If you choose to bake it, spread it into an 8x8 glass baking dish and sprinkle breadcrumbs on top.  Bake in preheated oven for about 30 minutes, let cool slightly, then serve.

October 28, 2011

Mini Party Appetizers - Mac n' Cheese & Pizza Puffs

mini party appetizersWith the weekend upon us and possibly some Halloween parties to go to, I thought I'd share some fun recipes for cute and tasty mini party appetizers! I made these for a sports night get-together recently. I wasn't actually there but Ryan reported back to me that everyone loved them - and of course, I did plenty of taste testing myself to confirm this before everyone arrived :)

I used my mini muffin pan to create two appetizers - mac n cheese bites and pepperoni pizza puffs. The mac n cheese bites were the exact same cheesy classic everyone loves, just in a small portable form. It's a little weird eating macaroni and cheese with your hands, but once you have one it's impossible not to have another! The pepperoni pizza puffs had all the components and taste of pizza - cheese, herbs, pepperoni, and marinara sauce - but in a puffy, bite-sized form.

Both of these recipes were super easy to make and the perfect size to feed lots of people as a fun appetizer. They're also both highly adaptable to whatever cheese or other ingredients you have in your fridge, so have fun with them!

mini party appetizers
Mini Pepperoni Pizza Puffs

Recipe at Kirbie's Cravings

These are highly adaptable - try using different types of cheese (I used a blend of Mozzarella and Mexican cheeses), different seasonings, different meat, or make them vegetarian by adding in some veggies like onions or peppers. For a slightly healthier version, try these Whole Wheat Pizza Puffs from Cooking With My Kid.

But whatever you do, don't forget the marinara sauce!

Mini Mac n' Cheese Bites


Adapted from Dinners for a Year and Beyond

Makes about 36 bites


Ingredients:

1-1/2 tablespoons unsalted butter
2 tablespoons all-purpose flour
3/4 cup milk
1-1/2 cups packed shredded cheese – I used half Mexican blend cheese and half Pepper Jack, but you could also use sharp cheddar or white cheddar, or your other favourite blend
1/4 cup Parmesan cheese, grated, plus more for sprinkling on top
2 large egg yolks
1/2 teaspoon salt
1/4 teaspoon pepper
1/8 teaspoon nutmeg
1/2 pound elbow macaroni, cooked and drained

Directions:

Preheat oven to 425°F. Spray a nonstick mini muffin pan with cooking spray (you may need multiple pans). Set aside.

In a large saucepan, melt the butter over medium heat. Whisk in the flour and cook for about 1 minute. Whisk in the milk and bring to a boil. Cook, whisking occasionally, for about 2 -3 minutes until thickened. Add all the cheeses and stir together to melt. Remove from heat and stir in the egg yolks, salt, pepper, and nutmeg. Stir in the cooked macaroni.

Spoon the macaroni and cheese into the prepared mini muffin pan(s), filling each cup to the top. Pack each one down gently. Sprinkle with remaining Parmesan cheese.

Bake for about 10 minutes, until golden and sizzling. Let cool for about 10 minutes, then use a butter knife to carefully loosen and pop out the bites from the pan. They should pop out very easily. Transfer the mac and cheese bites to a platter and serve warm.

To make ahead, bake and cool mac and cheese bites then store in the fridge. When ready to serve, place the bites on a baking sheet and heat in a 400
°F oven for 5 minutes until warmed through.

mini party appetizers

Ingredient Index

Related Posts Plugin for WordPress, Blogger...